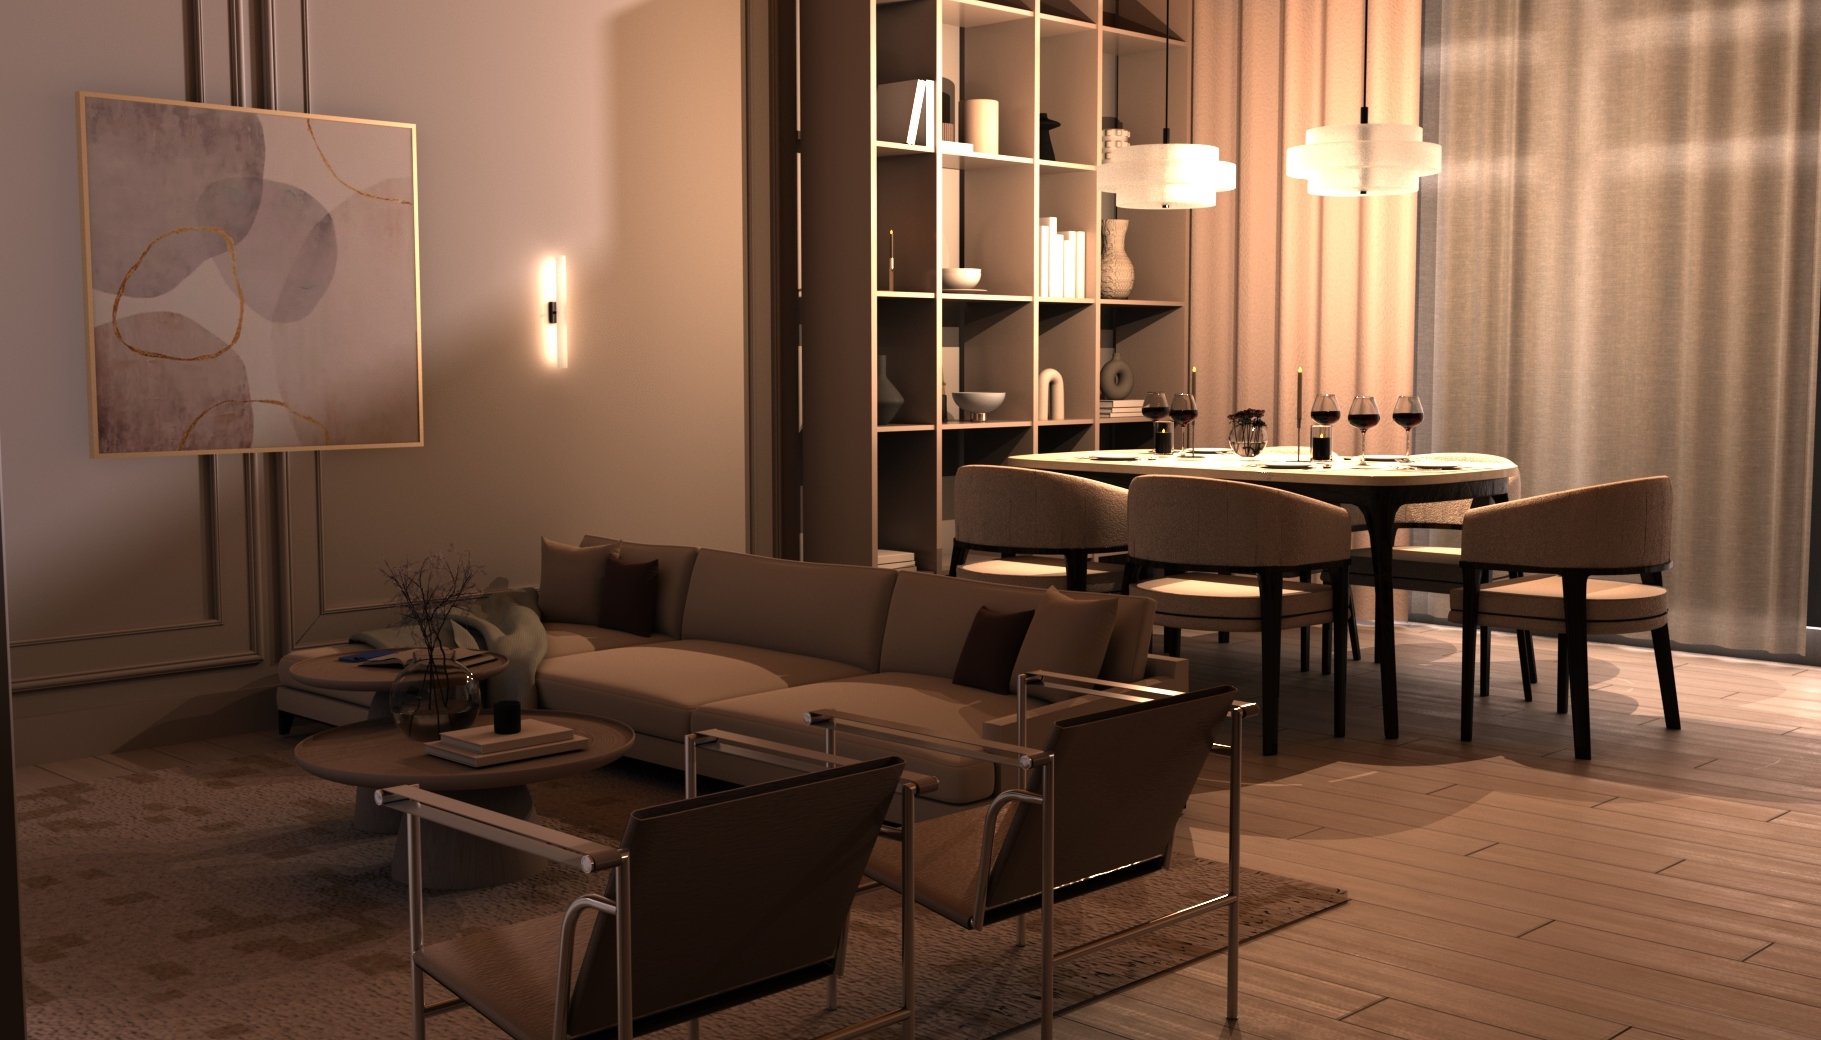
The interior environment assignment allows you to learn the basics of solid modeling along with UV texturing, lighting, and rendering. It is the details that tell the story of your space and make each environment a reflection of your vision and your aesthetics.
Hadi Debs F23
Zihong Zhou 22F
This section is still under construction for the F24 term…..
Assignment: Interior Environment Model
CS22/122: 3D Digital Modeling
25S -- Lorie Loeb
Environment Modeling
Assignment 1-- Build a Room
You will learn some tools and techniques and then follow a tutorial to model a room, complete with walls, windows, furnitue, rug and other details.
Practice Sheet 1:Learn some tools (Nothing to turn in) and Tutorial 1: Build a Room (nothing to turn in)
Due Wednesday, April 2nd
A1 Complete Tutorial 1
Tutorial on building the architecture of a room.
DUE Monday, April 7th
Tutorial One Due on
A2 Complete Tutorial 2
Complete the Tutorial on Building furniture and objects in the room.
Due Wednesday, April 9
Yuchuan Ma S22
Assignment 2 -- Your custom environment
Model an interior environment of any sort. You can start with the room you built in the tutorials or start from scratch. This can be any interior space but remember that it is always helpful to start from some photos or reference images.
In the first part of this assignment (B1), you will create the geometry for the architectural elements and any objects or furniture in the space. Do not add materials or textures yet (use the default material). We will add material and texture in B2. You will add lights (B3) and render room images in B4.
This assignment will be the foundation counts for 30% of your grade.
Be sure to pay attention to details, keep your project organized, name your assets and use layers, keep your topology neat, and make sure the scale consistent from one object to the next.
B1-- Geometry of Custom Room
Start with your room from the tutorials, or start from scratch using the process from the tutorial to get started, or do some mix of the two. Find your room inspo from real life, the internet, your imagination. Having some images to work from are helpful.
The custom geometry (using default materials) is due on **Monday, April 21
You will have time to continue adding to the environment--adding objects and details to help your room tell a story--as you continue working on the textures and lighting. But get as far as you can on this by the due date.
Adding textures
B2 -- Custom Interior with Textures
Follow the Practice Sheets and Tutorials to learn about materials, textures and UV's. Add textures to your room. Be sure you lay out UV's as needed to avoid texture stretching. Add some basic lighting so things start to show up better.
- You will be invited to the shared class Substance Drive
- Another good source for textures is https://www.textures.com/
- exr images for the skydome can be found at https://polyhaven.com/
**Due, Monday, April 28th at 2:30 pm
Turn in the latest Scene File and the Source Images Folder
Kedari Chowtoori F23
LIGHTS
B3 -- Environment with Lights
Time to bring the environment alive by adding lights and frame it with carefully placed cameras.
Lights help create a sense of 3d space, a sense of time of day, and a mood.
Follow the Tutorials to learn about lighting an interior. Add lights to your room using the light editor along the way.
- Turn in the latest Scene File plus the Source Images Folder (put them in a folder with your name on it).
Due Monday, May 5th
Adrienne Ko (S22)
B4 -- Rendering the Image
Now it is time to pull it all together. YAY!! You will use Arnold Software to render out five images. You will also add Ambient Oclusion to add even more depth to your objects by bringing out the shadows and brightening the highlights. Note: The Substance Materials come with Ambient Occlusion. You add it only to the objects that don't have substance.
- You will turn in your work to two separate google folders--one for the project folder (most recent scene plus source images folder) and the other is for a folder (put your name on it) with your five images.
*Due Monday, May 12th
Congratulations!!!! You finished your first major project in this course. You can always revise the work and let Lorie know or turn it in to the Revised Work Folder


