The Biped Assignment
This multi-part assignment results in the creation of a biped model that is fully rigged and ready to animate. The model will have a skeleton, IK and FK, controls, and textures. You will do a very short and simple animation to show off how your model moves.
The assignment is broken down into milestones you must complete to finish the biped. Missing a milestone not only puts you behind, but will result in a lowering of your grade.
As always, turn something in for each milestone, no matter what state your work is in.
This will move quickly. We have a lot of material to cover.
Model and Animation by Yenkai (Kyle) Huang 22F
Model and Animation by Tomo Greenberg (W23)
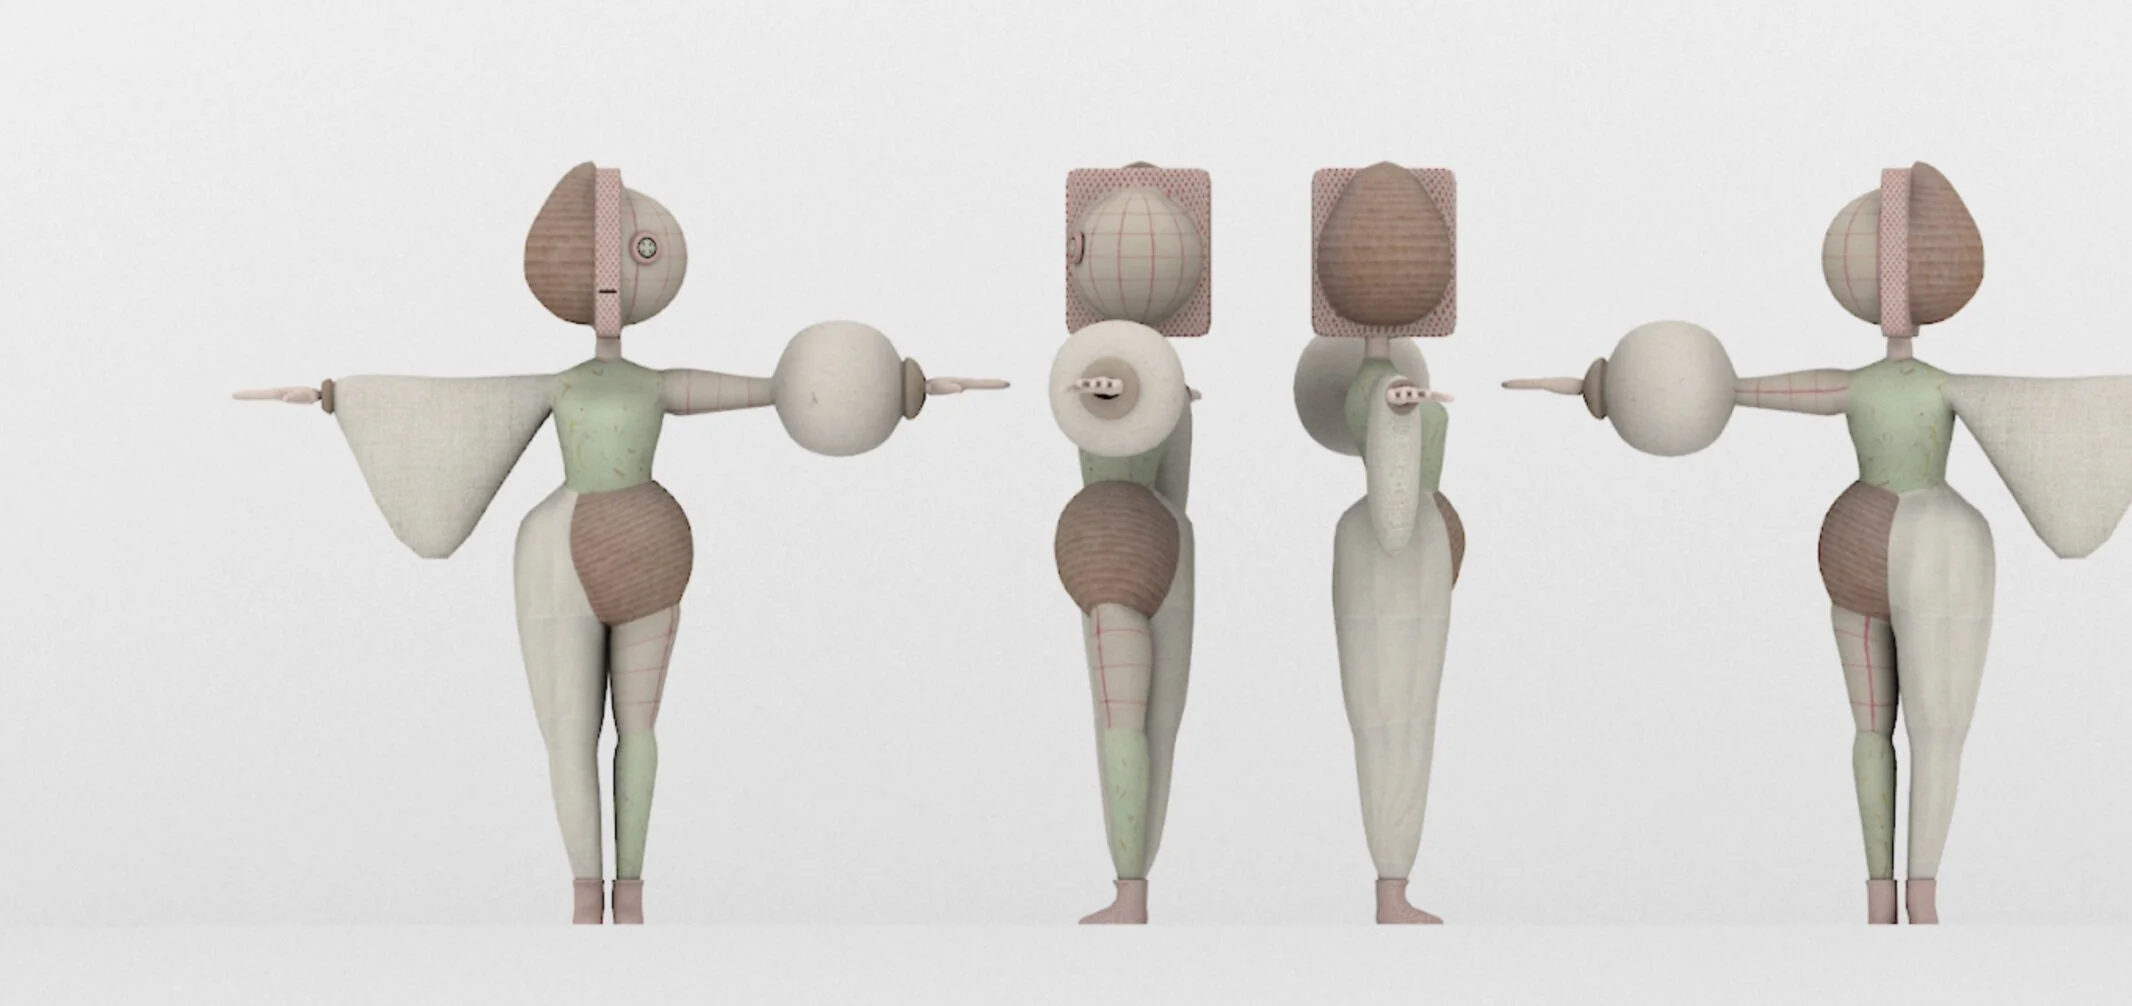
Models and animation by Jessica Cheng (22F)
HERE is the process we will use for building the biped. It is based on the way you might work if learning life drawing:
Design it on paper
Move to Maya: Start with the whole form and build it very quickly
Tweak and refine only after the whole form is in place
Detail is added at the end, after the major forms are established
Then add texture and rig/skin the character
Animate to show off your creation (we are designing for motion, so make it MOVE!)
Model and Animation by Erik Siegel (F22)
The Assignment Details
Biped Design.
Create a personality sheet, a model design sheet and description for a simple biped model.
Turn in: Create a Folder with your name on it. In the folder add:
- scanned inspiration images,
- a personality sheet (1-2 paragraphs about your character)
- rough drawings of your character
Biped Design is due on Monday, October 28th at 2:30 PM.
Example of a biped personality sheet:

Image Planes
Image planes are orthographic drawings of your character from the front and side. They give you something to model against and are an invaluable tool. Create orthogonal references and set up image planes in your scene, attached to the front and side orthogonal cameras.
Image planes (just the jpg’s or png’s front and back view) are Due on Wednesday, October 30th
Block out the body
NOTE: For the biped assignment, from here on out, you will be turning your entire project folder unless otherwise noted.
Block out the body geometry, building the model using multiple polygon primitives. Be sure to keep things rough and low resolution, but keep the edges smoothly flowing and the geometry clean. Label all assets carefully.
Add some detail to the biped torso, legs, arms, hands, and feet as needed, but keep it low res. Be careful to add detail but not to add too much resolution as this causes problems later. For most of you, you will keep all the body parts as separate geometries (low res polygons). Some of you will merge them later, most of you will keep them separate. If you have hands, keep each finger separate, even separate out the finger sections.
Your character needs to be centered on the Y axis, facing towards positive Z.
Rough Biped Model is Due on Wednesday, November 6 at 2:30 PM
Refined Body and Head
Join primitives where appropriate (remember you should keep primitives separate if there is a seam, nut, bolt or other sort of real-life analogous connection. Otherwise, you need to combine and merge the objects).
Again, your character needs to be centered on the Y axis, facing towards positive Z. Make sure your transformations are frozen. Delete history except for the eyelids if you are doing cartoony lids. Save a clean version with a name that makes it clear that this is the character ready to move on to texturing.
Create texture maps as you did in the environment. You MUST make a UV map for the face, and it is recommended to create UV maps for as much of the body as you can so you can use substance materials and substance painter.
Adding facial expressions makes your character come alive. We do that using the Shape Editor
Your biped should be finished and ready to animate in time for class on Monday, March 4th (last class)
Refined Model is Due on Monday, November 11th at 2:30 PM
Rigging Your Character, preparing to animate
Freeze transformation and delete appropriate history. Make sure your character is on the Y axis facing positive Z. Yay!!! Your character is now ready to rig.
Use one of the methods outlined in the biped tutorials to rig your character. You may need to do some skinning so your geometry moves as expected while moving. Once that is done, your character should be complete and ready to animate. We will go over animation methods in class, so have your model ready to go!
The Rigged Character, Ready to Animate is due ON Monday, November 18th at 2:30 PM (Last Class!)
Animate!!!
Bring your biped to life through animation. Create a short animation to show off what your character can do. You will animate in Maya and render out an image sequence. Then you open the image sequence and convert it to a movie file (using Premiere, Photoshop or some other video editing software).
Turn in the Video of the Animation to Folder D6 (due one hour before the final presentations)
Turn in the Project File to Folder D7 (due one hour before the final presentation)
Final Presentation
At the final presentation, you will pull together your work from the term, including all three projects (Interior, Abstract, Biped). You will create a slideshow that includes some of your process and the final results, including any revisions you made to any of the projects.
If you are doing Google Slides, be sure your slides AND the animation video are shared with [lorieloeb@gmail.com][0]
The Final Presentation is Due One hour before the Final Presentaiton
