Tutorial Quad Draw
CS22 Loeb
The Quad Draw Tool makes it easy to retopologize a surface. We are going to use it to make the face, in particular eye sockets and the mouth opening/lips.
Let's practice with a simple shape.
Setting up the Geometry
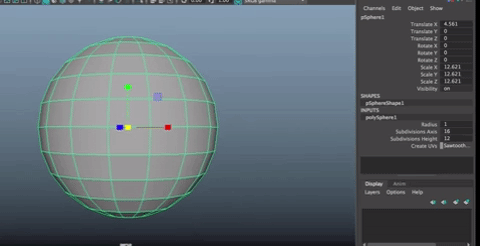
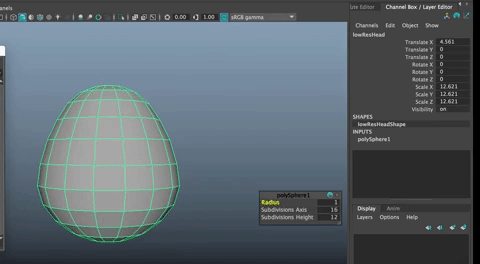
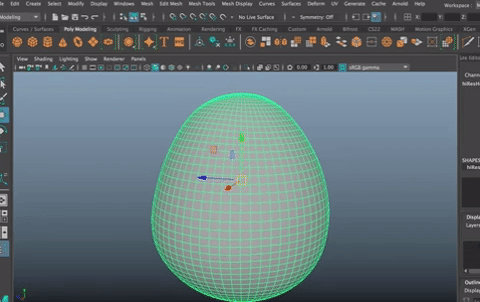
Create a sphere.
- Set the Subdivision Axis to 16
- Subdivision Height to 12
Use Soft Select (b) (hold b and drag to set brush size) and select verts. Shape your sphere into a rough head shape.
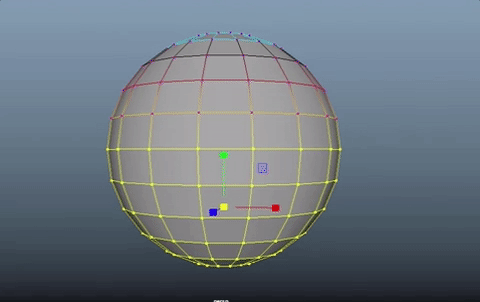
You want the cheeks to be wider than the top of the head.
Rename this to lowResHead.
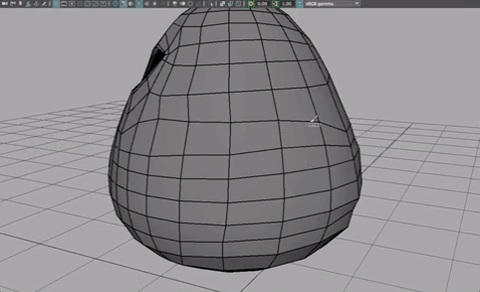
We need to duplicate it to make a higher res version to build our shape around.
Duplicate (CTRL + d) and rename it hiResHead.
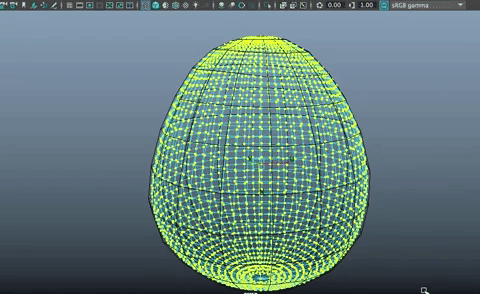
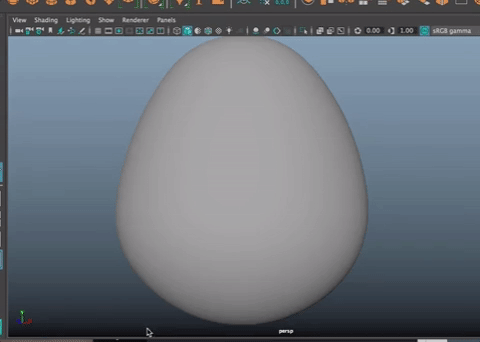
Smooth that mesh X2
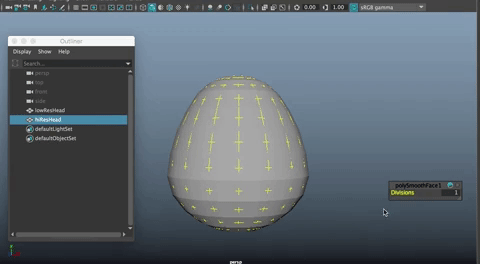
You will notice that the smoothed version is slightly smaller than the lo-res version. 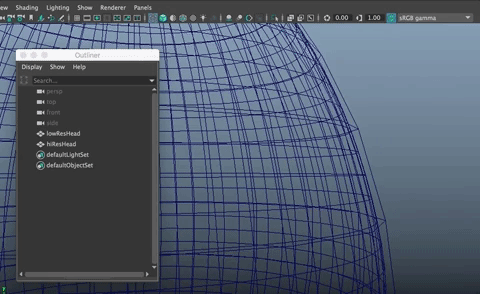
Let's fix that.
Put the low res version into a layer and Templating it.
Delete History on both objects. (Option + shift + d)
With the hi-res selected, go into Vertex mode.
The idea is to scale each vertex out in the direction of its Normal (perpendicular to each vertex/face).
To do that, with all the verts selected and Soft Select OFF,
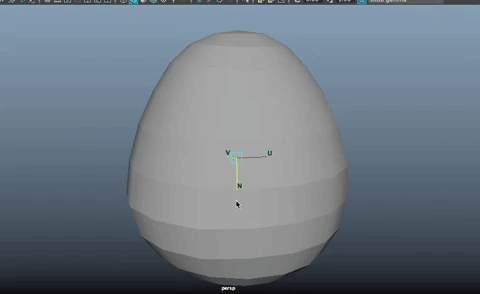
Hold down the W Key and move your mouse from the center square to Axis>Normals as shown

Now you will see teh indicator shows U, V and N (U and V for the UV's and N for normal. Drag the move tool outward in Normals.
You can get the size right by changing the layer to Reference Mode and the hi res object to Shaded View (5) and moving the Normals until they are as close to the same size as you can make them. It won't be perfect.
Hold W again and go back to World Mode.
Next Freeze Transformations on the low and hi res heads. Option + f or as shown in the gif below
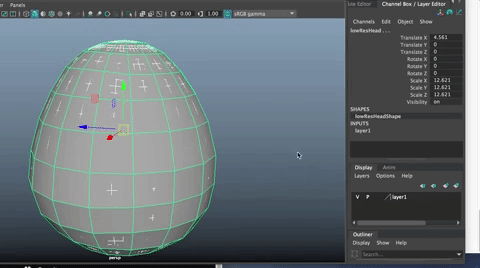
Hide the Low Res Version in the Layer Editor by clicking on the V to turn off visibility
Quad Draw
The Quad Draw Tool is super cool. It let's you draw quads onto a surface.
Make the hi-res Head live
In the Modeling ToolKit,
You will see that there is a live surface and you can select Quad Draw.
Notice, also, there are keyboard shortcuts listed for the Quad Draw Tool
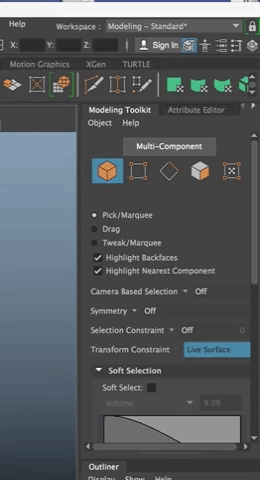
Turn on the Quad Draw Tool
Make sure your perspective camera is looking from the front/default view (wth positive X to the right, Y Up, Z forward), and your head is centered on the y axis, or,
better yet, work in the Front Orthographic Camera.
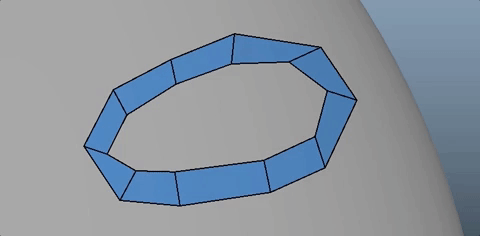
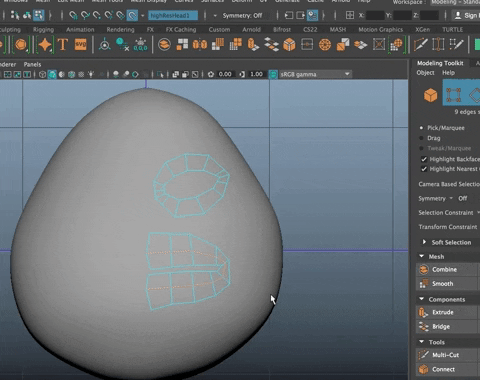
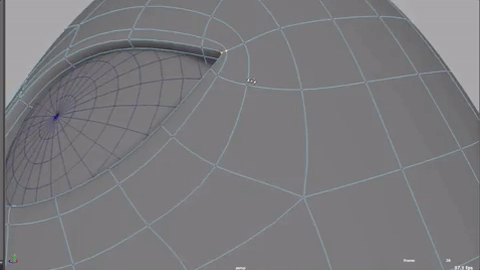
LMB click on points to define the basic shape of the eye.
You can move LMB drag the points to move them.
CTRL + Shift + LMB click to delete a dot.
- Then click to make an outer row of dots,
hitting shift and clicking inside (where the face would be) to create the quad
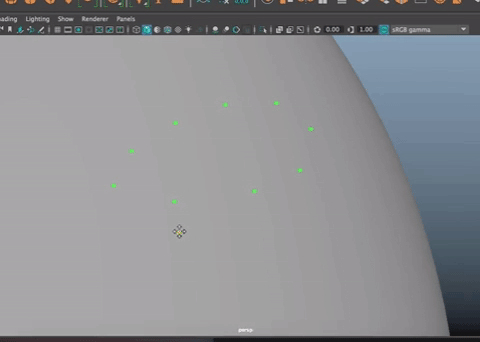
You can add more dots and them move them to get a good shape.
You want the corners to be narrower than the top and bottom of the eye and you want the edges to be pointing outward from the center of the eye as much as possible
Rename the new geometry to "eye"
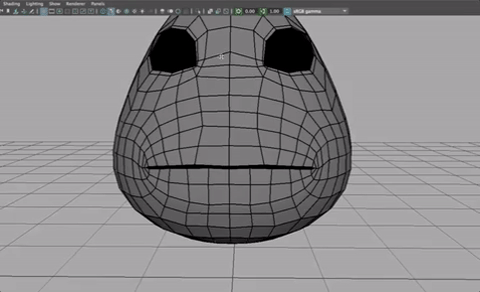
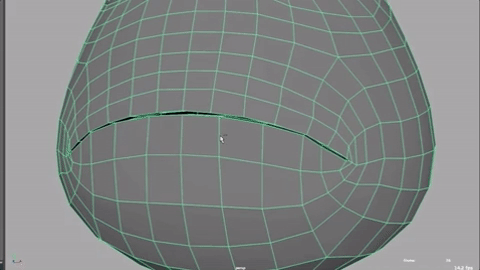
Make the mouth.
You will want to have the mouth closed, so move the inner dots close together but not touching or they will join together. Make sure you have the same number of points on the top of the mouth as you do on the bottom.
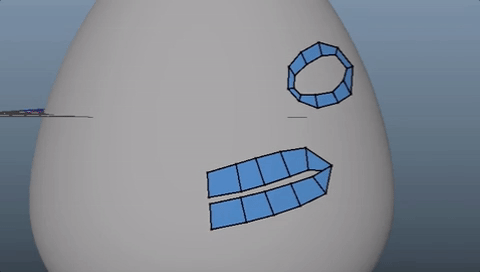
Shape a bit more, then hit CTRL + LMB to insert an edge loop. If the edge loop doesnt' go all the way around the mouth, your quads aren't drawn correctly and need to be fixed.
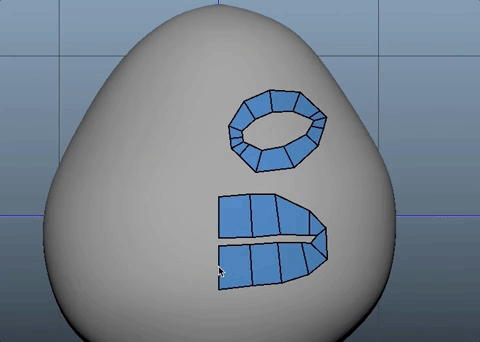
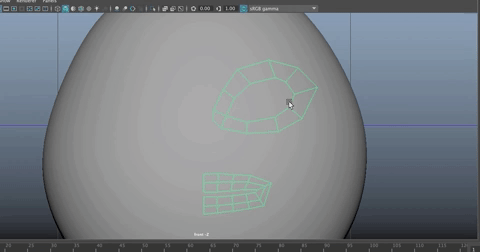
Move the geometries as needed to get them lined up with the center edges of the mouth close to the Y axis.
Hit Q to exit Quad Draw Mode
With the center edge selected, use the Absolute Transform to 0 them in X 
- Mirror the quad geometry over,
Make sure Border is set to "Do Not Merge Border"
Turn off the Make Live function,
- Turn off QuadDraw, and hide the high res model to see what you have.

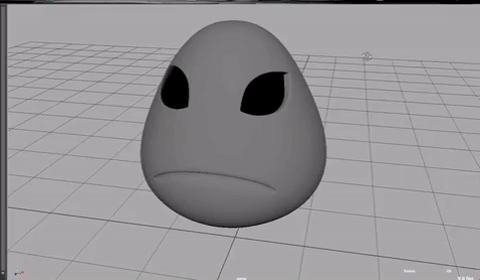
Hit 3 to smooth and see how it looks.
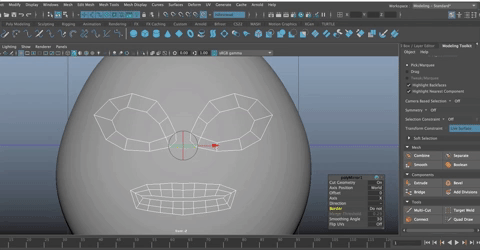
Go back to poly mode (1).
Hide the high res head sphere.
In the Layers Editor, Make the low res layer visible and selectable.
Select the faces that are behind the eye and mouth and delete them.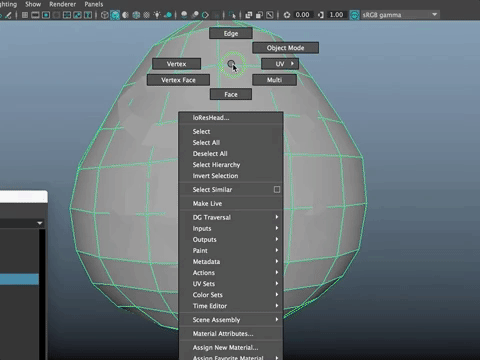
If you deleted any faces at the back by accident, fill it back in using Bridge or Fill Hole, depending on how many faces are deleted (I had a big hole that was three faces big, so I had to use Bridge). For single missing faces, I used Fill Hole)
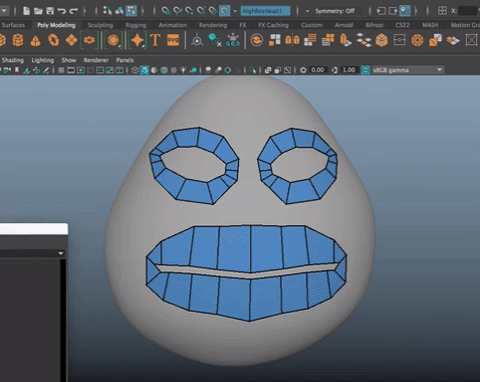
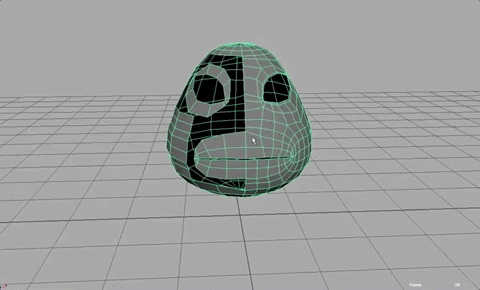
The next task is to join the low res geometry with the quads we drew.
Combine the mouth and eye geometries with the head spehere geometry. (CTRL + Command + C)
You probably need to insert edge loops in the low res geometry to match up the topology of the quads you drew.
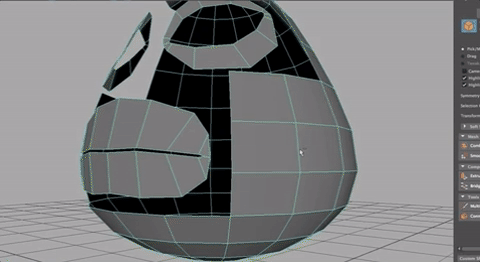
Use Bridge to join them.
To make things work right, Turn Off Quad Draw.
Select the high res model (that is hidden) make it visible.
Then make it live, and hide it again!
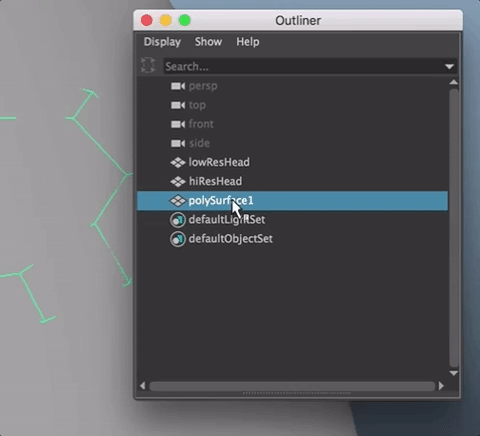
SELECT THE COMBINED LOW RES HEAD IN THE OUTLINER
And turn on QuadDraw.
Now as you draw points, you will be drawing them directly onto the shape you were using before.
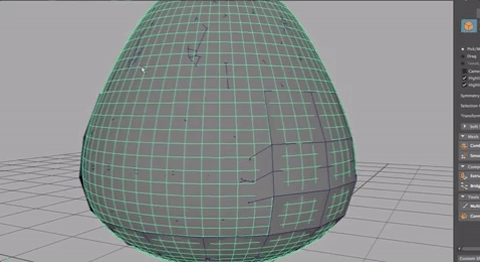
Start connecting edges. 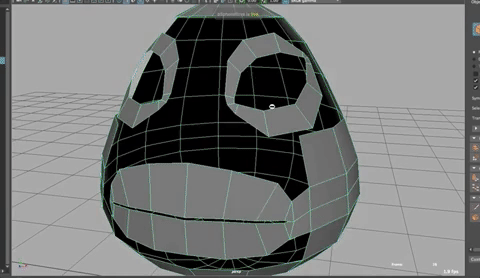
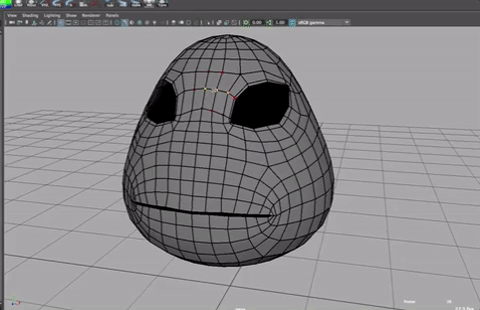
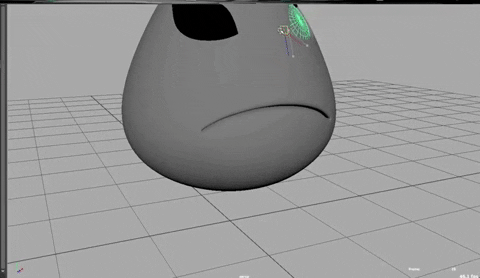
You may have some triangles. You can leave those for now. For now, keep adding quads to connect the low res sphere edges to the mouth and eyes as shown
Keep going, adding an edge here or there to join things up.
And then use the RELAX Tool in Quad Draw (Shift + MMB Drag) to smooth out the verts and edges. 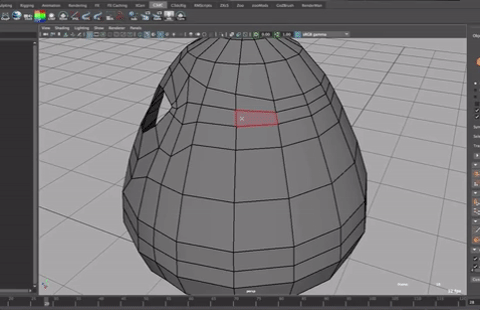
Having Soft Select on when relaxing is a great trick!
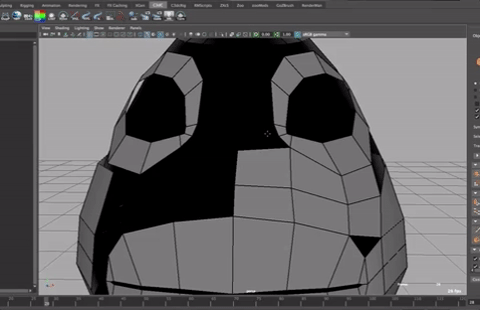
If possible, create a nice loop around the mouth as shown
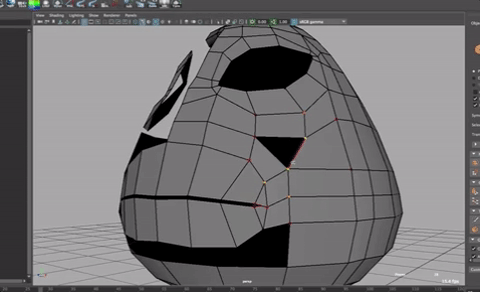
Make the faces around the mouth nice and wide and rounded so smiling and other mouth motions will animate nicely.

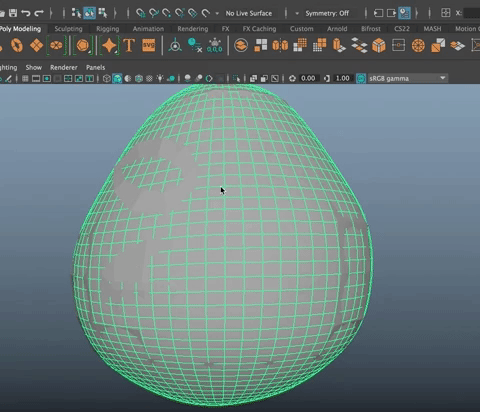
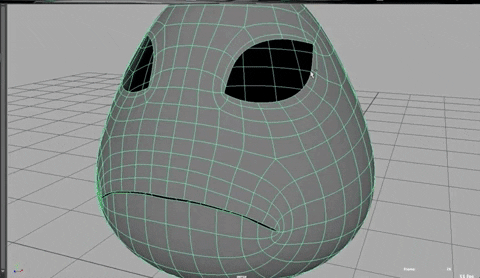
Keep adding some edge loops until it looks more like mine (below), relax edges to make it pretty, then select the center edge all the way around the head, and 0 it up in X
Mirror
And make sure it lines up nicely in both smoothed and poly modes.
Make sure your hi res is set up as a LIVE reference and you have selected the low res combined head in the outliner so your work with Quad Draw is on that geometry.
Do more smoothing (with the Relax tool in Quad Draw).
You can make changes and then select the edge along the Y axis, 0 it up in X and then mirror it again to create a symmetrical face.
You want the bridge of the nose to be wider in the middle of the face and then come in tighter around the eyes as shown
Making Eye and Mouth interiors
When you have things as you want them, it is time to add the interiors of the eyes and mouth.
Turn off the LIVE geometry.
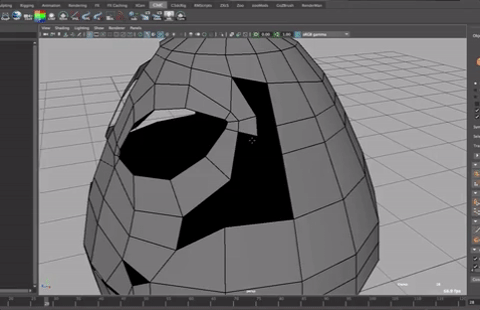
Select the inner edge of the eye and extrude it inwards.
Add another edge loop to the interior fold of the eyelid.
If you have a more detailed character, it is a good idea to keep adding some geometry to the interior of the eyelid to allow you to do blinks and other movements.
Do the same with the mouth.
**You will then select those inner faces of the mouth, isolate select them, and extrude the edges out and back to create the inside of the mouth and beginning of the throat.
This is important if your character is opening their mouth - you don't want to see the back of their head geometry!**
Create an eyeball
There are lots of online tutorials about how to make an eyeball, from a cartoony eyeball to a hyper-realistic one. Some use NURBS spheres, some polys. For this demo, I'll use a polygon sphere with higher resolution on it.
Scale it and move it into place
When you have what you want, mirror it over.
You can make some tweaks from here but do go back to the Live surface snapping mode if you are tweaking verts or edges to keep the shape smooth.
Add some resolution to the mouth, for example
And tweak the eyes to make the verts lay smoothly around the eye socket. Good to use soft select for that.
Ears
If you have ears, start with a separate cube, extrude and shape the ear so it looks right, delete the inner edges and use techniques from before to join it to the head.
Blend Shapes
Later, we will create blend shapes from this head geometry, using the Grab tool to move verts around and create expressions
