UV Mapping a Character's Head
CS22/122 Loeb
Let's take a slightly deeper dive into the UV Editor and options in preparation for laying out UV's on your biped.
You are going to want to lay out UV's and paint a diffuse texture (at the very least). Let's look at some methods for accomplishing that.
Heads are complex shapes, especially if you have internal faces, such as mouths and eyes.
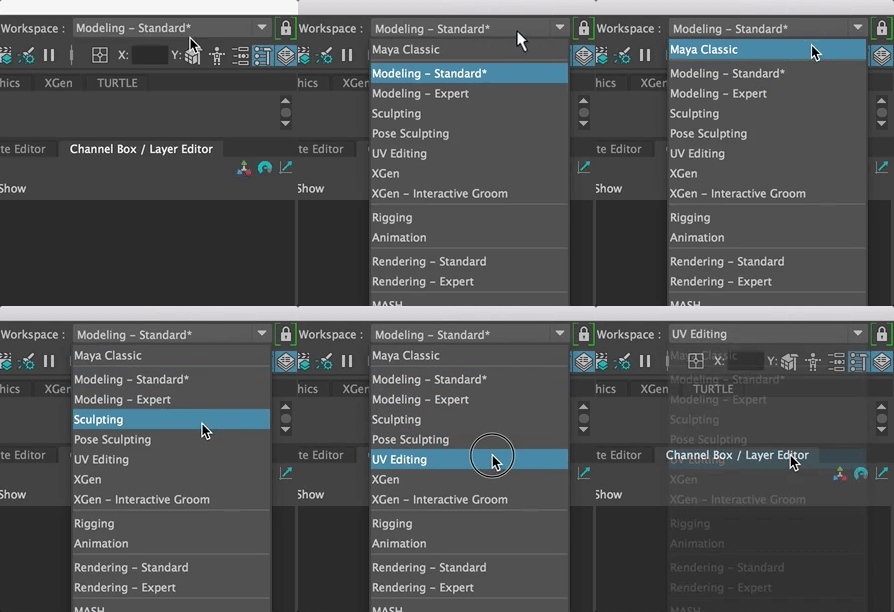
Be sure you are in the UV Editing workspace
Isolate select the head geometry (not the eyes). If your head is attached to the body, then select the faces that are the head and isolate select those. 
You can include the neck
If you look at the UV editor for your head, it will, most likely, be a mess. If you have a super simple head that is mostly a sphere, the UV's will be in the sphere layout.

That is fine if you didn't change anything on your head, but if you moved any faces around or changed the shape at all, you will have stretching in the textures if you don't lay out the UV's properly.
You can test this in a few ways. You can use the checkerboard pattern that comes in the UV editor in Maya 
or you can put a texture onto the head that makes things very clear. Let's try it just for fun...
Download the textureMap.jpg image from the Files to Dwonload for Class folder.
Add the texture to the Source Images folder in your project
Uncheck the Maya checker texture in the UV Editor
And assign a new Blinn to the headGeo, adding the TextureMap.jpg to the color channel.

This makes it super clear how stretched your textures are.
We need to fix it.
Start with a Planar Mapping.
In the UV Editor, Open the Create tab and Shift select the Planar Map to open the options box.
You can select where you want to project the plane from. Make sure you are looking at your face from the front and Select Camera.

You will see the UV map is projecting from the front now. 
The texture map looks better and the UV's are laid out in the UV editor from the front view.
Notice the outline of the projected plane in the viewport. This shows what the plane projection is doing.
Make sure the Texture Border is highlighted (white at neck). If not, toggle it on with the button shown below. 
First, we need to cut off the inside of the mouth as it is messing with the textures.
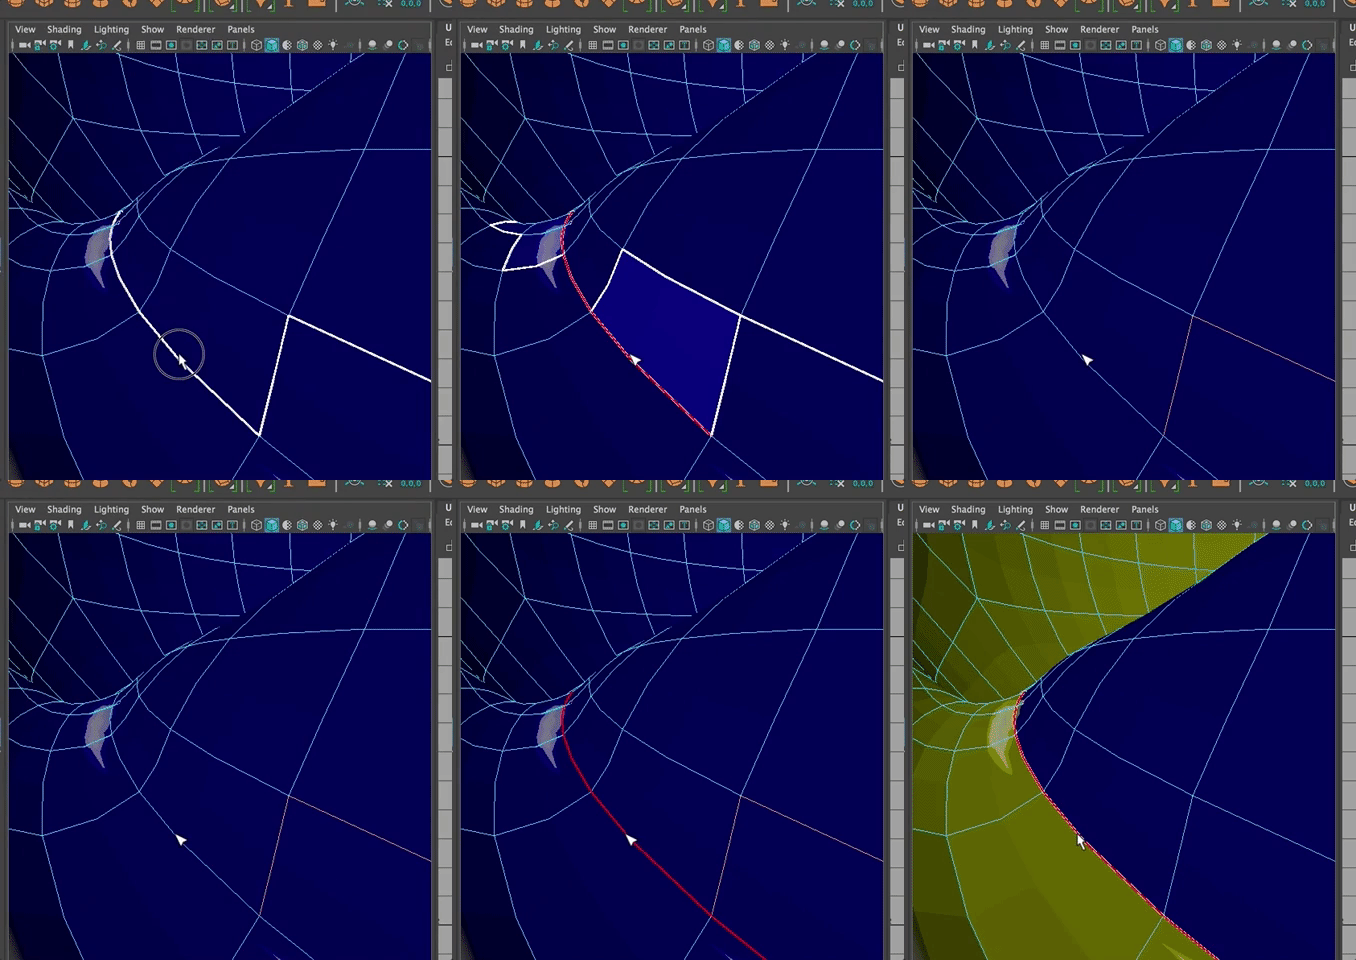
Maya2018 has a new 3D Cut and Sew Tool You can find it under the UV Menu in the Main Menu

The object turns purple.
You can double click on an edge you want to separate to make a "pattern piece" to cut that edge.
In this case, it would be an edge just inside the mouth, so the texture seam doesn't show from the front of the face.
You can also hit the Tab key and it will automatically select entire edges so you don't have to double click.
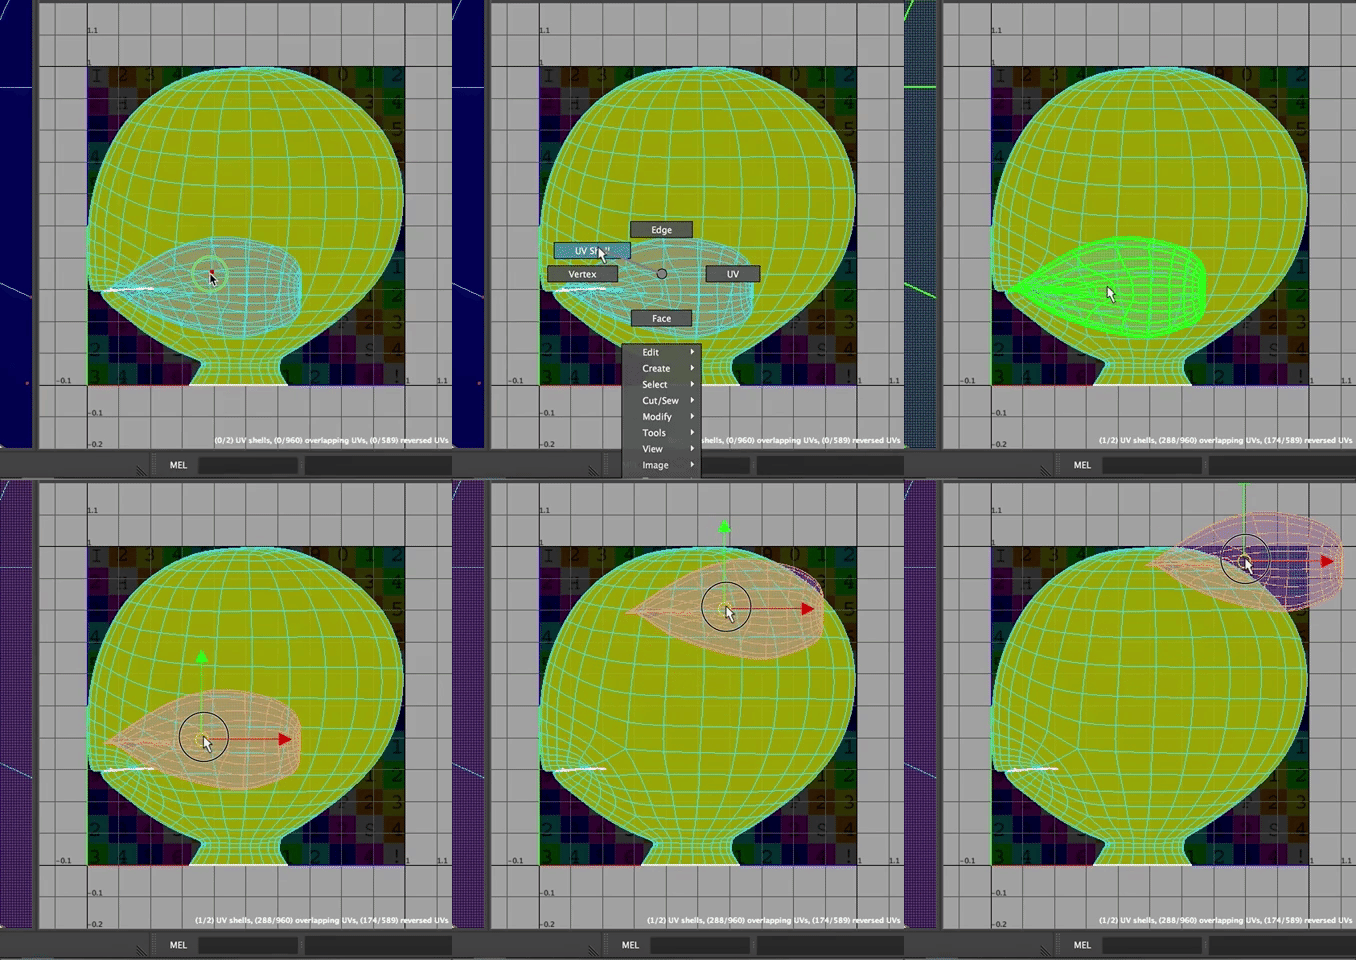
Now, in the UV Editor, if your right click and select UV Shell (the entire set of UV's) you will see that the inner mouth is a separate shell that can be moved out of the way.
You still need to lay flat the rounded head.
To do that, consider where you might like to have a seam.
Yes. You want the seam in the back of the head. Using the 3D Cut tool, drag along the back edge as shown. 
Cut the edge from the base of the neck to the top of the head, along the back.

You need to splay out the mouth, too.
A good trick for selecting the inner mouth, is to use the UV Editor. You can select the faces of the upper mouth in the UV Editor,
And then Isolate select the inner mouth. It may take a few clicks to get there, but you will

Once you only see the mouth, use 3D Cut to separate the mouth as shown.

Unfold UV's
Now move all the shells into the 0-1 quadrant in the UV editor
Right click and go to UV's and select all the UV's

Then choose Unfold from the UV Editor (or Shift Right Click and choose Unfold)
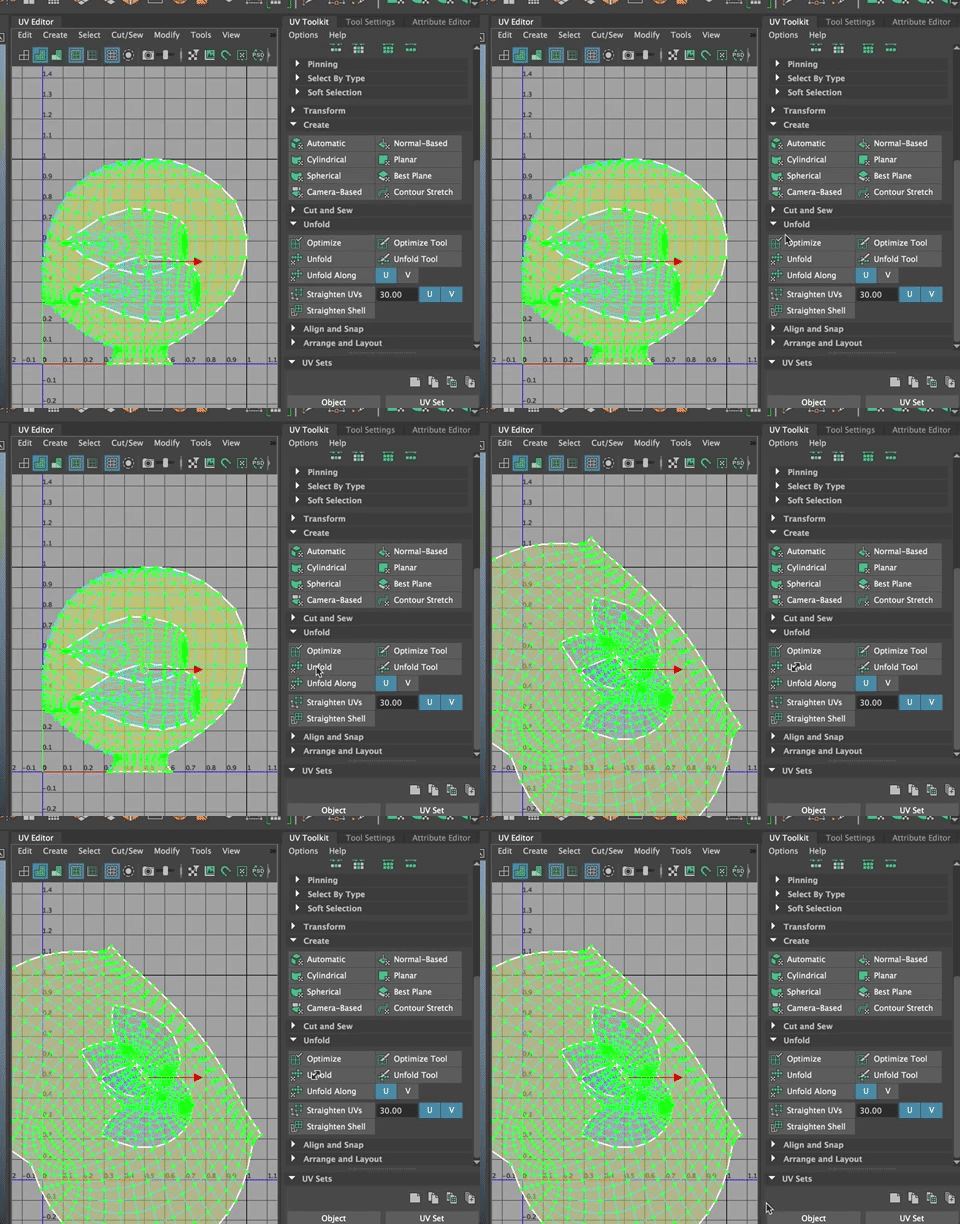
Right click and go to UV Shell
Select all the Shells
Hit Layout in the UV Editor

##Ears
If you have ears, you need to cut those off and separate in the same way.
Once the UV's are laid out, you can save a UV Snapshot and edit in Photoshop, or I'm going to show you another way to go, which is to use Mudbox.
Straightening out UV's
If you look at the checkerboard or texture now, you still see it isn't straight and there are some warped edges in he squares. I'm going to increase the repeat UV on my place 2D texture map to see this more clearly.

You can go back and forth between the Maya checkerboard and yoru texture map by clicking on the checkerboard view in the UV Editor. 
And you can see how the texture looks just on the inner mouth. 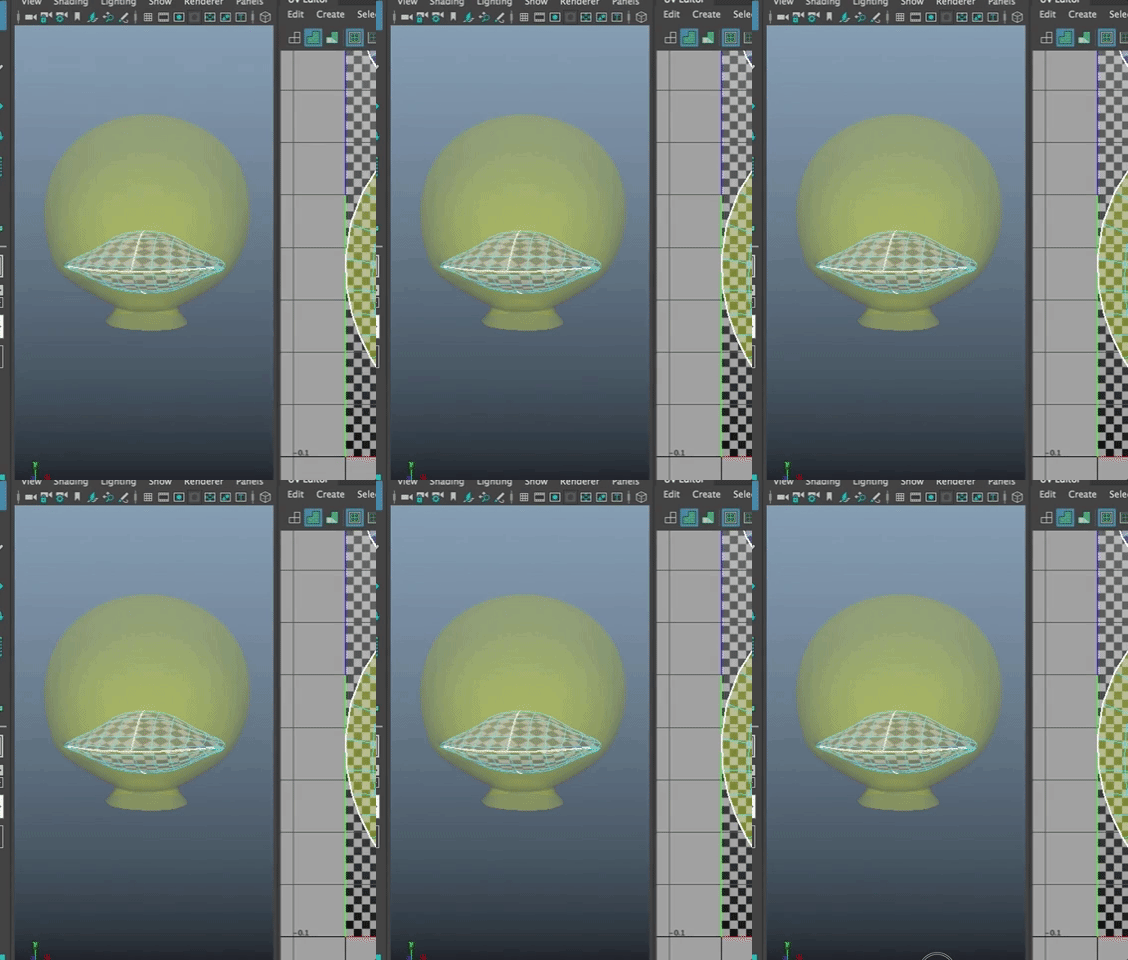
Select the shell and use the rotate tool to get the shell lined up as you want to.
You can use the Unfold Tool to smooth out some of the edges around the mouth.