Character Rigging with Human IK
CS22/122 Loeb
If you want a slightly more custom control rig, but still don't want to build your rig from scratch, you can do it with HumanIK.
Set your scene up in the same way as for the Quick Rig
##Set UP
Make sure your scene and project are set up correctly.
If your character has multiple objects, it is critical that you set up the hierarchy correctly!
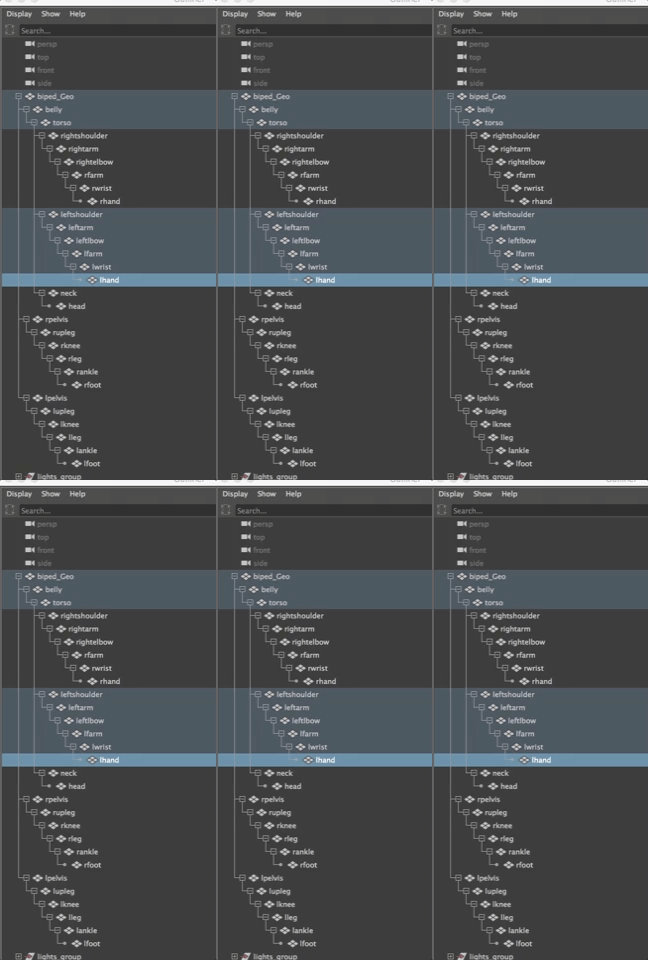
Everything should be parented under the bipedGeo. (or some other descriptive name)
There are several hierarchies in the body, all under this geometry. These are NOT grouped! They are parented.
The hips or belly are the parent of the torso, arms, neck and head, because we move these parts of our bodies from our hips--it is the center of gravity for the charcter.
Each arm (left and right) is another set of hierarchies that are the children of the torso.
Parent each arm so that the shoulder is the parent of the upper arm, which is the parent of the elbow, and down the arm to the hand and then the fingers and then each finger joint. In other words, the tip of each finger is the child of the palm of the hand which is the child of the wrist and up to the shoulder.
Label them as left (l) or right (r)
The neck and head are also children of the torso.
The legs move separately from the body so they are their own hierarchies.
Parent each leg in the same way, working down the body from the left hip or pelvis to the foot and out to the toes, if you have them.
Each leg is the child of the pelvis or hip and each pelvis or hip are children of the main bipedGeo
See the Outliner above for an example of what I mean.
If you have accessories keep them as separate objects for now. Hair can be children of the head.
Eyes would be separate objects for now, but put them in their own eye_Group. Be sure to select the eye_Group and go to Modify>Center Pivot so the group pivot is centered for the two eyes (allowing you to move them and scale them correctly.
Joined characters also need to be set up correctly.
If you joined your limbs and head to the body, they are one object, then, with each hand (labeled leftHand, rightHand) as children of the bodyGeometry. Again, put hair as children of the body, but keep eyes separate for now, in their own eye_group. Be sure to select the eye_Group and go to Modify>Center Pivot so the group pivot is centered for the two eyes (allowing you to move them and scale them correctly.
##Outliner SetUP
- Make sure your scene is neatly organized (see information above).
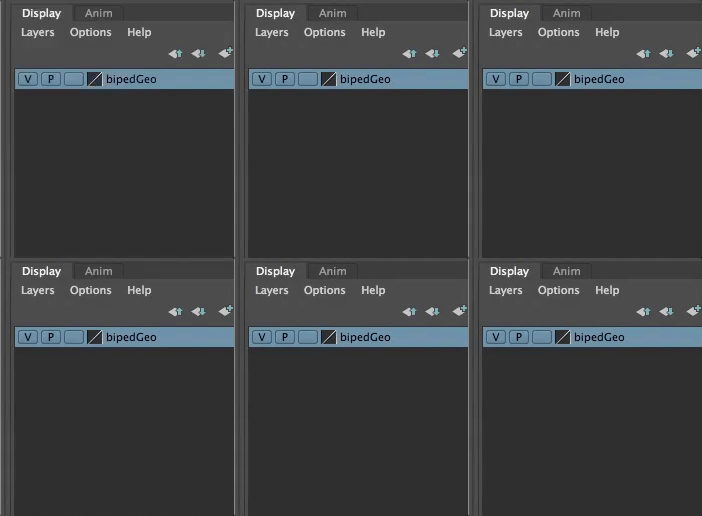
- Put your geometry into a layer that is called bipedGeo (or some other name with geo in it to indicate it is the character geometry)
- Delete history
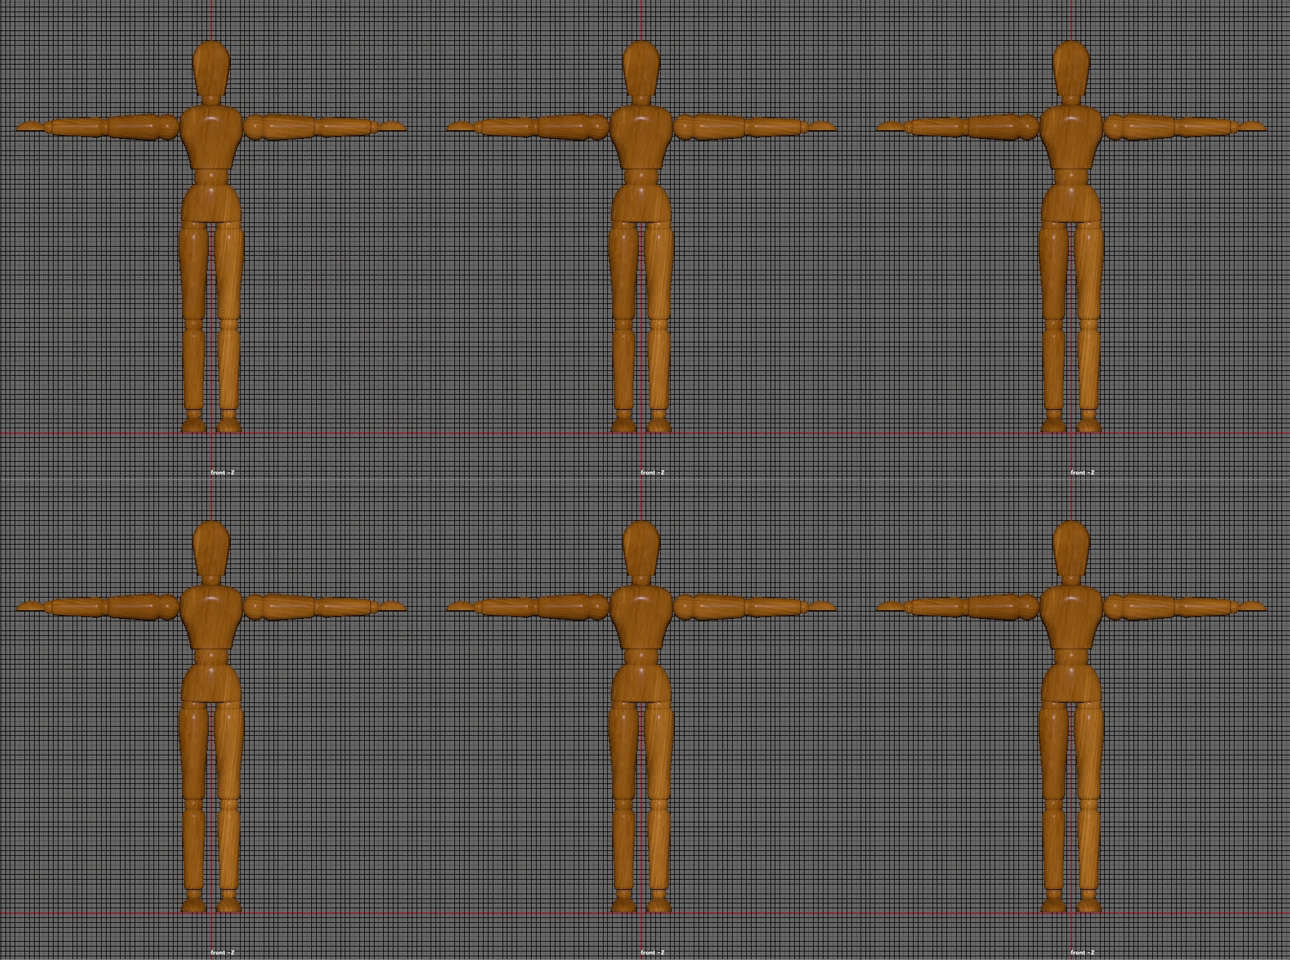
- Make sure your character is facing towards positive Z
- Make sure your character is standing on the X axis (on top of the grid)
- Make sure your character is centered on the Y axis
 )
)
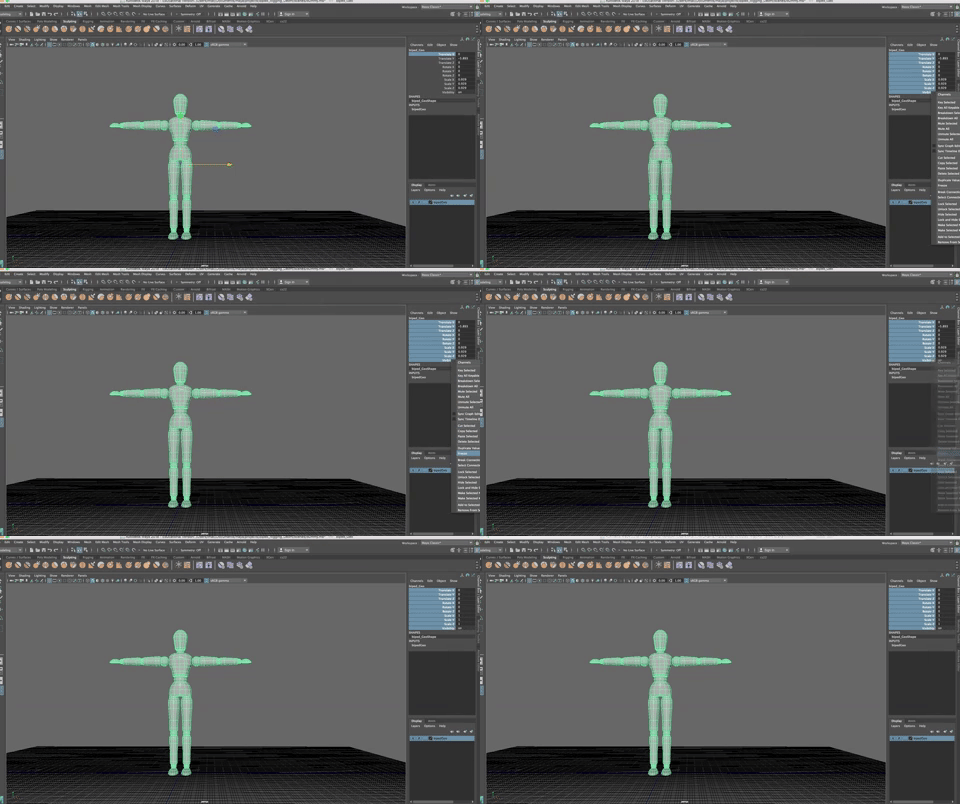
#Freeze all transformations
--on all the separate objectsin your scene
--and on the entire geometry!!!
(I built this model this weekend, based on a wooden artist's dummy/manequin, for the purposes of this demo)
##Setting up the HumanIK
Open the HumanIK setup window

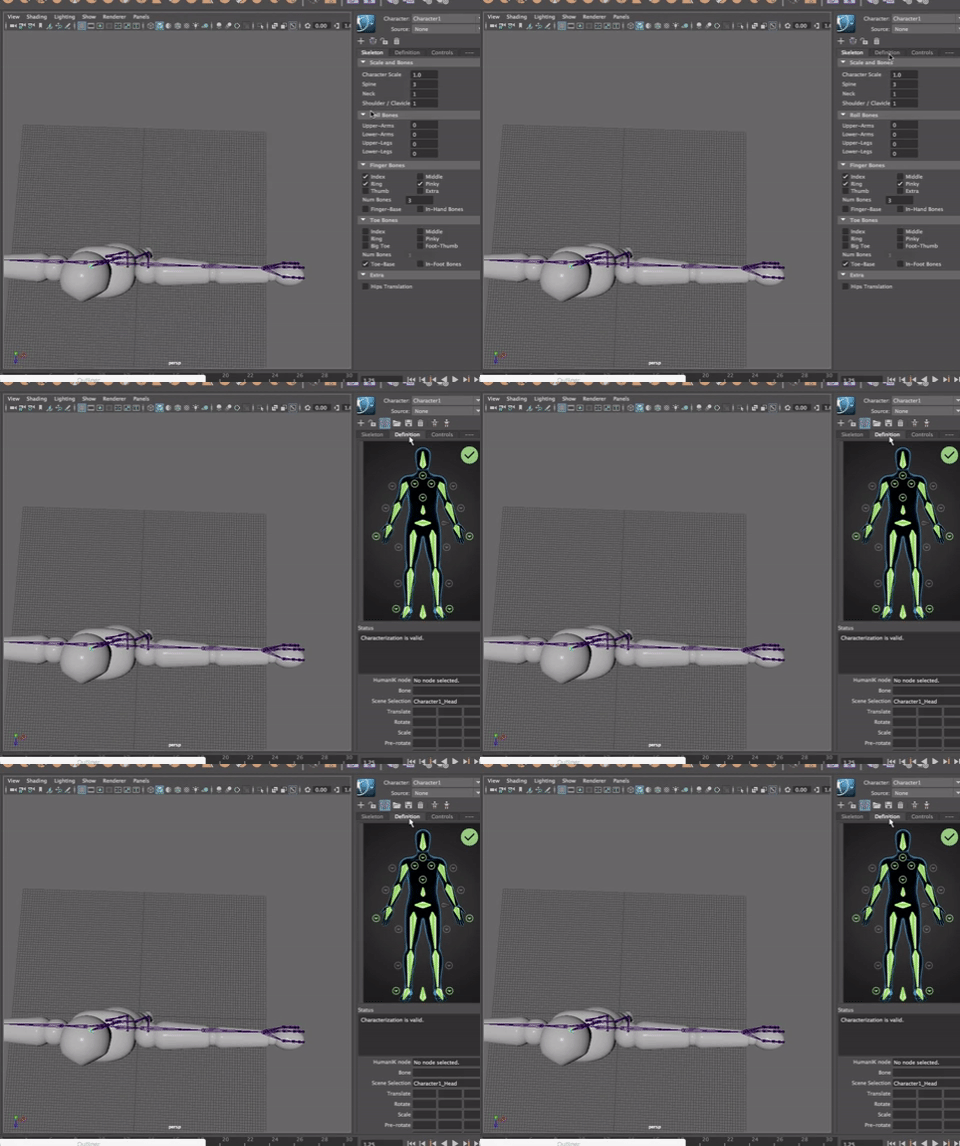
Click on Create Skeleton. Depending on the size of your character, there will be a skeleton that will be huge or close to the size of your model geometry.

Make a guess about the scale you need to use to get the skeleton to be the same size as the model. In my case, I'll use .9, but you may need to try it a few times to get it right and it may be .5 or even lower.

If you scale it down too much, scale it up again...going back and forth until it is reasonably close. If you can't see the skeleton well, you can go into wireframe mode or x-ray (in the shading menu of the viewport).
The default options are generally good, but you can add additional joints to the spine if you have a long spine, or to the neck if you have a long neck, etc.
You also set the number of fingers, joints and toes and joints, if you have those.
When you've made your choices, you go into the Definition portion of the process.
##Definition Set Up
Hit the Definition Tab in the HumanIK set up window
In the Tool Settings for the Move and Rotation Tools be sure you are in Object Mode.

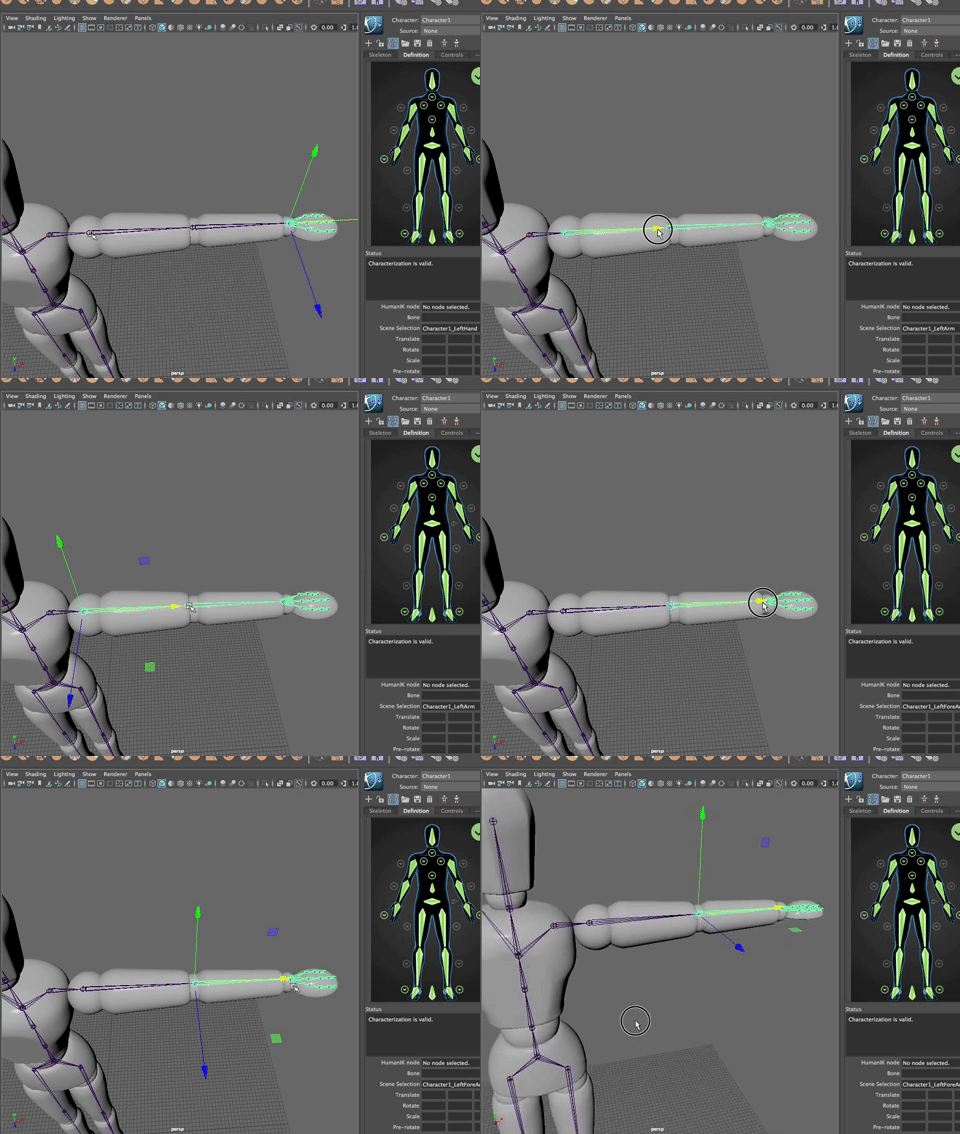
This is where you will move the joints into place. Be careful not to bend the leg joints - keep them straight down from the hips or you may end up with odd rotations and motions.

Move the joints. If you move something Maya doesn't like, the green sections on the guy on the right will turn orange to warn you that you made a mistake. Undo it and try to move the joint again.

Work to center one side and the spine of your character (you will mirror the changes over to the other side).
Rename the rig

To bind the skin to the skeleton, select the joint hierarchy (select the pelvis) shift select all the geometry (not the eyeballs) and go to Skin>Bind Skin>Options

Here is what the options you choose mean:
Bind to: Joint Hierarchy means you will skin from the top of the joint hierarchy down (from the parent to the children). It will skin all the joints. If you choose selected joints, it only skins those joints you choose. Object Hierarchy uses the objects hierarchy to choose the binding method. Choose Joint Hierarchy.
Bind Method: These are various algorithms for binding. It determines how the verts on the object geometry are bound to the various joints. Closest distance just binds the verts to the closest joint. Geodesic Voxel is the newest algorithm that fills in the volume of the geometry, sort of like MindCraft.
Skinning Method: Dual Quaternian is more accurate but more expensive and is generally not supported in games for that reason. Classic linear should be fine for our needs.
Normalize Weights: Interactive is good.
Weight Distribution: Distance is also good.
Max influence sets how many joints a single vert can be influenced by. 3 is usually plenty.
Turn OFF Maintain max influences.
The other defaults are good but try a resolution of 512 for more accuracy.
Be sure to save before you try to bind as it does tend to cause Maya to crash!
Hi Bind Skin

Once bound, Under Source, choose Control Rig
The controls appear and the icon on the right is a GUI for choosing the controls

Next, it is time to adjust the weights of the skinning.