Tutorial One: Quick Rig
CS22 Loeb
I'm going to go over a few ways to build a rig, including using some of Maya's built in tools for simple character rigging. There are lots of automatic rig systems out there. More and more production and game companies are using these to rig as they offer some very nice set ups in a fraction of the time.
Let's start with the fastest method (using Quick Rig)
Quick rig is great if you don't need finger joints and have a straight forward biped that doesn't need any special movements.
##Set UP
We will try it with the artist's dummy model (artistRobotDemo1.mb)from the Rigging Scenes Folder on Google.
Make sure your scene and project are set up correctly.
If your character has multiple objects, it is critical that you set up the hierarchy correctly!
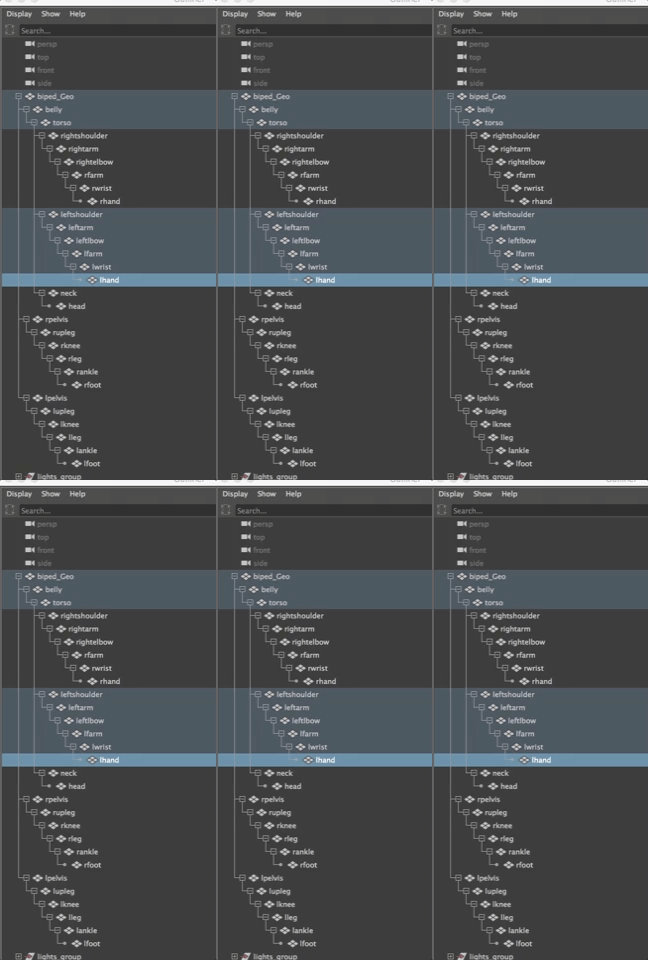
Everything should be parented under the bipedGeo. (or some other descriptive name)
There are several hierarchies in the body, all under this geometry. These are NOT grouped! They are parented.
The hips or belly are the parent of the torso, arms, neck and head, because we move these parts of our bodies from our hips--it is the center of gravity for the charcter.
Each arm (left and right) is another set of hierarchies that are the children of the torso.
Parent each arm so that the shoulder is the parent of the upper arm, which is the parent of the elbow, and down the arm to the hand and then the fingers and then each finger joint. In other words, the tip of each finger is the child of the palm of the hand which is the child of the wrist and up to the shoulder.
Label them as left (l) or right (r)
The neck and head are also children of the torso.
The legs move separately from the body so they are their own hierarchies.
Parent each leg in the same way, working down the body from the left hip or pelvis to the foot and out to the toes, if you have them.
Each leg is the child of the pelvis or hip and each pelvis or hip are children of the main bipedGeo
See the Outliner above for an example of what I mean.
If you have accessories keep them as separate objects for now. Hair can be children of the head.
Eyes would be separate objects for now, but put them in their own eye_Group. Be sure to select the eye_Group and go to Modify>Center Pivot so the group pivot is centered for the two eyes (allowing you to move them and scale them correctly.
Joined characters also need to be set up correctly.
If you joined your limbs and head to the body, they are one object, then, with each hand (labeled leftHand, rightHand) as children of the bodyGeometry. Again, put hair as children of the body, but keep eyes separate for now, in their own eye_group. Be sure to select the eye_Group and go to Modify>Center Pivot so the group pivot is centered for the two eyes (allowing you to move them and scale them correctly.
##Outliner SetUP
- Make sure your scene is neatly organized (see information above).
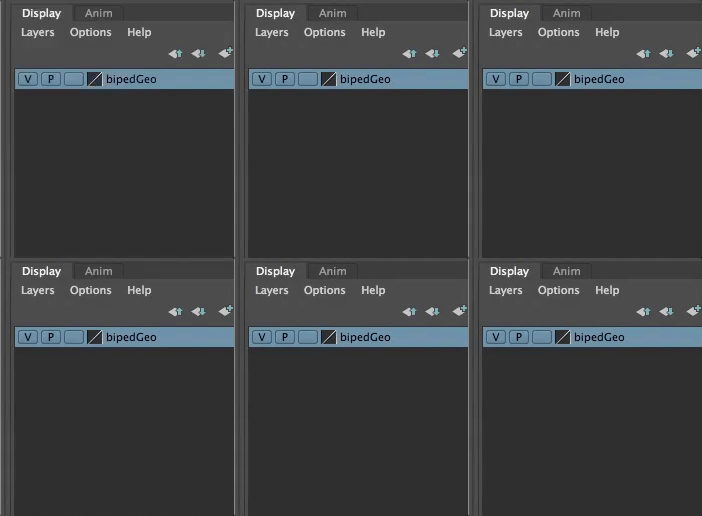
- Put your geometry into a layer that is called bipedGeo (or some other name with geo in it to indicate it is the character geometry)
- Delete history
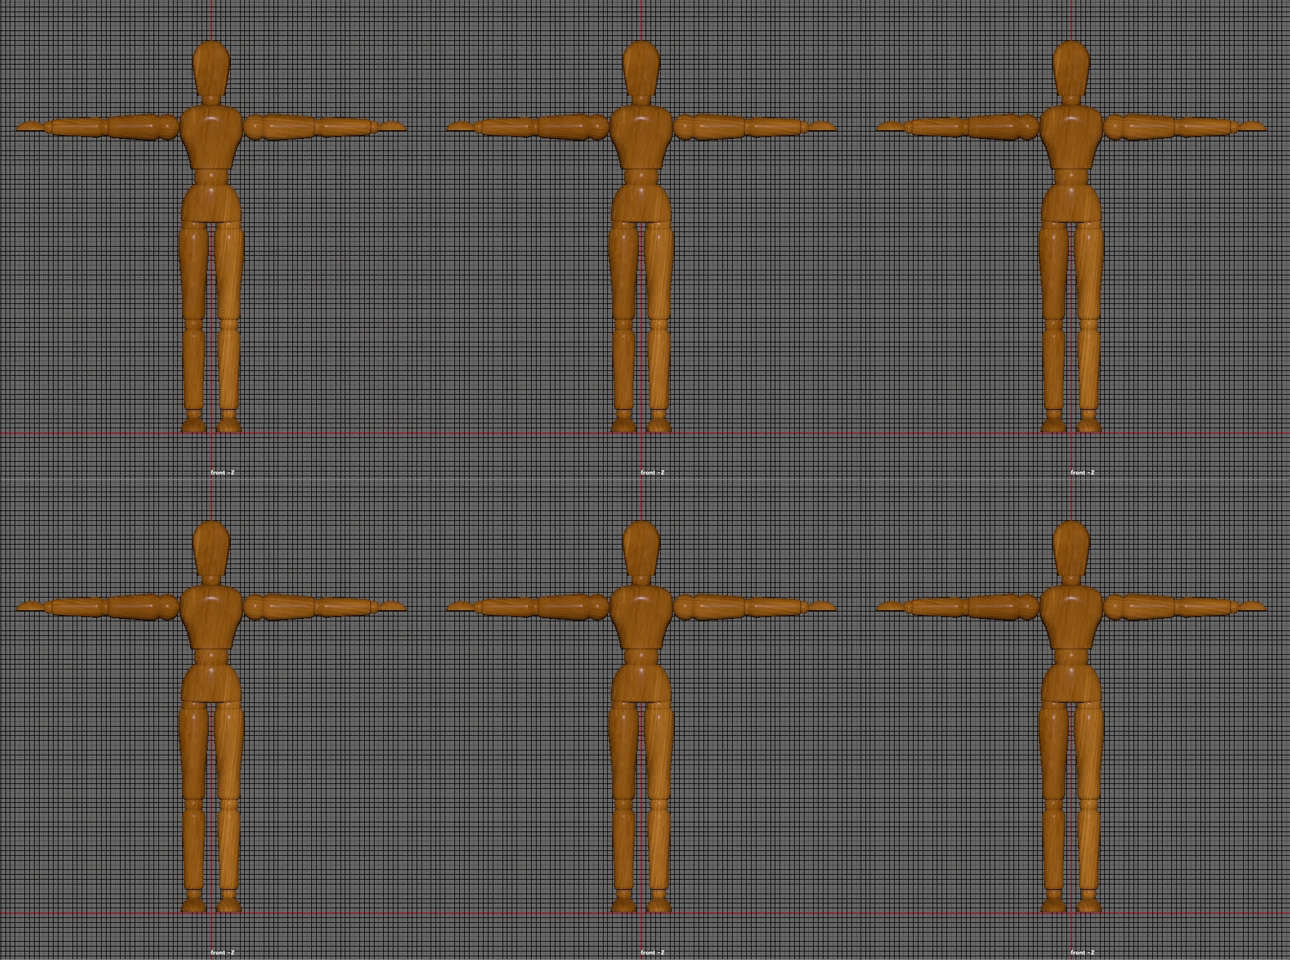
- Make sure your character is facing towards positive Z
- Make sure your character is standing on the X axis (on top of the grid)
- Make sure your character is centered on the Y axis
 )
)
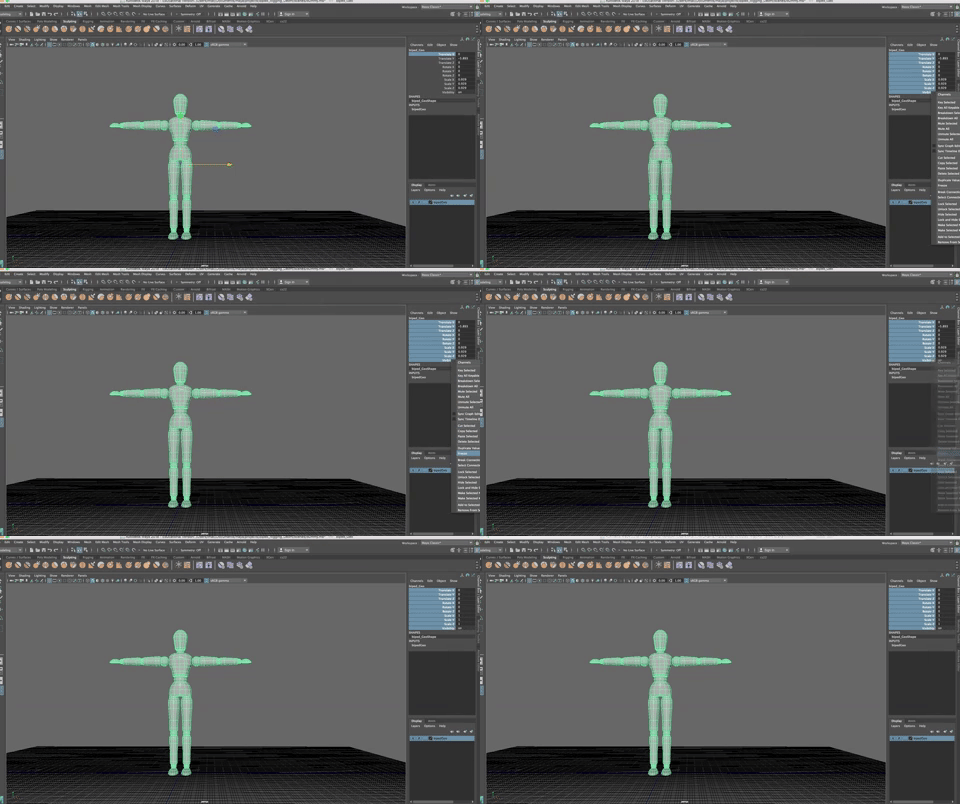
#Freeze all transformations
--on all the separate objectsin your scene
--and on the entire geometry!!!
(I built this model this weekend, based on a wooden artist's dummy/manequin, for the purposes of this demo)
##Set Up the Quick Rig
Click on the HumanIK rigging icon in the upper right corner.
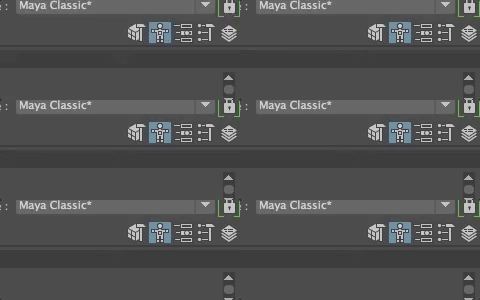
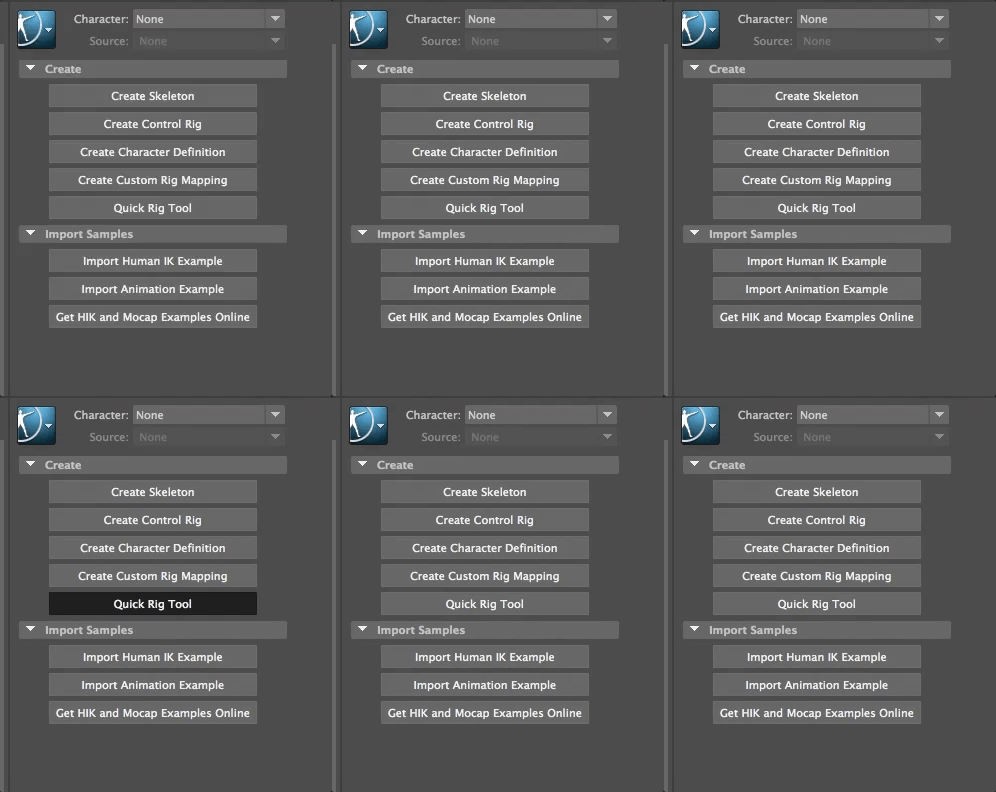
This opens a window to build your IK character. We will use this in two ways, first to build a Quick Rig.
Choose Quick Rig Tool
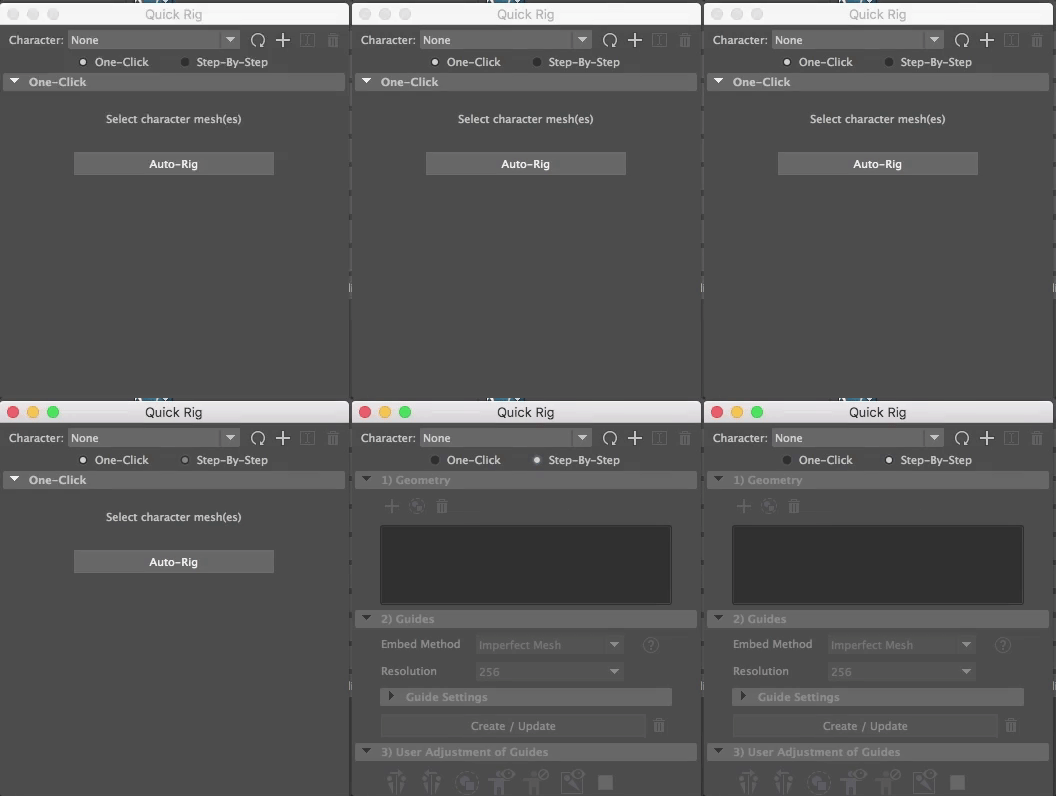
While you might get away with the One Click option, it is rarely correct. Let's use the Step-by-Step method, instead
With the bipedGeo selected click on the + sign in the Quick Rig window (upper right) and then click the + slign in the Geometry tab.
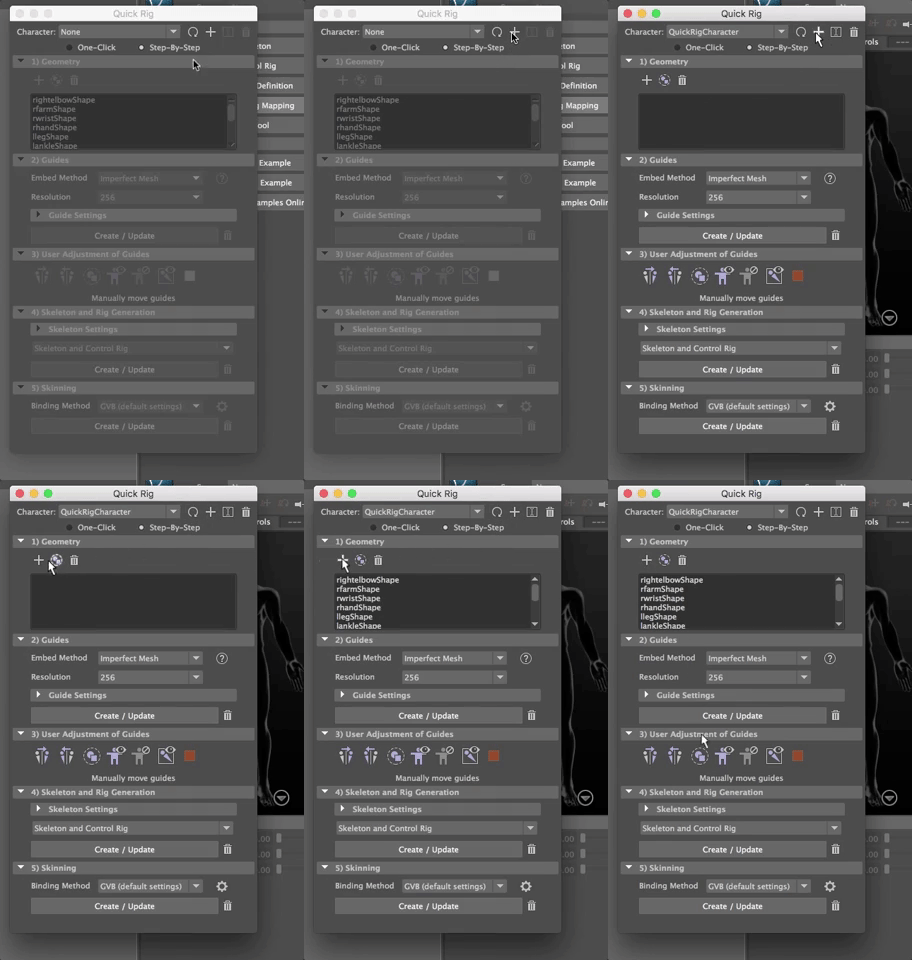
Deselect the geometry
##Next create the Guides
And use the default settings and hit Create/Update
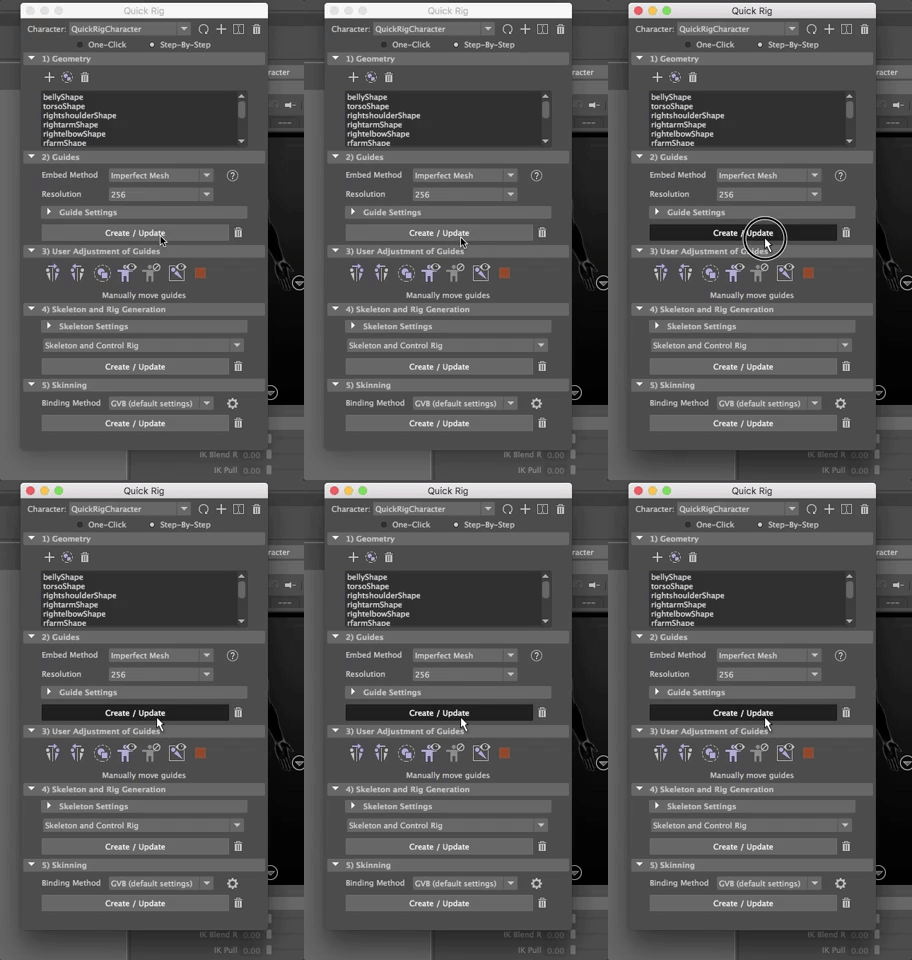
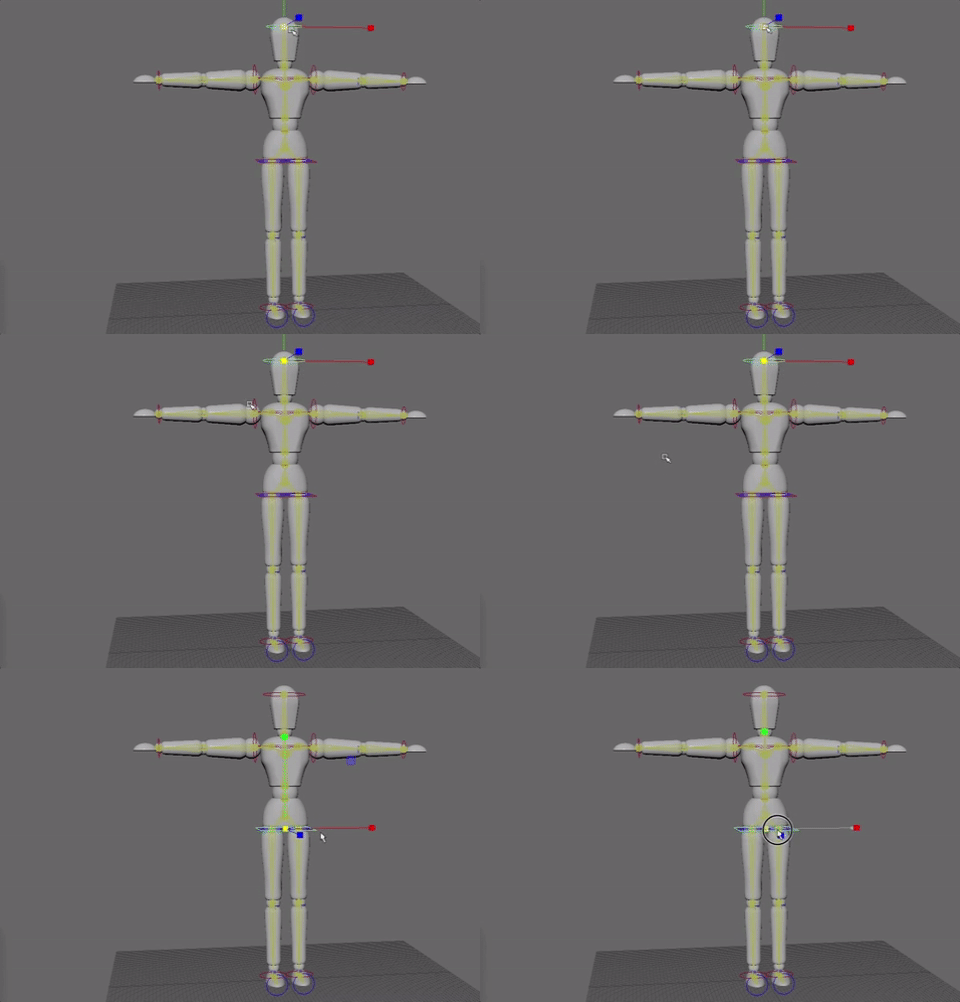
Maya will make a guess as to where the joints are on your character. It got it pretty close on my artist's dummy.
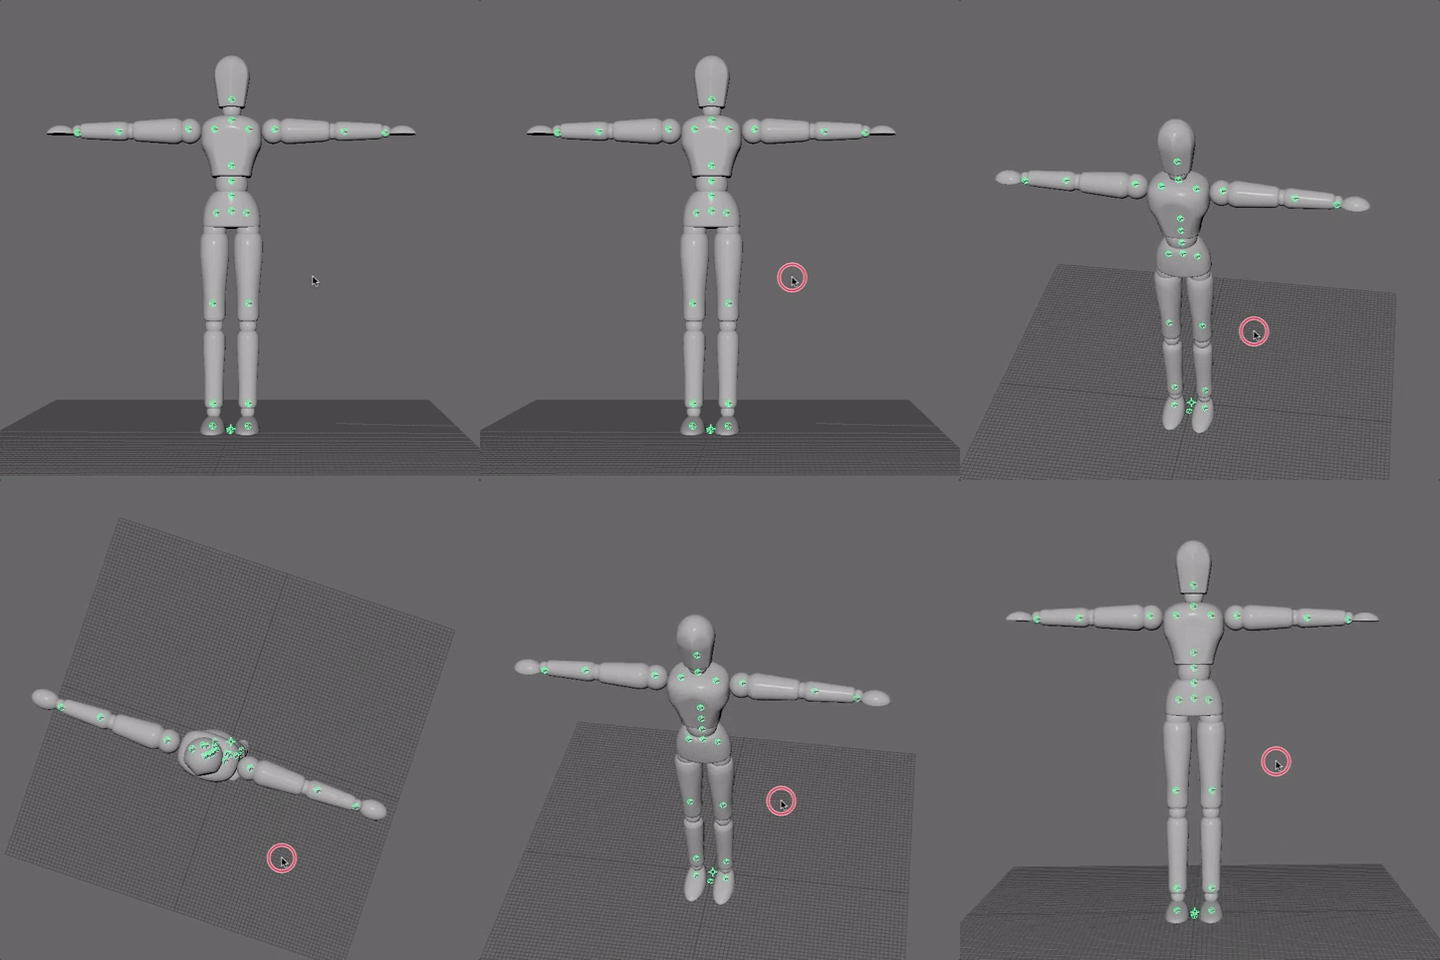
You want to move the guides to be positioned at the center of the geometry at each joint (elbow, wrist, etc). To do this, use the Snap to Projected Center tool

Now use the Move tool and move the joints where they should be.
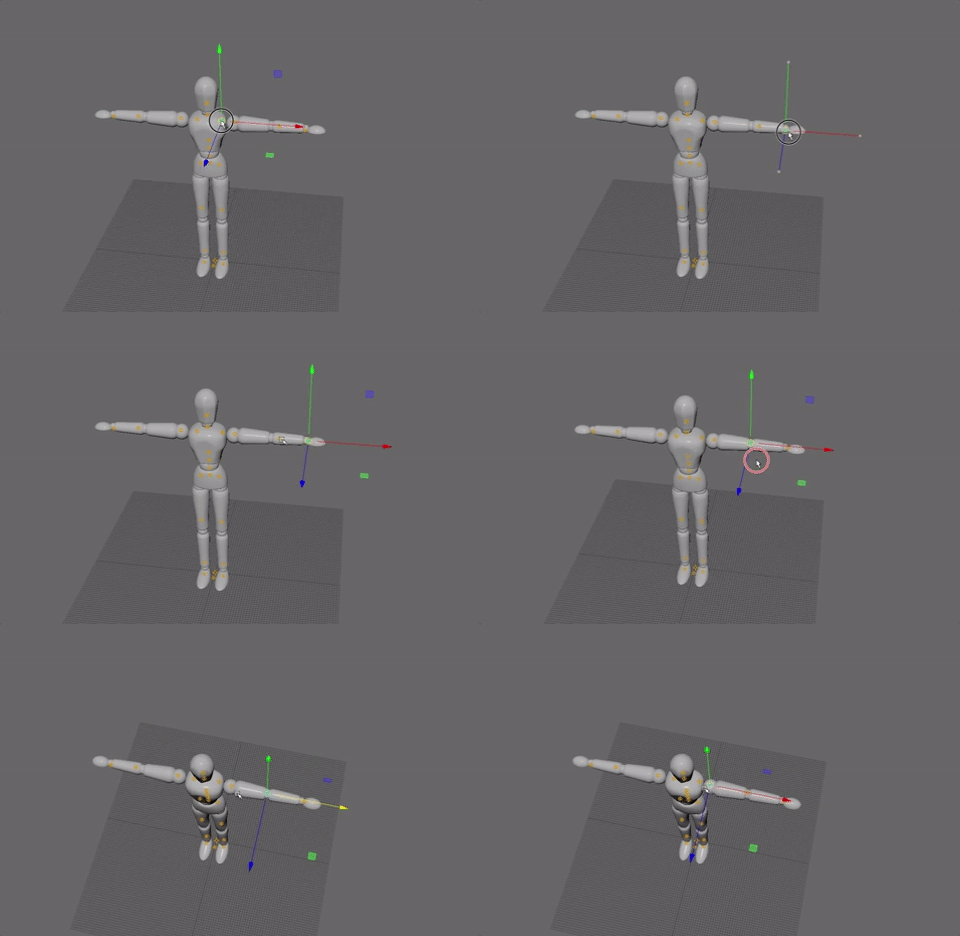
Move the guides on the character's left side - you can mirror them over to the other side.
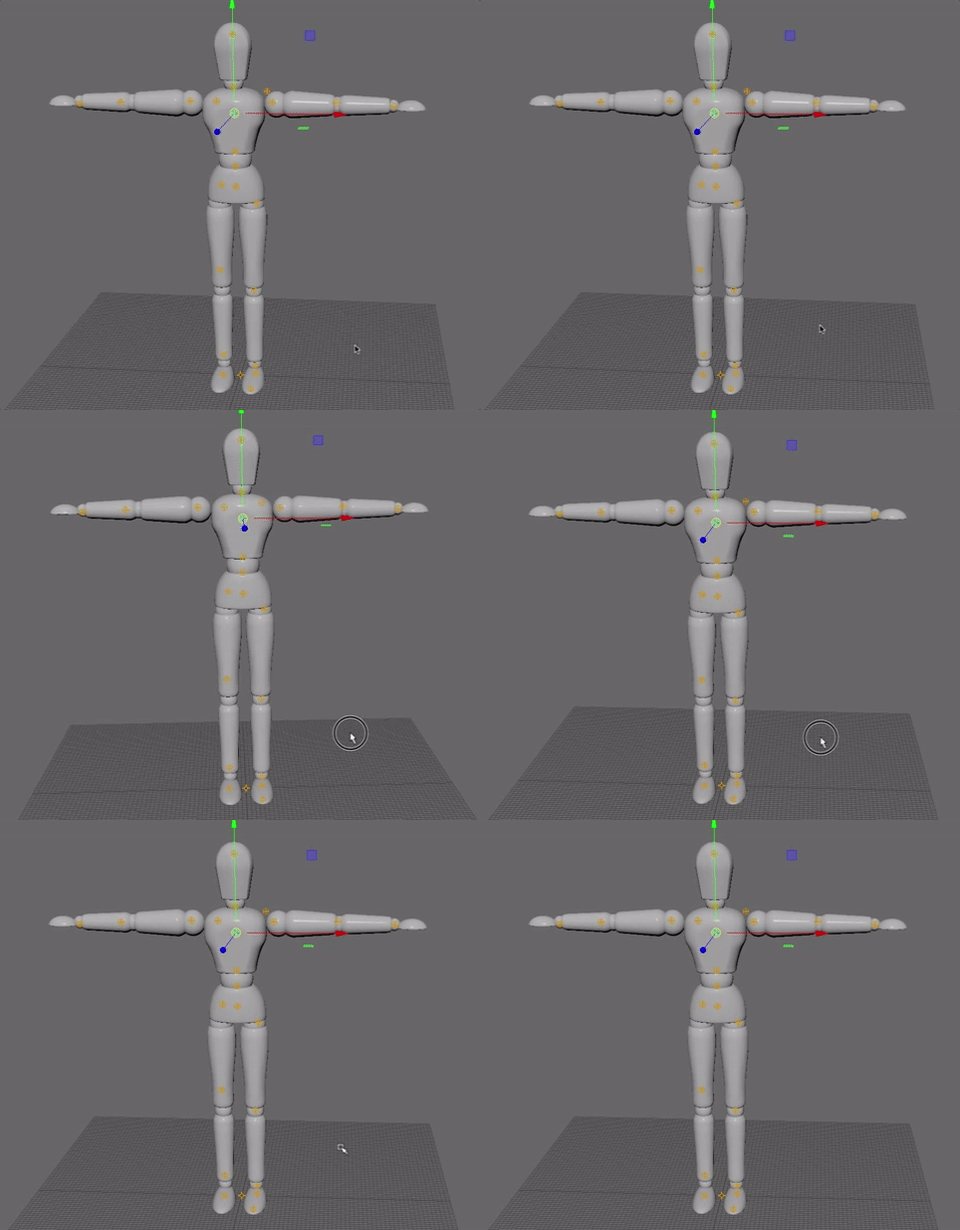
Turn off the snapping tool,
select the joints on the character's left side (our right)--no need to seelect the center spine and head guides-- to mirror them.
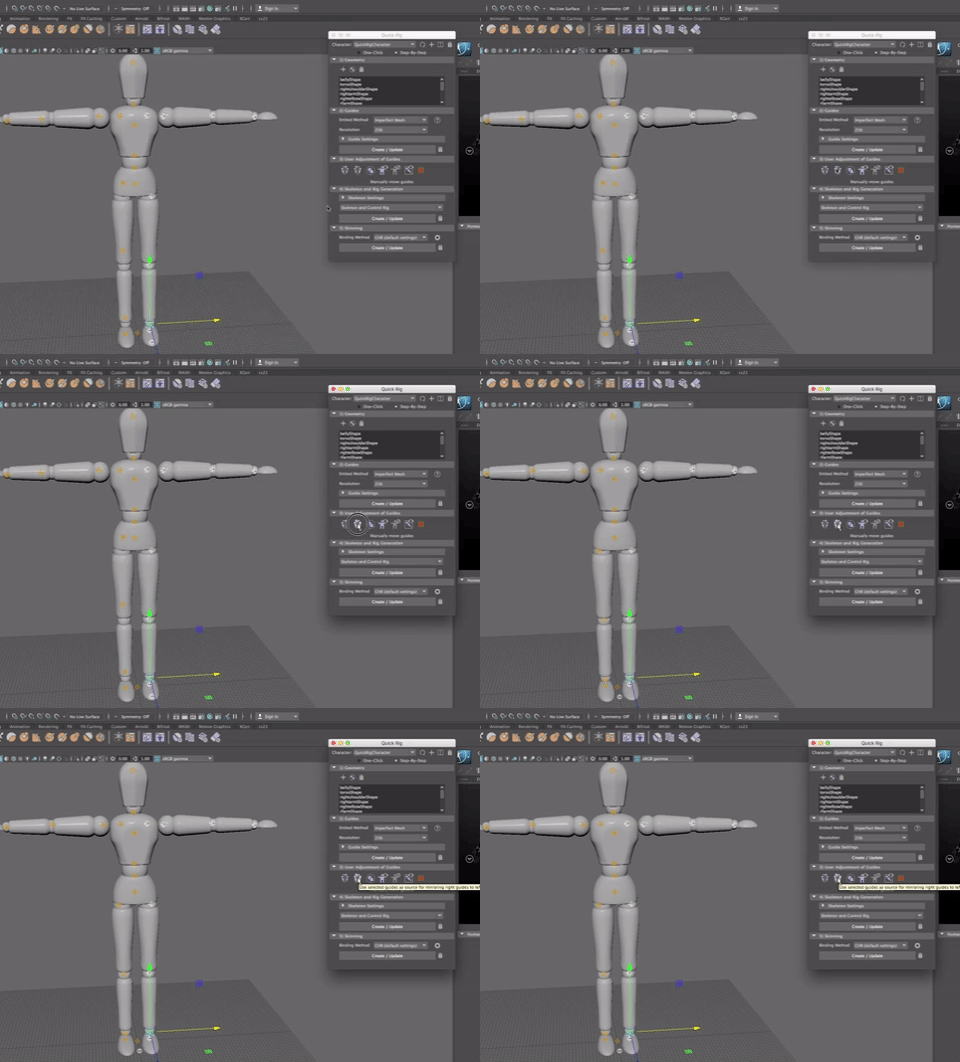
In the next section of the Quick Rig set up, you create the Skelton and Control Rig.
Hit Create
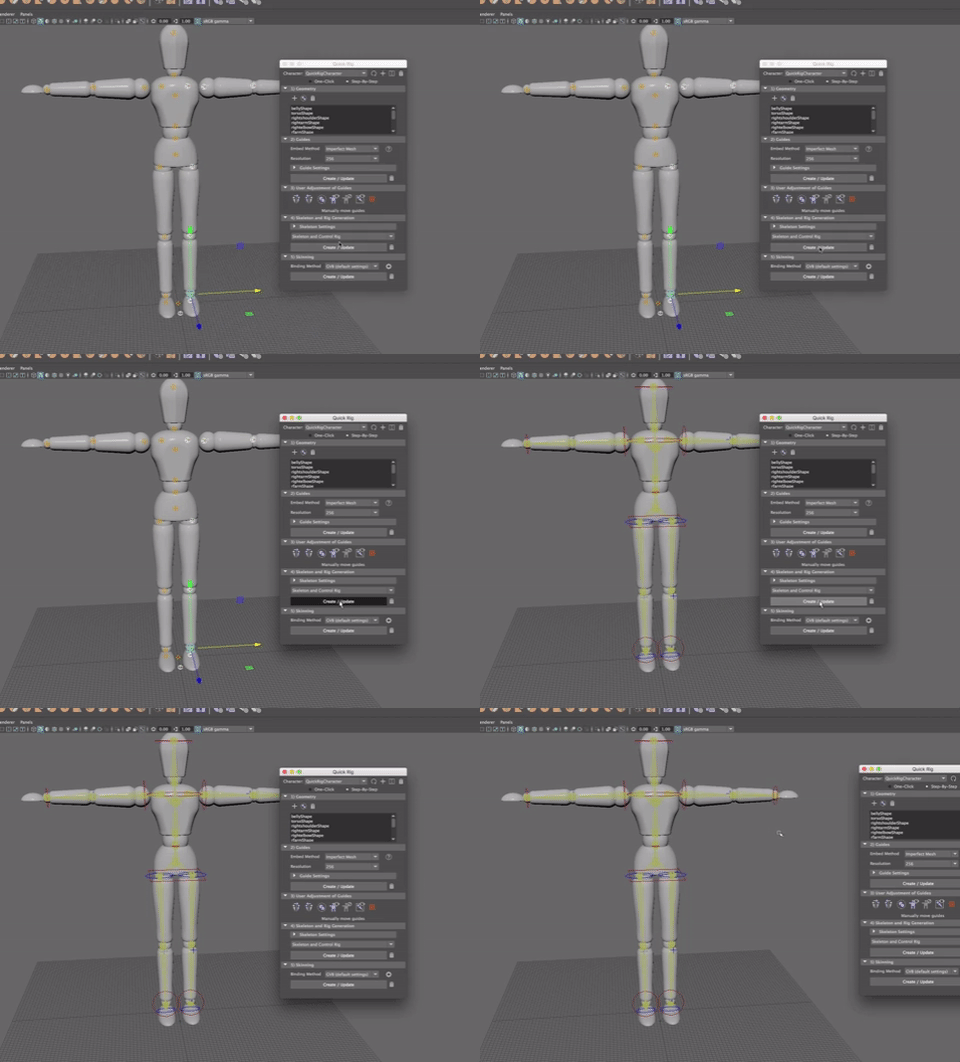
I notice, on my rig, that the ankle control isn't sitting correctly--it should be horizontal and mine is at an angle. I can delete the rig and move the guides to fix it.
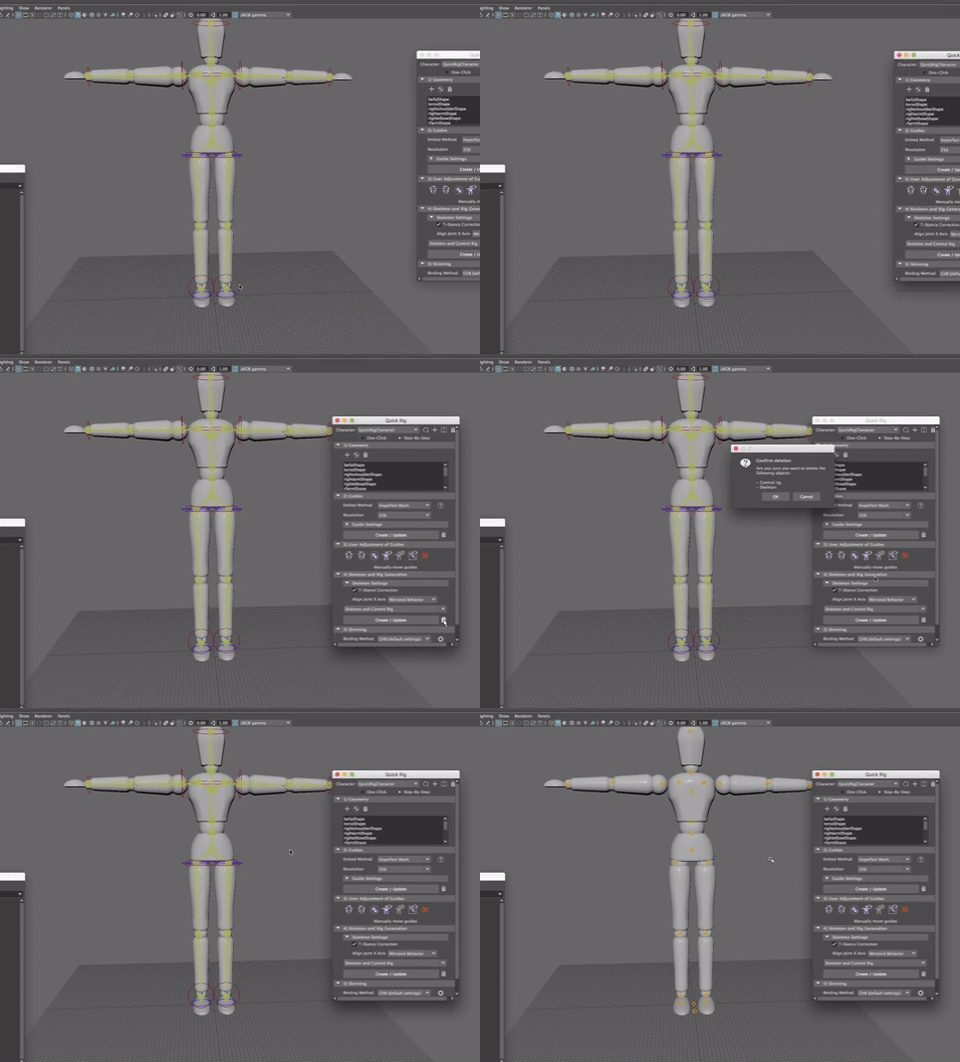
If you are not sure what each guide is for, you can select it and look at its name in the Channel Box. Move the guides, mirror and try making the skeleton/control rig again.
This looks better
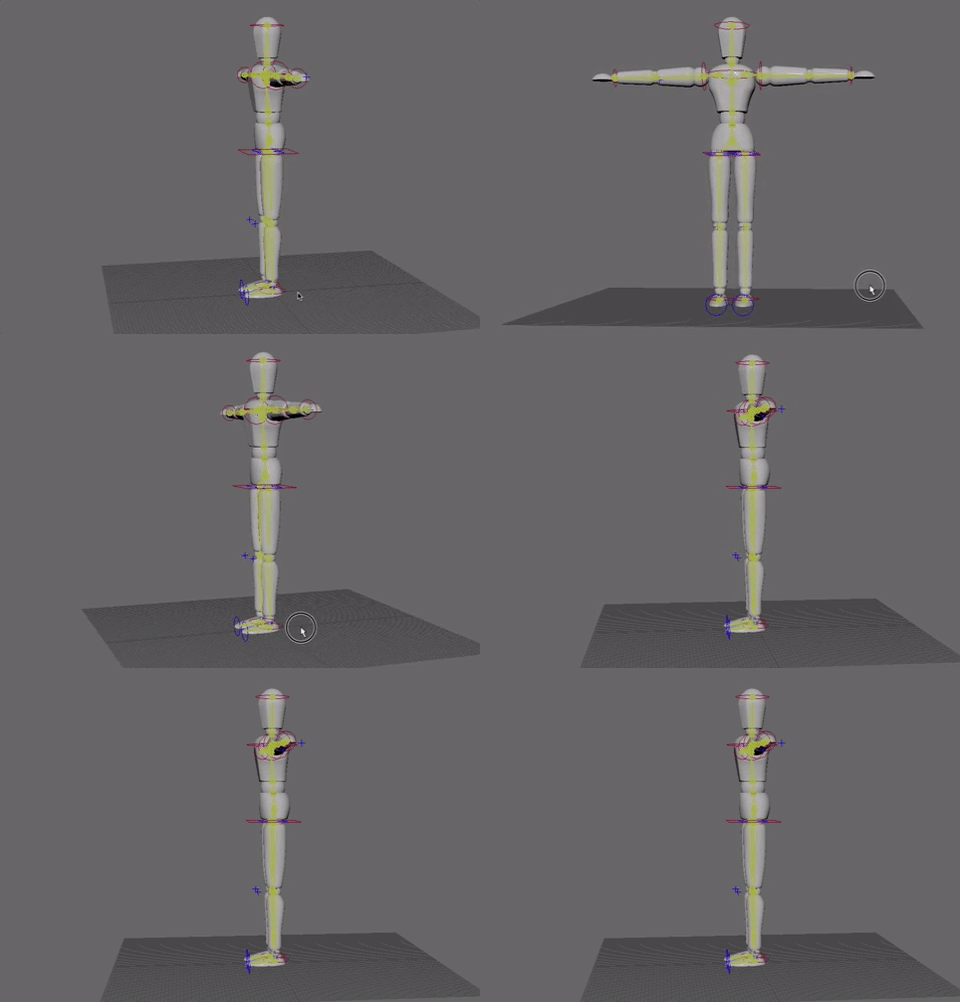
When the rig is how you want it (you may want to select some of the controls and scale them up so they are bigger than the geometry to make them easy to find and select
You can Skin the model to join the geometry to the skeleton/rig
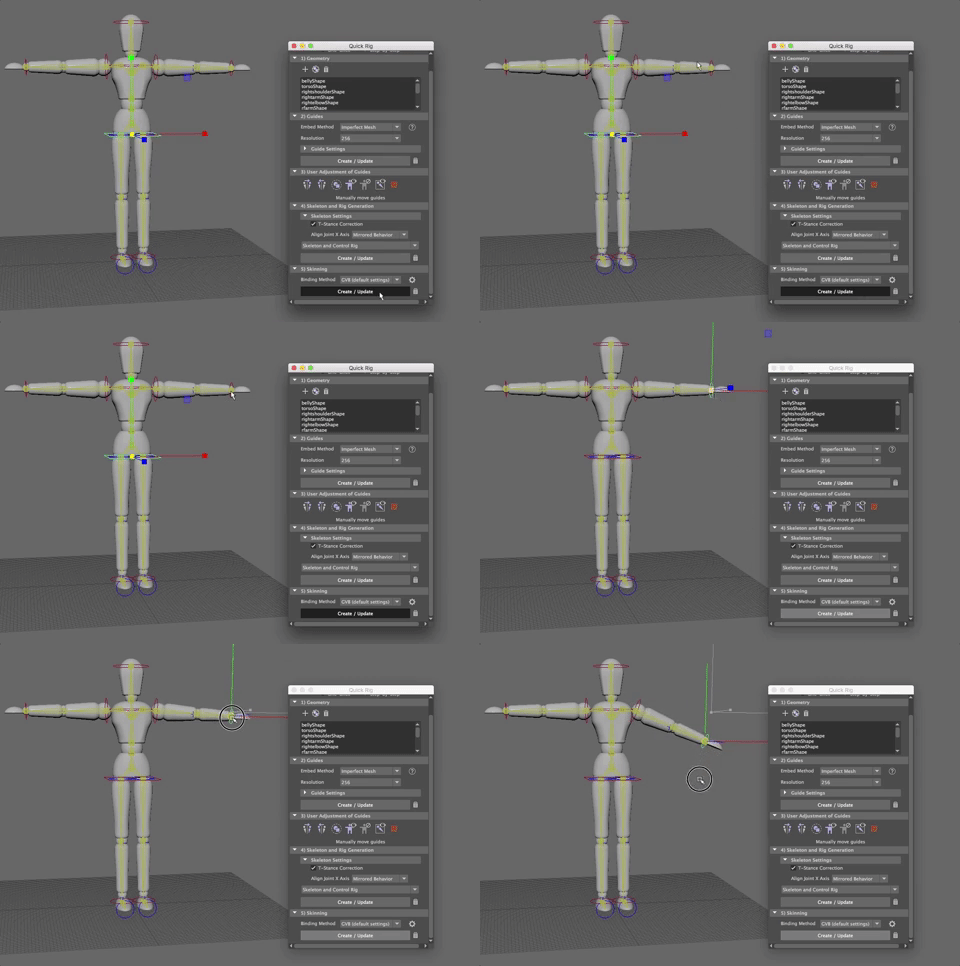
The next step will be to fix any skinning problems...that will be another tutorial.