Practice_MASH Networks
CS22 Loeb (based on various tutorials from Autodesk, Damon Lavenski, Mainframe, Mike Hermes, Ian Waters and my own stuff)
MASH is a collection of powerful nodes that can be combined together to create animations, motion graphics, environments, particles, vfx, sounds, and models. (MASH was aquired by Autodesk a couple of years ago. It was created by a company called Mainframe). Just like nCloth, MASH is a procedural animation toolkit. I would imagine you did some work with MASH in CS24.
A video showing some cool MASH tricks is HERE.
Create a New Project (File>Project Window)
- Create a New Project (File>Project Window)
- Name it YourName_Abstract
- Create a Scene called MashPractice and Save the scene
Instancing
The main concept here is instancing. Remember that with Instancing, you create a duplicate that shares the same INPUT Node between them, so if you change either of the objects (the original or the instanced) it changes the other one, too. Let's just review that.
- Create a cube
- Go to Edit>Duplicate Special>Options
- Choose Instance

This duplicates the cube but the difference here is that they share the same INPUT node. This means that when you change one cube, you change them both

They have the same INPUT node but their transform nodes are separate (so you can move them around in space separately). MASH does the same basic thing.
MASH
Let's play around with MASH a bit.
- Start by creating a cube.
- Scale it out in z to make a rectangle
There are quite a few preset workspaces in Maya. Go to the MASH workspace
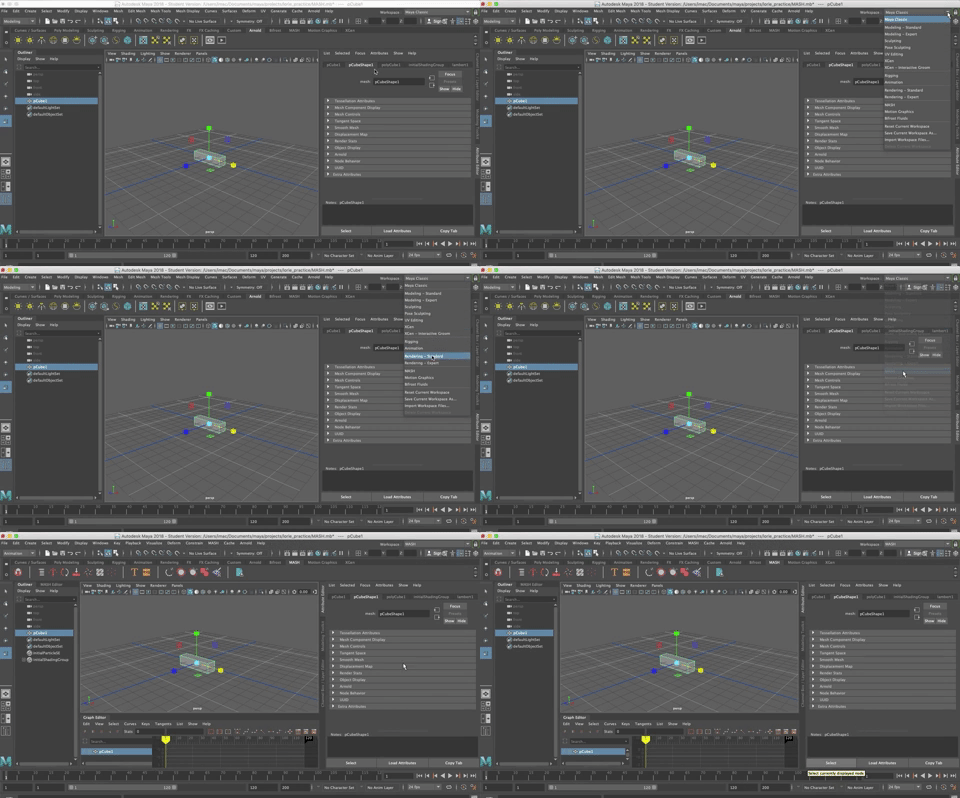
This sets up your workspace with all the commonly used windows for the MASH network, including windows that allow for some very cool animations in MASH, which we will get to later and/or you will probably cover in CS24 (Computer Animation).
The other thing that opens when you open the MASH workspace is the MASH shelf. We don't use the shelf a ton in this course because I'm encouraging you to use keyboard commands, but I used to have students use it a lot and you can certainly use it here.
- With the rectangle selected,
- hit the cube with red edges arround it on the far left side of the MASH shelf.

- The original cube disappears (it is hidden in the outliner) and is replaced by a set of 10 cubes lined up along the x axis. These are all instances of each other.

Even though the pCube1 object is hidden, you can still change the shape.
- Select it in the Outliner.
- You can change the object directly.
- You can still rotate or scale the object (you cannot move it)

- And you can change the object's INPUT node in the Channel Box or Attribute Editor
*

- And you can change any of the object's components, doing a bevel or extrusion, for example


Note, though, that changing the components on one instance doesn't change the components on the other.
NODES in MASH
MASH is actually a powerful connection of various nodes. When you first create a MASH network, as we did, you see in the Attribute Editor that there is a MASH Repo Node, MASH1 Node, and MASH Distribute Node.
The MASH Repro Node
This shows the objects in this MASH network (pCube1)

You could create new geometries and add them to the network by adding them to the Repro Node
The MASH Node
This is where you can create new Nodes to add to your network to get all sorts of cool effects
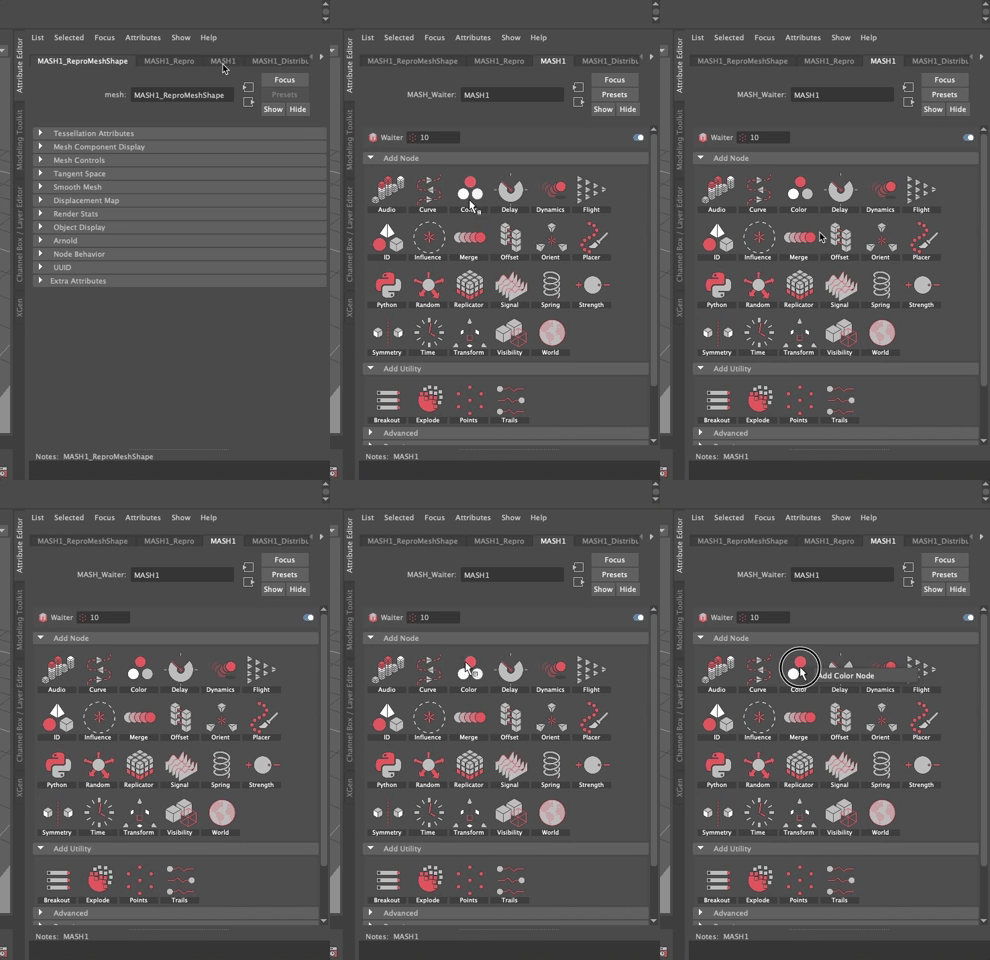
The Mash_Distribute Node
The Mash_Distribute Node is where you can control the number and layout of the instances.

Here are some things you can change:
- Number of Points: change the number of instanced objects

- Distribution Type: Makes the layout into different configurations (linear, radial, etc.)

- If you change the number of points to a large number, such as 600 and then go to a Spherical Distribution Type, you get a cool look.

- Go back to 10 points and make it a grid distribution.
- Now you have some options to change the distances in x, y, and z, and to increase the number of points in the grid in x, y, and z.

- Play with this a bit to get a sense of how it works.
Adding Dynamics
To create an animation, you need to add dynamics. Like nDyamics, you can create an animation in MASH and have that be your final product, or use the dynamcis to create a shape, like we did with the tablecloth and pillow.
Let's play with it a bit.
Start a new scene and create a cube (CMD + Shift + u)
Set your MASH distribute node up in a grid that is three cubes deep, 3 wide, and 3 high (Grid X=3, Grid Y=3, Grid Z=3)

- In the MASH Editor (The icon can be found in the shelf to the right of the Create Mash Node Icon or go to Mash>Mash Editor),
- Click on the red circle with the plus sign
- Choose Dynamics from the drop down list
- You will see a new floor plane appears in yellow dots with a plus in the middle.

- Hit the Play Button to the right of the timeline
- The rectangles fall to the new ground and scatter.

As in nCloth, you can change the dynamic properties, adding bounce, for example, or changing the velocity, or mass of the instanced objects when they fall.
Creating a Collider
You can also use objects as colliders, as you did with the tablecloth example. Try it.
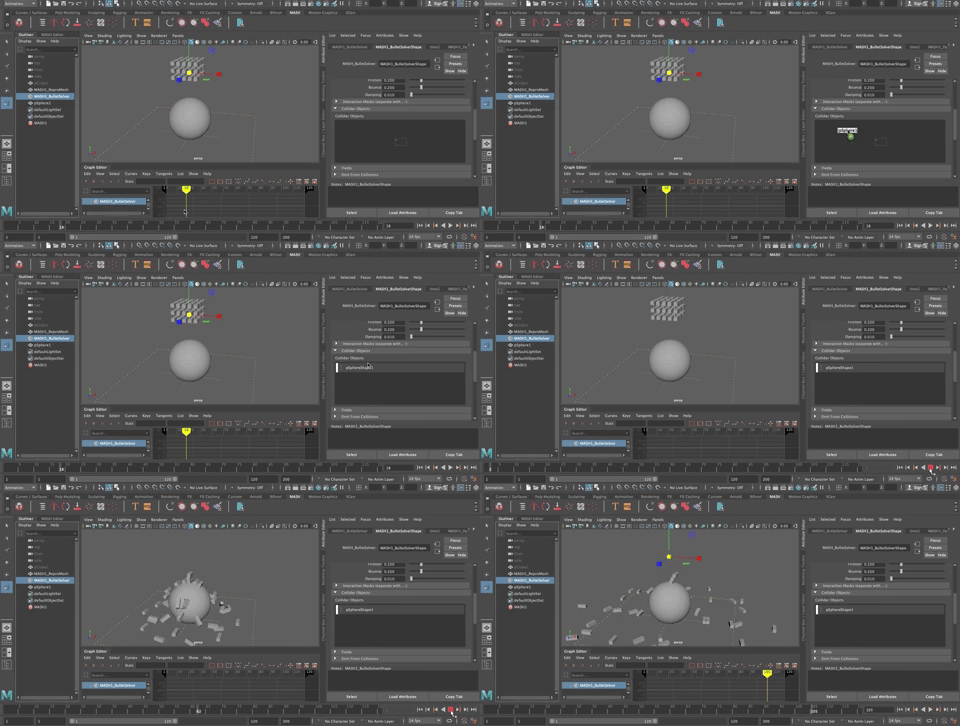
- Create a sphere, scale it up, place it anywhere between the rectangles and the ground plane.
- Open the Outliner and choose the MASH1_BulletSolver to open the MASH1_BulletSolverShape node in the Attribute editor

- MMB drag the sphere into the Collider Objects window

- You will see the pSphereShape1 node in the window, as it is the shape of the sphere that is being collided with.
- Hit play
Let's keep going with it...
- Create a polygon plane
- Scale it up
- Move it below the sphere
- In the Channel Box, in the INPUT node, increase the Subdivision Width and Height to around 25
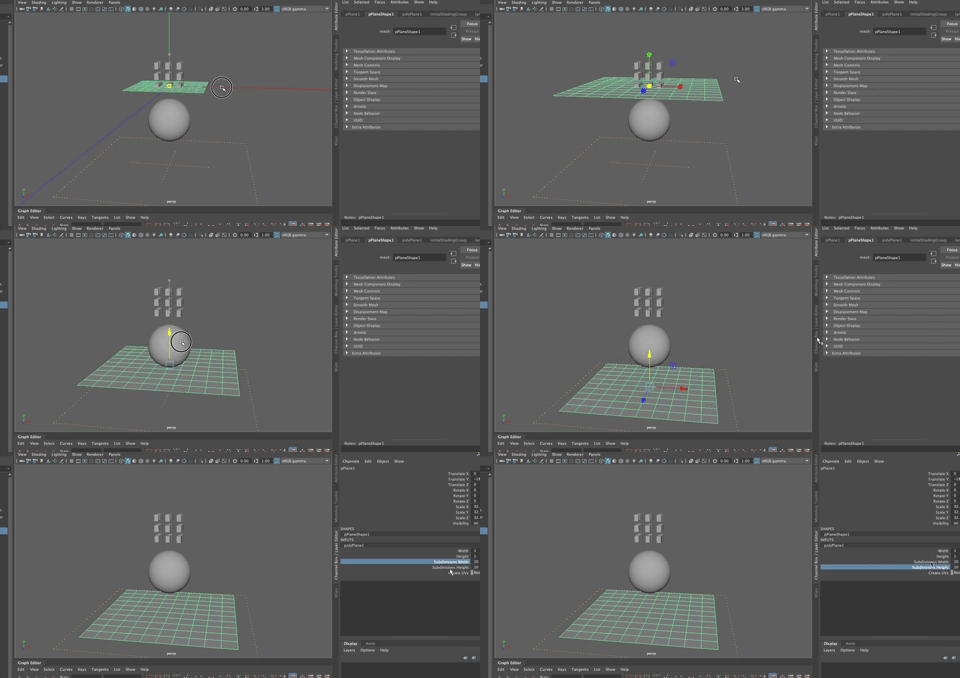
- Select the plane
- Go to the Main Menu and Deform>Texture
Open the MASH BulletSolver and Drag the polyPlane from your Outliner into the Collider Objects

Add noise to the texture deformer
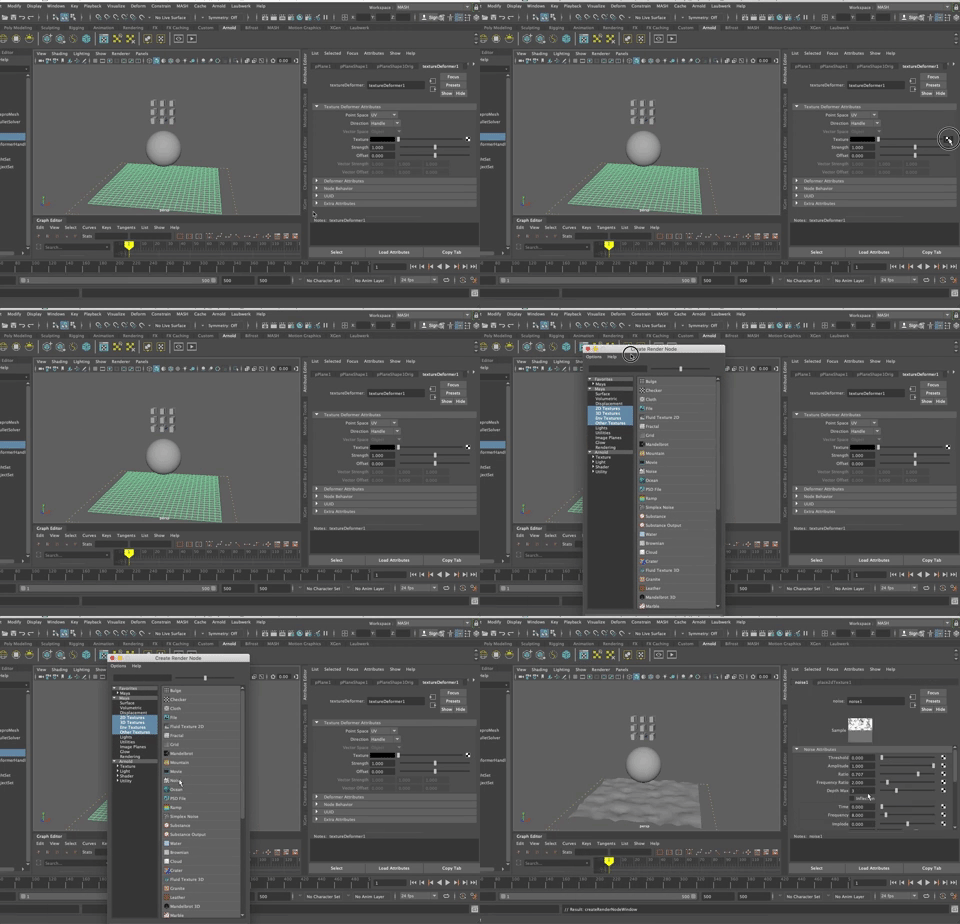
- Reduce the Frequency from 8 to around 2 or 3

Animating it all
We will set keys on the Time attribute in the Noise1 node.
- At frame 1 in the timeline,
- Right click on Time and Set a Key at a value of 0
- Move to around frame 200
- Change the value of Time to around 3
- Right click to Set a Key at frame 200 (w/ time at 3)

- And on the texture node, increase the Strength to around 8

- Hit Play

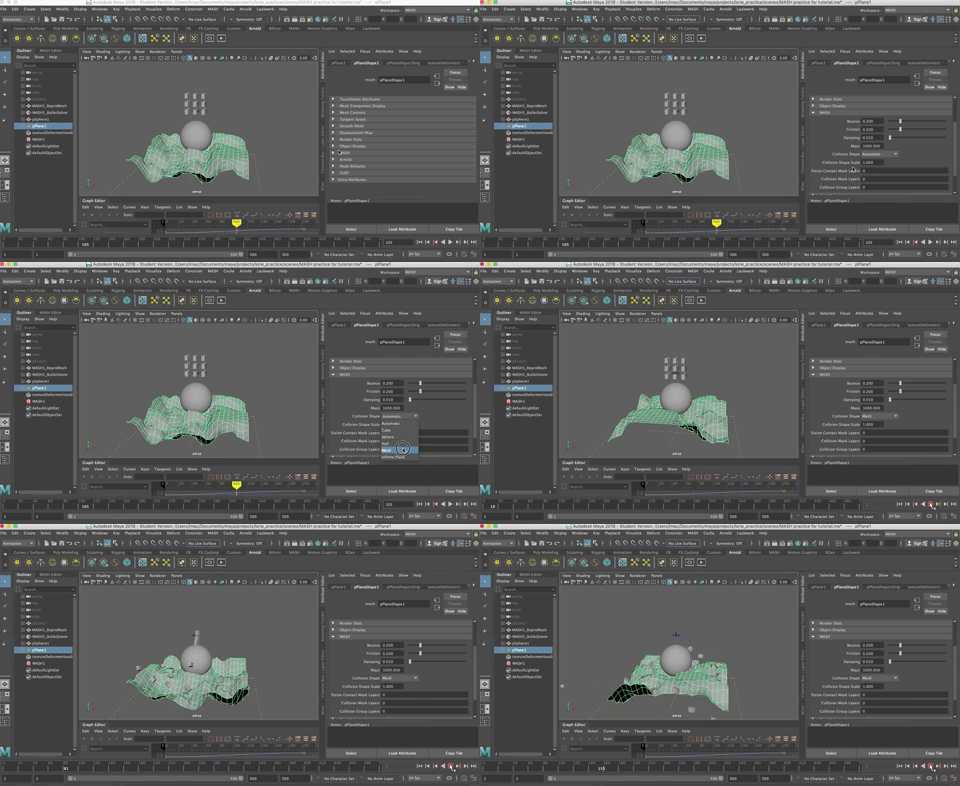
To keep the cubes from intersecting with the plane,
- Go the pPlaneShape node in the Attribute Editor
- Under the MASH tab
- Change the Collision Shape from Automatic to Mesh.
- Now it all wroks as you'd want it to
*
Creating ChainMail
Let's use MASH to create a simple chainmail type object

Start by making a simple chain.
- New Scene
- Make a Torus
- Set the Subdivisions Axis to 16
- Subdivisions Height around 8
- Radius to around 2
- Section radius around .2. It should look something like this:

- Go into vertex mode
- Hit the b key to bring up Soft Select and make the brush big enough to influence about half the torus shape
- Select some verts
- Use the rotate tool to change the shape a bit as shown

- Grab the other side and rotate in the opposite direction

- Go to Object Mode
- Hit 3 to smooth the object

- With the torus selected, create a MASH Network
- You should see a chain with the objects interweaving with each otehr. If not, make the rotations in your original object more distinct.
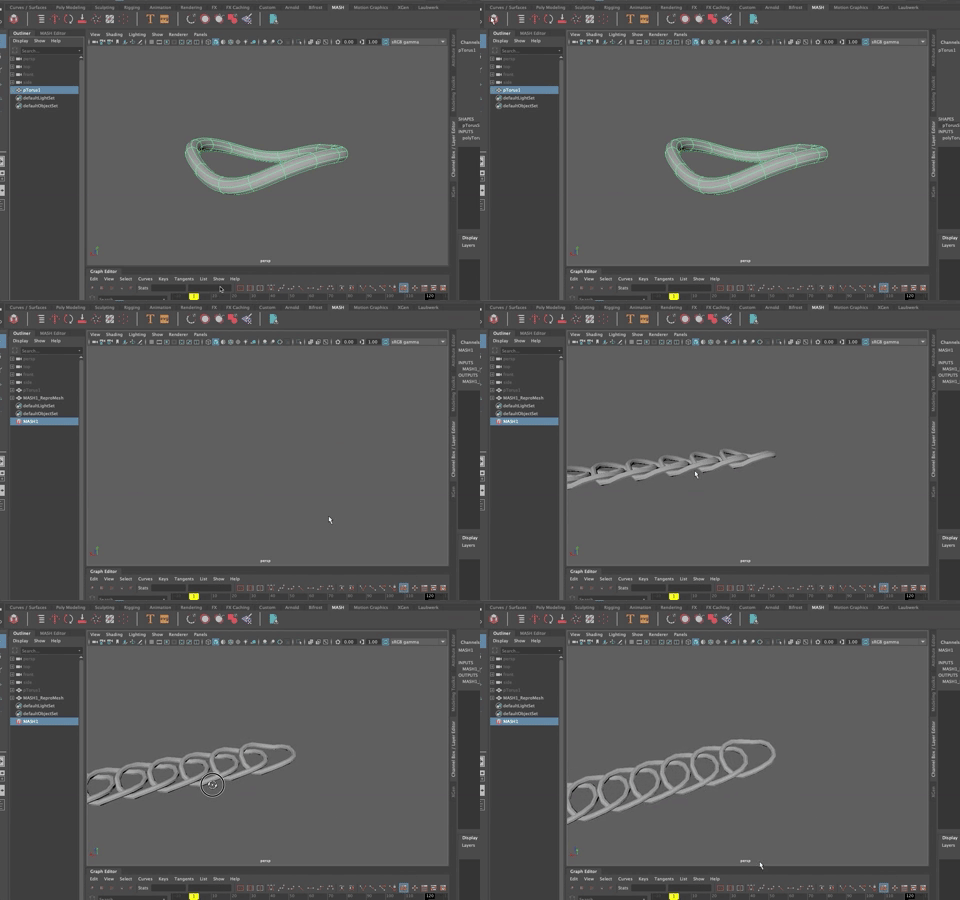
We'll be adding dynamics later, so spread them out in the Distribution Node in Distance X so they are just touching

To turn this into chainmail, we need another kind of node because the current Distribution Node won't let us build this into a full sheet of chains.
Replicator Node
We need a Replicator Node!
- Go to the MASH Node in the Attribute Editor
- Choose Replicator>Add Replicator Node

- Increase the number of Replicants to around 15 or so

- And from there you have some options to change the Offset Position (the distance they are from each other)
- Increase the Offset Position Z so it is evenly distributed as shown, with a slight overlap of the links in all directions.

Using these techniques to make something even cooler
Let's keep playing with the idea of chainmail but let's get even fancier.
In the Modeling Module go to Generate>Get Brush, to open up the Content Browser
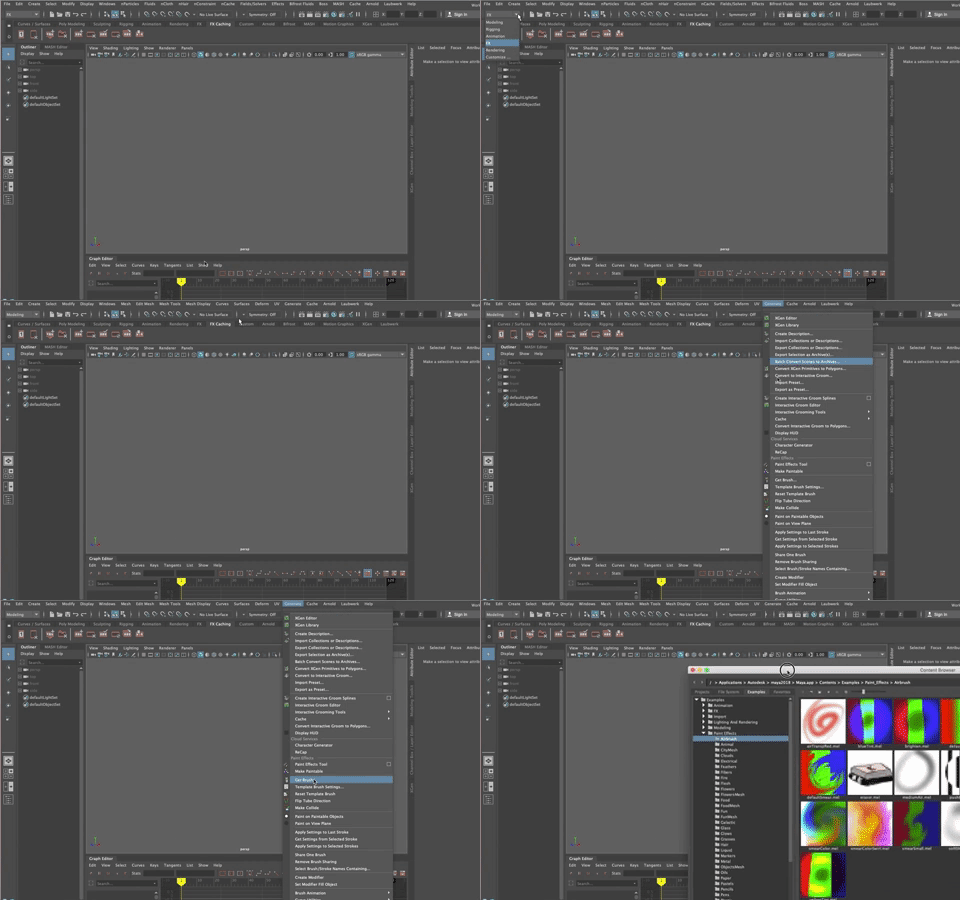
- Close the Paint Effects Tab and Open the Modeling Tab
- In Sculpting and Base Meshes
- Open the Clothing File

- The LMB drag the TankTop.ma file into the viewport

NOTE: To save this file, you will need to set the Project to your AbstractPractice project and save the scene (by default, it is set to the content editor where you got the model

- Hit 3 to smooth
- We still want more resolution so Shift+RMB click on the Object and choose Smooth

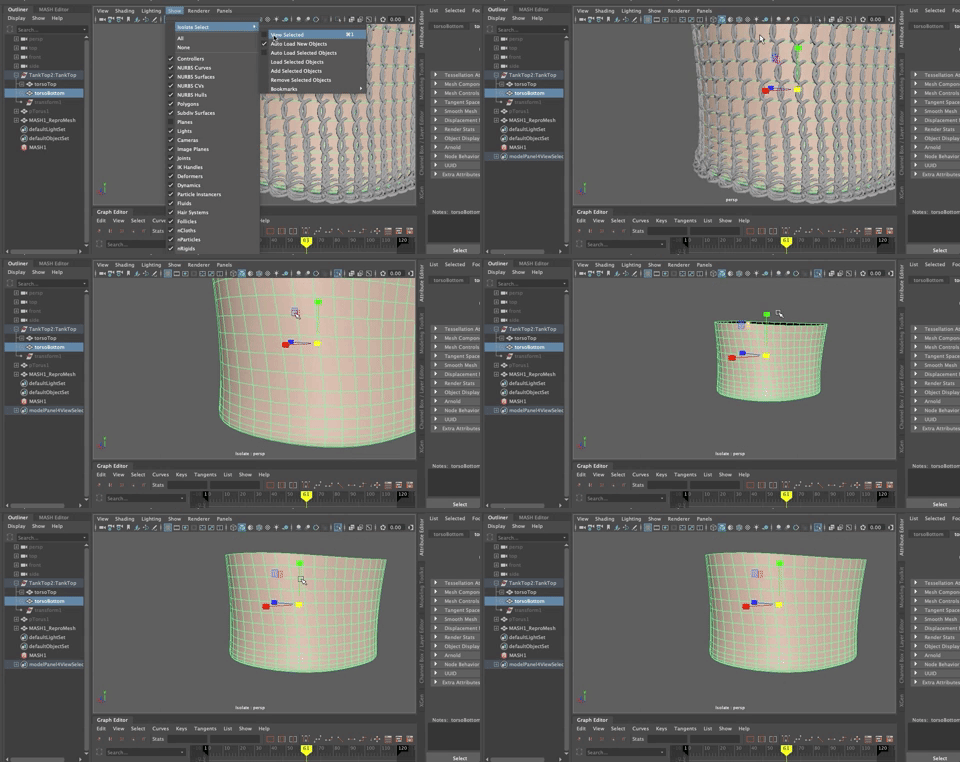
- Select the faces around the bottom half of the torso by selecting one face and shift double clicking in the face next to it and continuing down the torso until all the lower faces are selected

- Be sure you get the faces at the very bottom and the ones that fold under and inside the model.
- To check it, use Isolate Select (Command + 1)

- Then Extract those faces
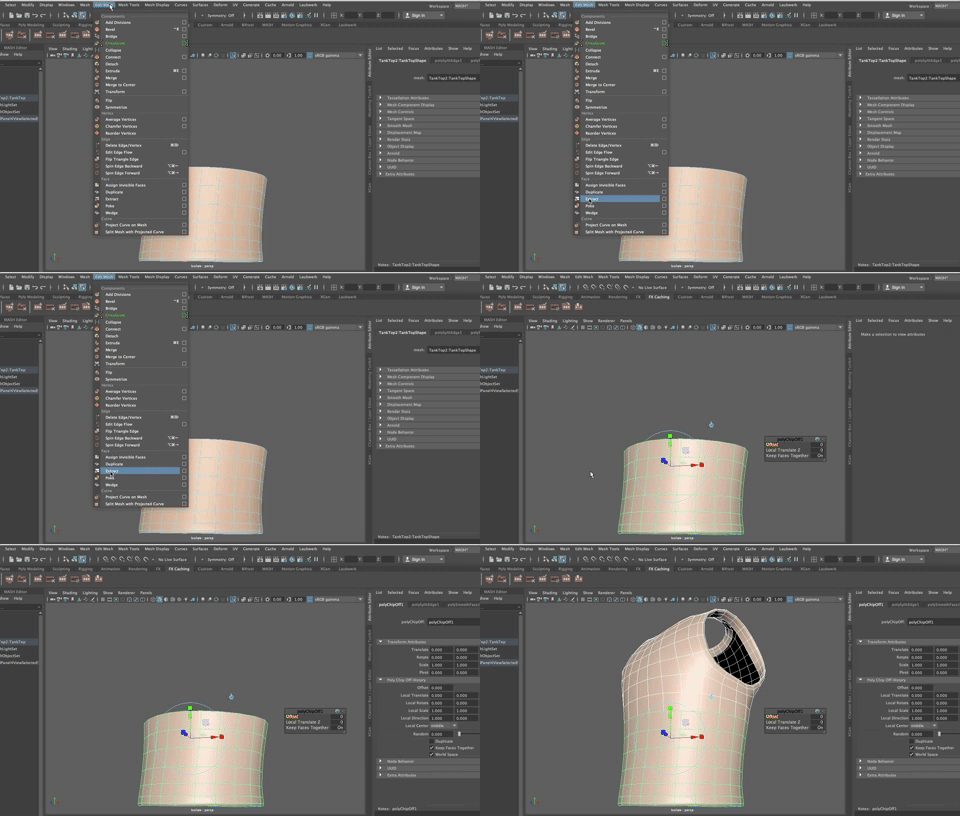
- You have two objects now.
- Smooth the bottom half where the chainmail will go

- You may need get the scale right. Show your grid for perspective. Select both halves of the torso, center the pivot and scale it down so it is a better scale. You may want to move it down.
You can export your torus from before, or just create a new one. I made a new one (very fast)
- Select the new chain link, best to be sure it's translate values are at 0,0,0,
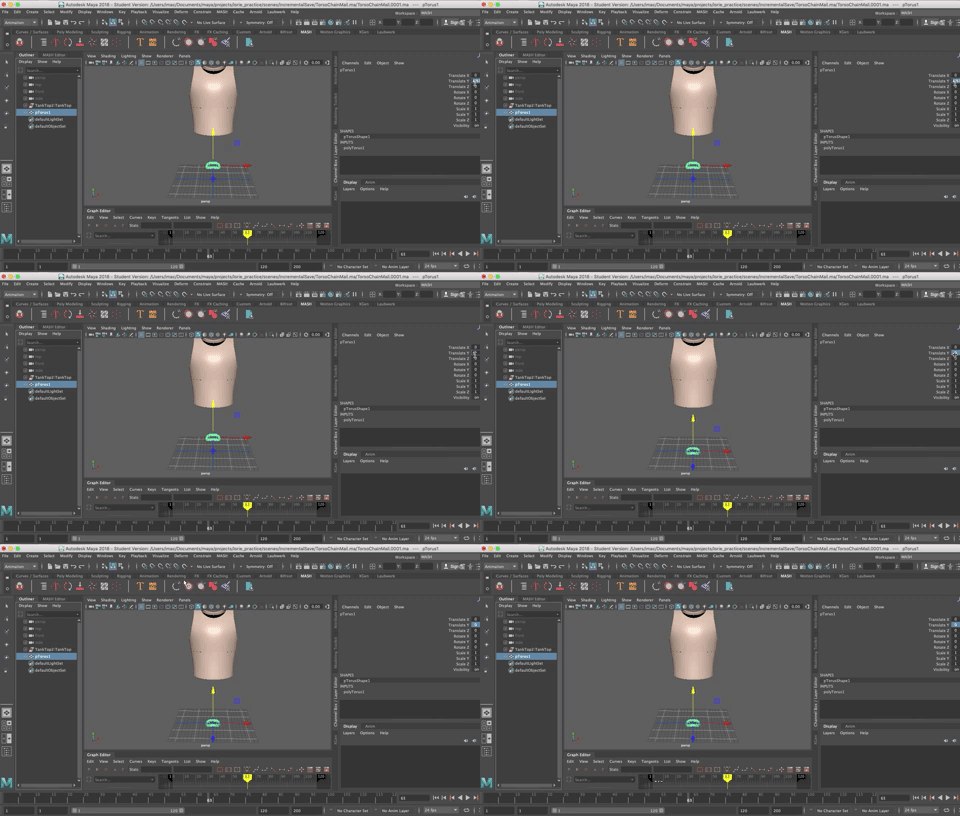
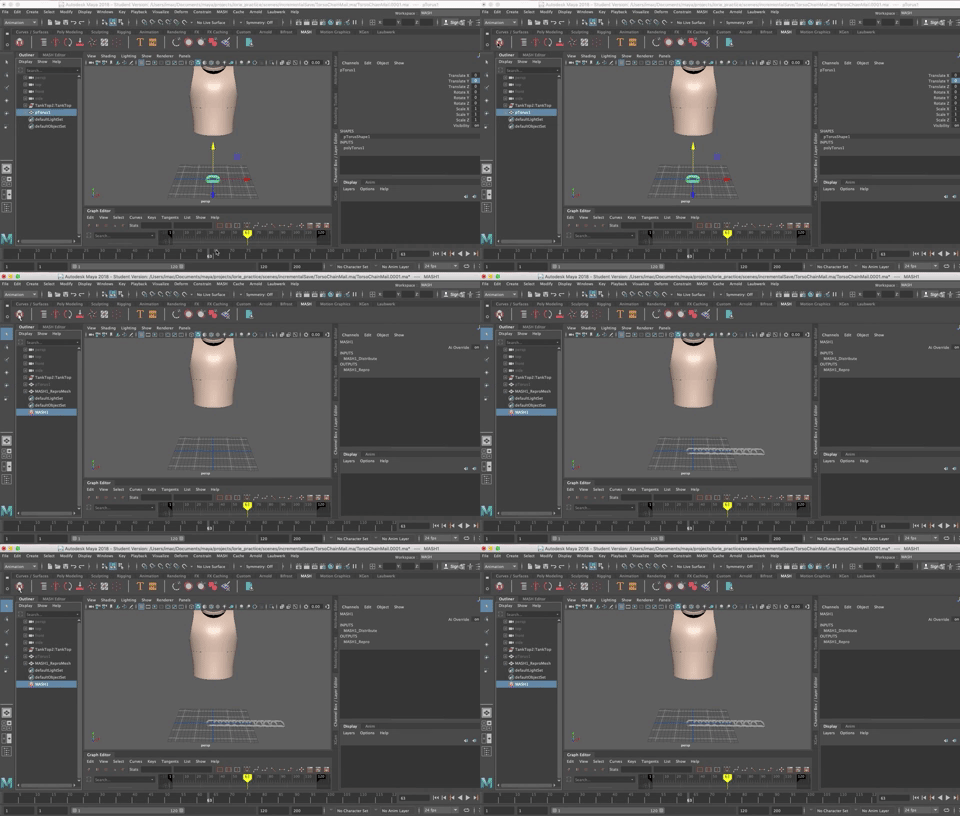
- and add a MASH Network to it
- For Distribution Type, choose Mesh from the drop down list
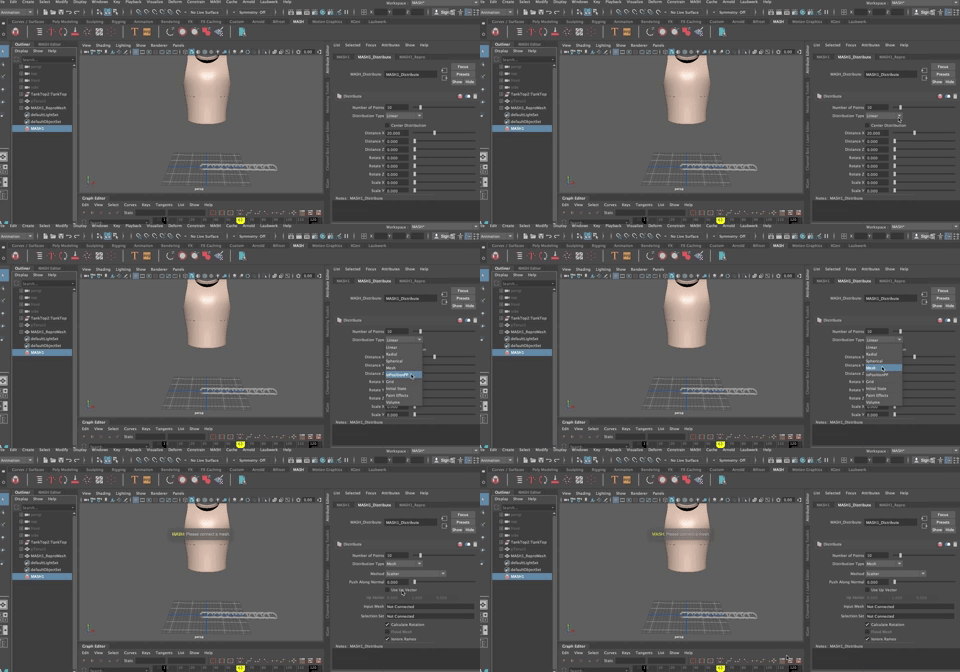
- You need to give it an Input Mesh so MASH knows which mesh to use.
- With the outliner open, MMB drag and drop the lower half of the tank top into the Input Mesh Box

Now the chain links are distributed along the lower half of the mesh.
- By the way, we should have renamed the torso top and bottom to make it a cleaner outliner. Let's do that now.

- Distribution Method, by default, is set to Scatter, as the method for distributing the objects around the mesh. Let's change that to Face Centre so the objects are distributed along each face on our torso bottom.

Now the chain links are clumped together and, on mine at least, way too big.
A great way to fill up the entire Mesh with objects is to use "Flood the Mesh" There is an option for that.
- Check it On

Remember that we can still scale all the meshes by selecting the original object in the Outliner.
- Select the torus
- Scale (the tool will be at the origin, you can center it or just leave it where it is, it doesnt matter.
- Scale it until it is distributed as you'd like


- Scale until you get overlapping chains as you did in the previous exercise.
You may need to hide the torso bottome to see how they are looking and get the scale correct.

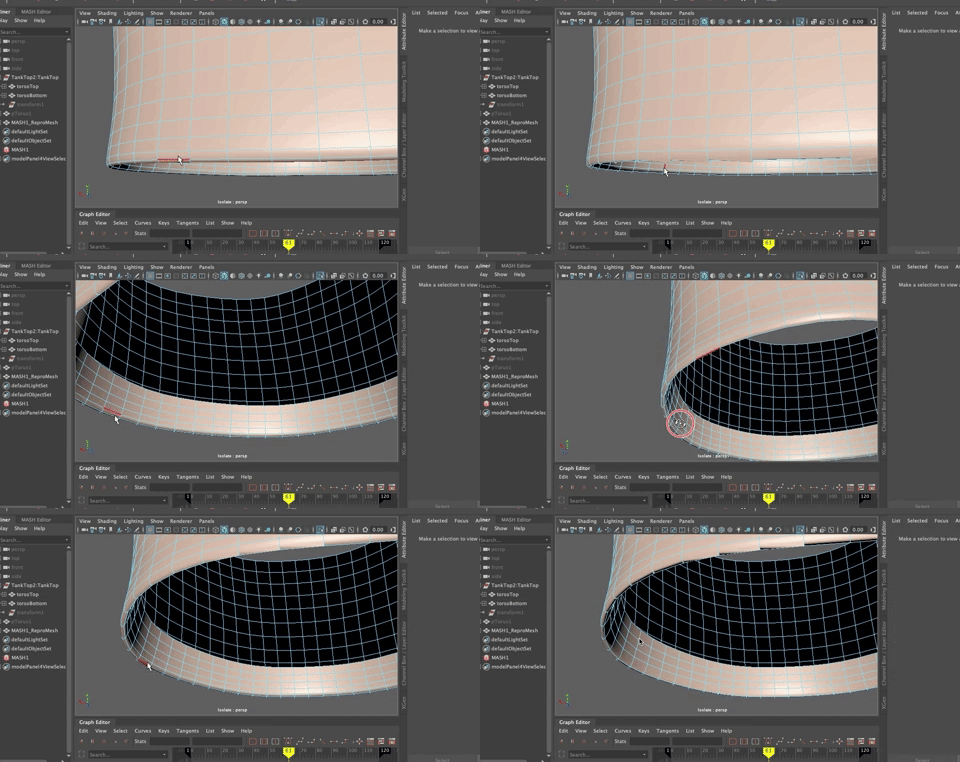
Notice how the chain bunches at the bottom. This is because of the way the underlying geometry is shaped. There are very small faces along the bottom of the object.
- Select the torsoBottom geometry and use Show>Isolate Select>ShowSelected (Command + 1) to see only that geometry.
(If Soft Select is ON, hit b to go back to regular selection mode)
- Select the edge loops that are closely placed around the bottom of the torso and inside the lip and delete them

You don't want to change the shape, just the resolution at the bottom of the torso, so leave the edge at the bottom, but delete those that don't have much impact on the shape.
- Hit Command +1 to toggle off Isolate Select
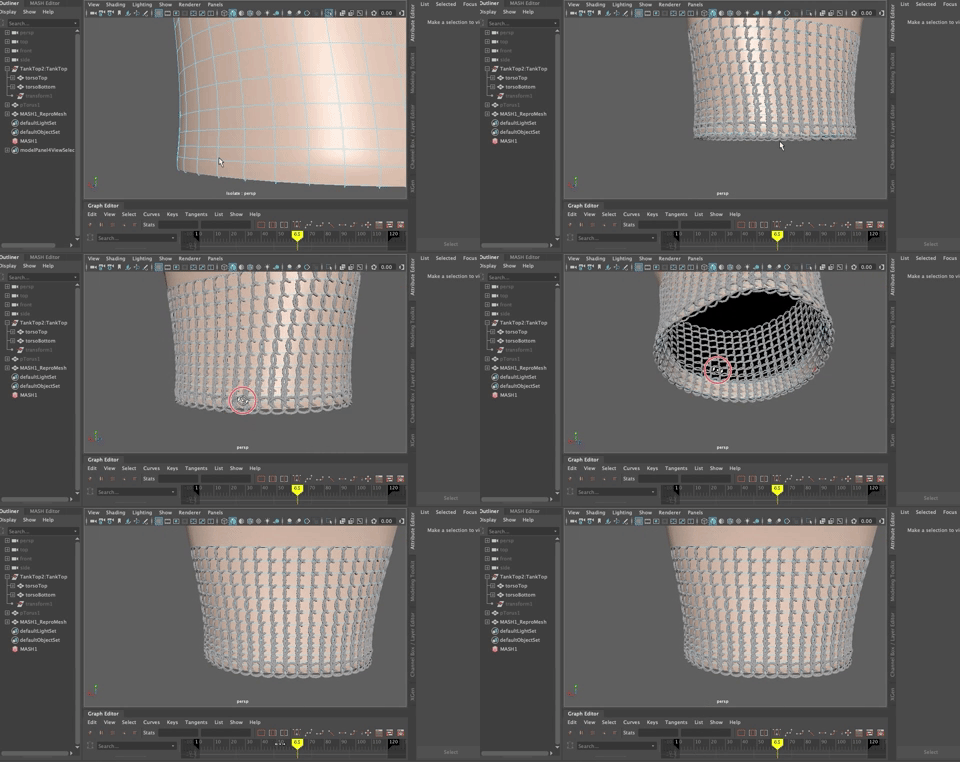
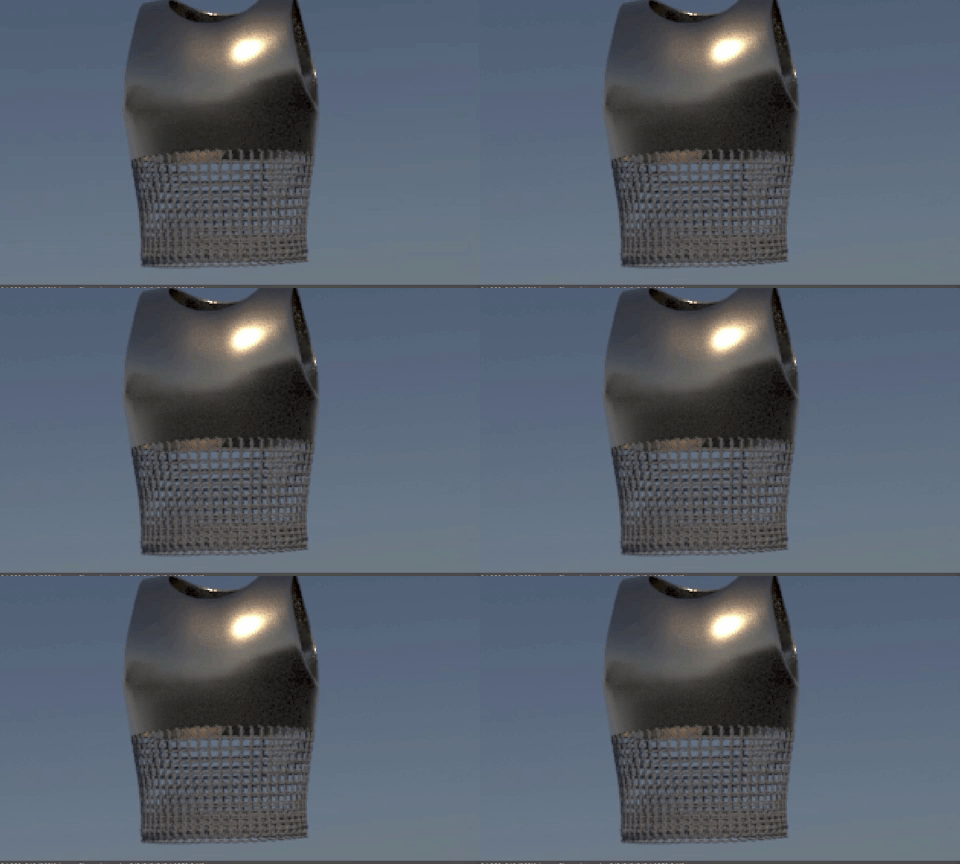
And you did it! You now have a very cool chainmail section on the torso!
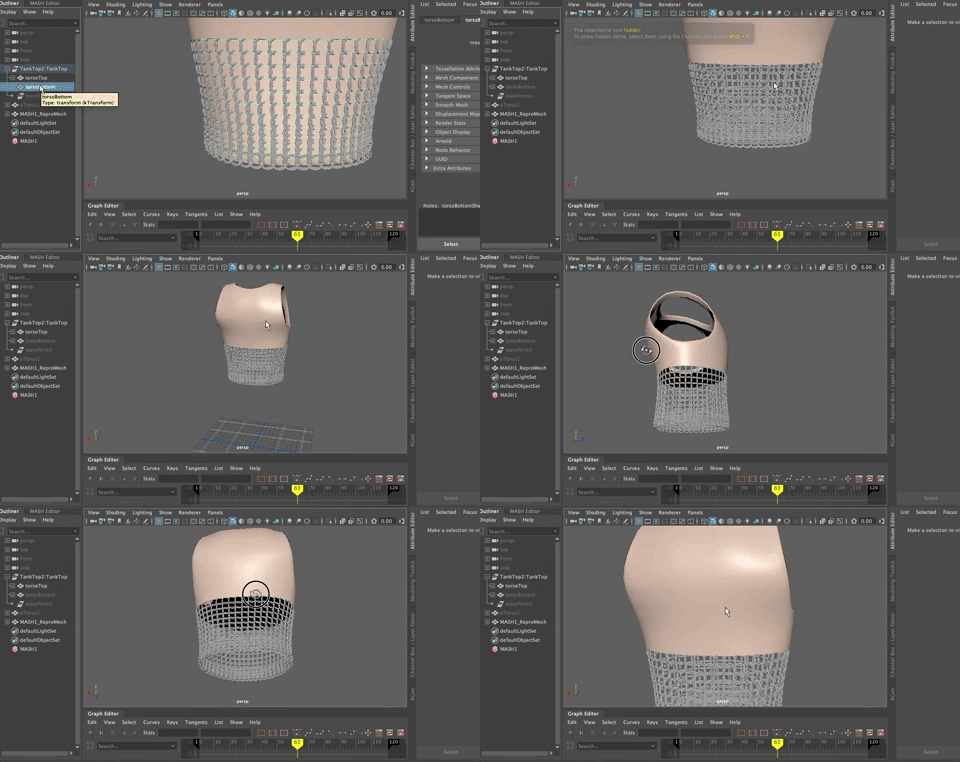
Creating curves and animations
MASH is great for any object that has a repeated shape because its use of Instancing makes the model light and because you can do some cool stuff quickly with it.
- Create a Sphere
- Create a curve or use a NURBS Circle

- Scale up the curve and shape it as you'd like
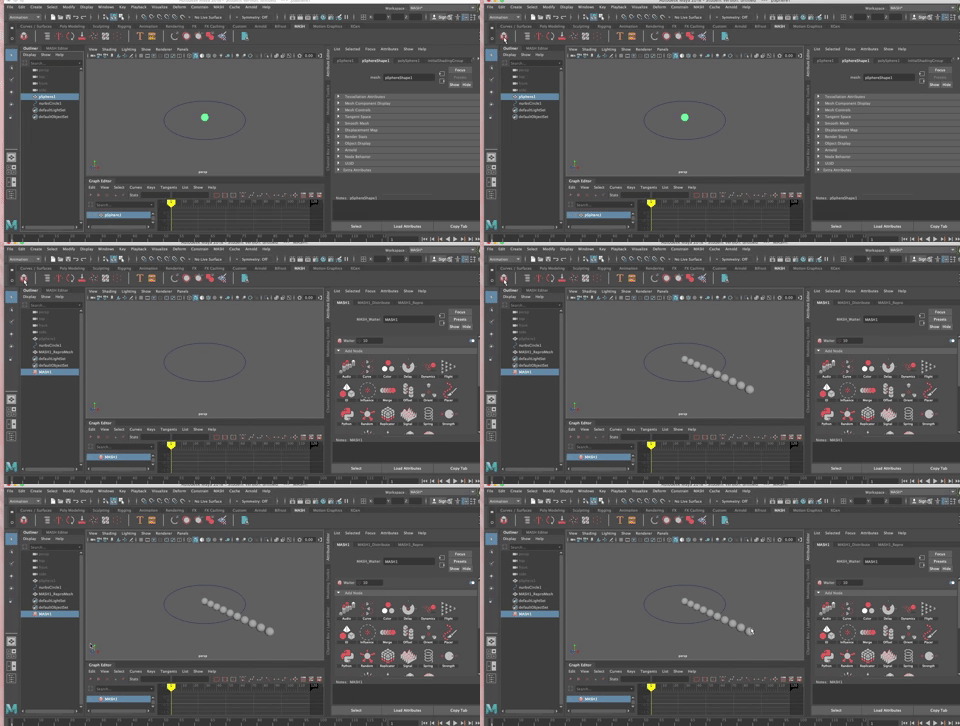
- Select the pSphere and create a MASH network as you did above by clickin on the square with red icon in the shelf
- The sphere disappears
- It may take a second, but then the 10 instanced MASH objects (points) appear in a row.
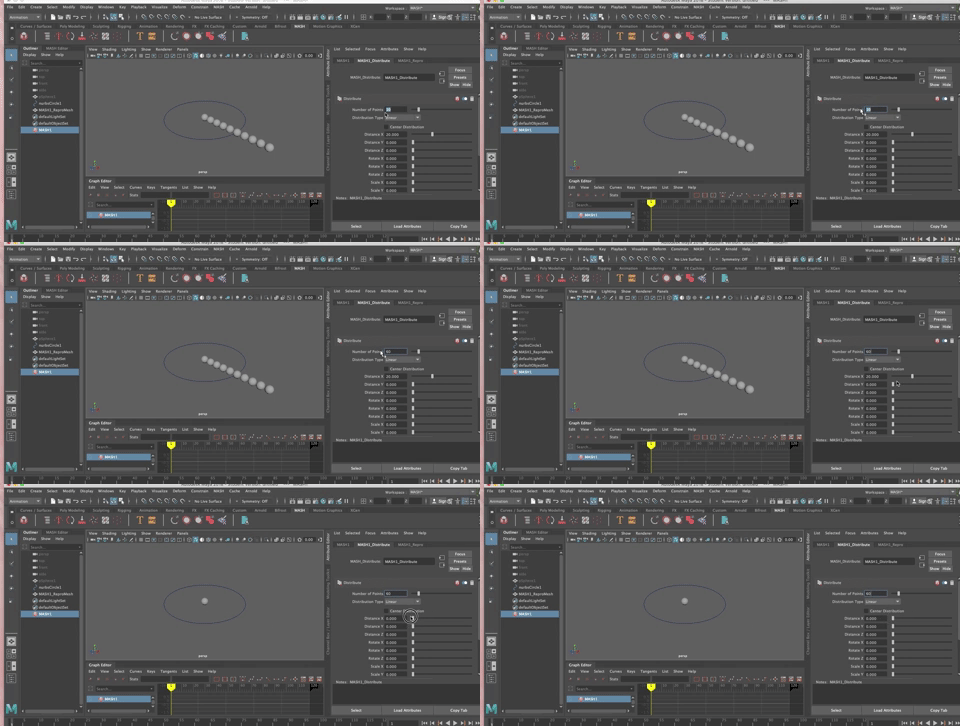
- In the MASH Distribution Node, Change the Diustribution X to 0, so that all the spheres are resting on top of each other
- In the MASH1 Node, Choose Curve and Create Curve Node

- In the Curve Node, MMB drag the nurbsCircle into the Input Curves window
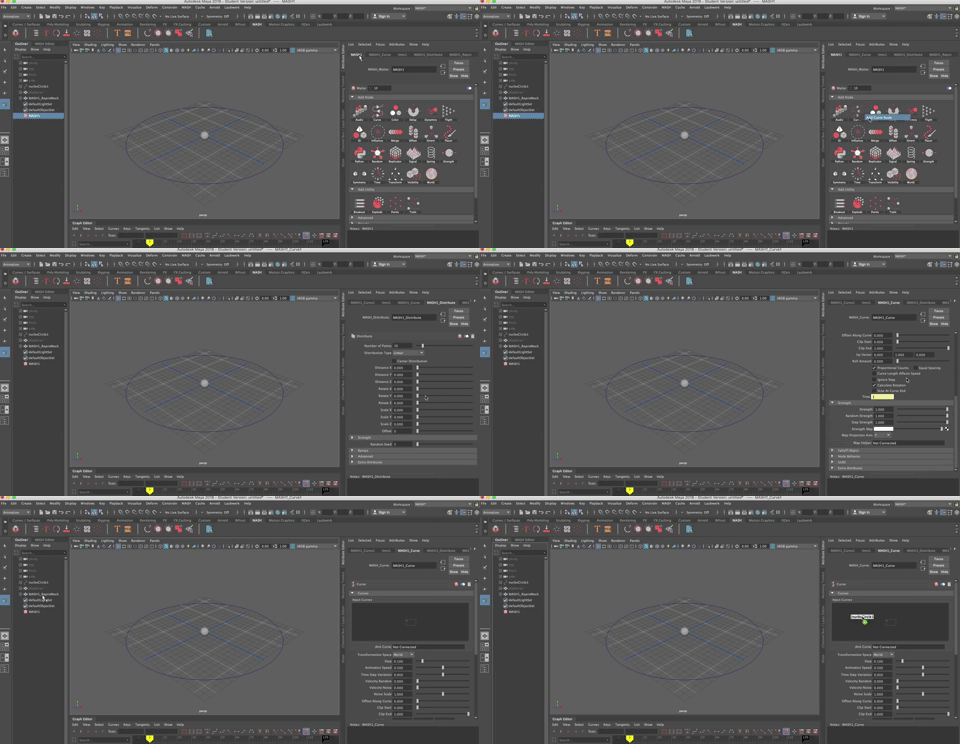
- Increase the Number of Steps (In Mash1 Curve node)
- Make it 1.0 so the curves go all around the circle

- In the Mash1 Distribute Node, Increase the number of Points (MASH instances) until your spheres are more solidly places around your curve

You can have some fun with the shape and even create animations
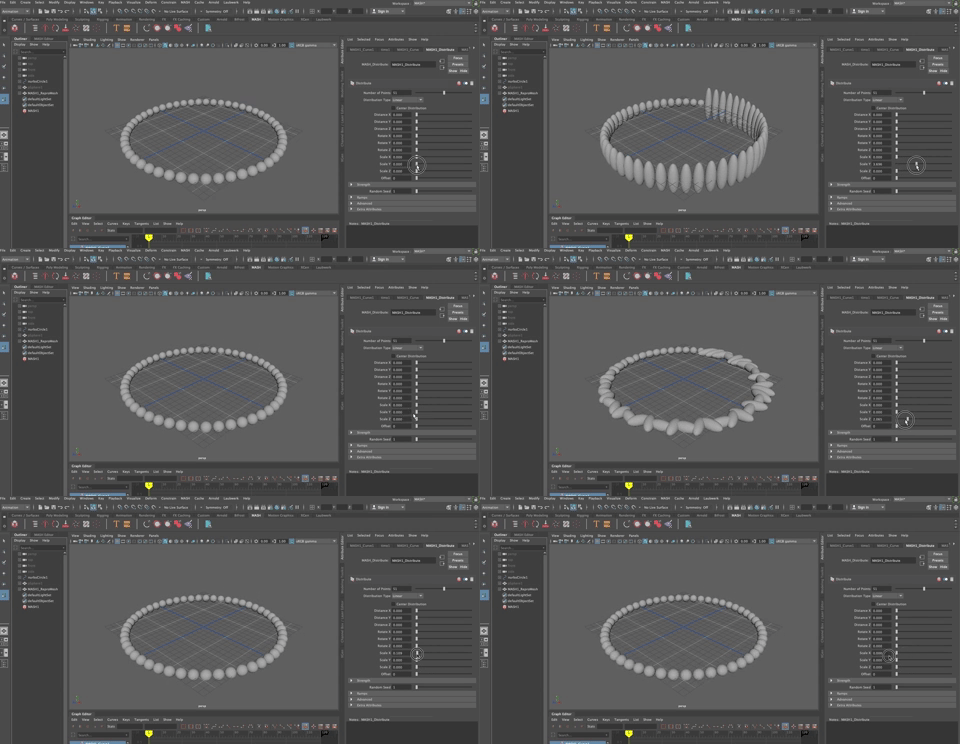
- in the Mash1 Distribute Node
- Change the Distance Y, for example

- Try changing the scale in x, y, and z
- In the MASH1 node
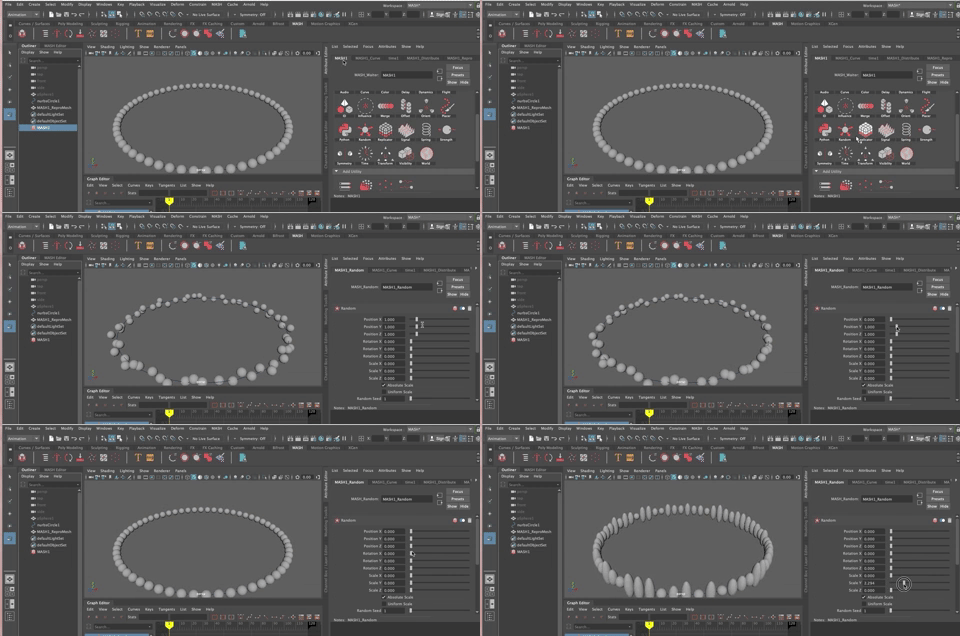
- Add a Random Node

- And Play around with the various attributes and values to get a feel for what they do. Some will be hard to see because these are spehres, but if they were cones, for example, Rotation would be more obvious.
Of course, since history isn't deleted and there is still a connection between the nurbsCircle and the MASH_Curve Node, you can change the shape of the curve and change the way the spheres are lined up. (Note, it will be easier to select the curve if you decrease the number of Points (Instances) in the Mash Distribute Node and go into Wireframe mode)

Adding Animation
In the MASH1 Curve Node, there are settings for Animation. Let's play with it.
- Increase teh Animation Speed
- Set your Timeline playback for a big number like 500
- Hit play

Play around with the settings. Imagine all the animations you might create with something like this (tank treads, for example)
