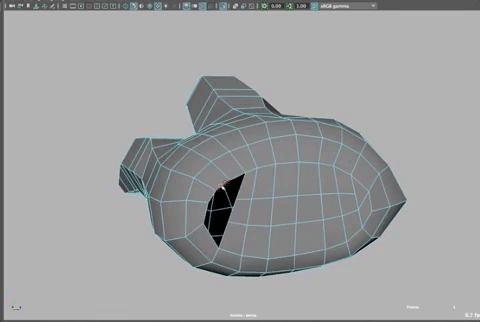
Tutorial_Hands
CS22/122 Loeb
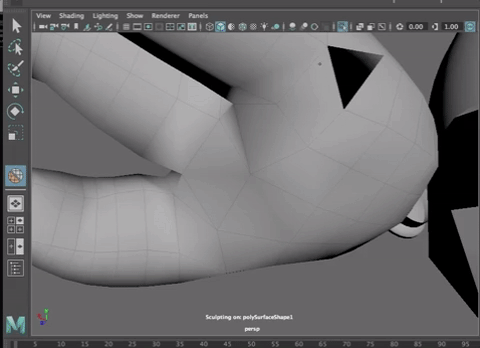
Hands are tricky. The best way to begin is to look at your own hands, and to look at reference hands. It is less about anatomy of hands and more about the complex look of a hand.
 Hands from Dosch Design, an online site where you can spend $150 to buy a 3D model of a hand...https://www.doschdesign.com/products/3d/Hands.html
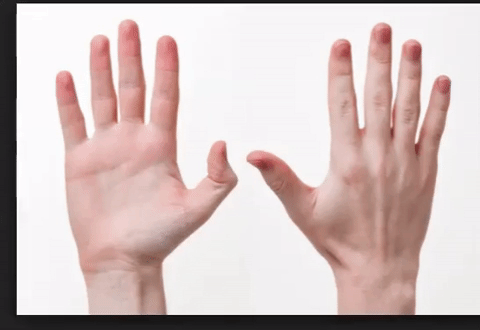 Thumbs are tricky - they come out of the side of the hand, at the wrist. The knuckle points outward, rather than up.
Notice there is a joint at the base of each finger. Thumbs have just one other joint, other fingeres have two.
The palm of the hand is concave at the bottom, with the thumb bulging out a small amount.
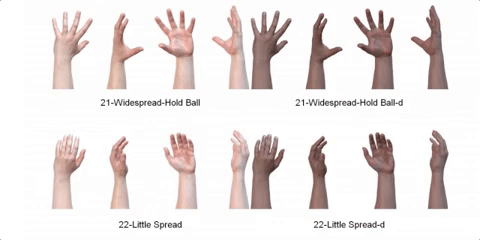
Fingers are wider at the knuckles. The Thumb tip tends to curve outward.
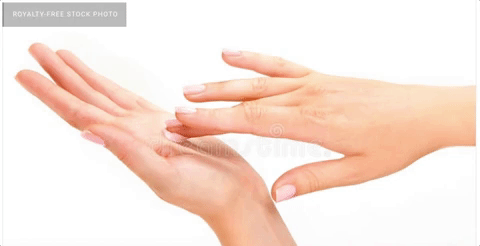
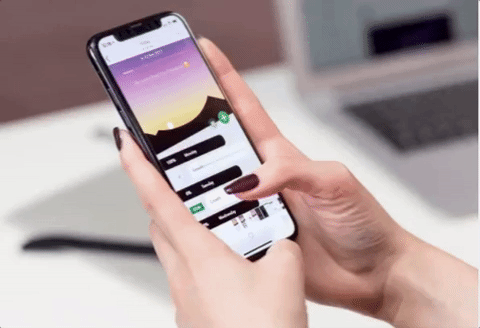
A woman's hands tend to be slimmer, with longer, more pointy fingers and nails
 https://negativespace.co/iphone-woman-hands-touch/
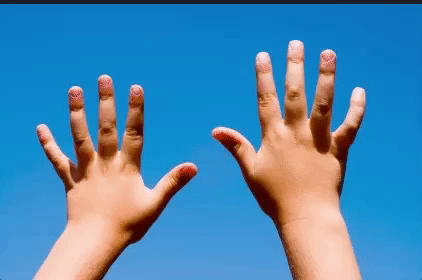 A kids' hand is fatter than an adult and has less lines in the skin. (www.dreamstime.com/royalty-free-stock-photos-beautiful-woman-s-hands-care-cream-image17764888)
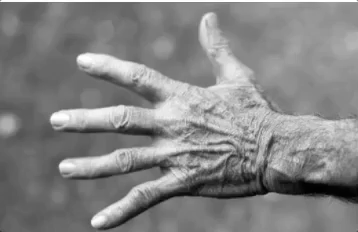
Older hands have more lines and wrinkles, skin is thinner.
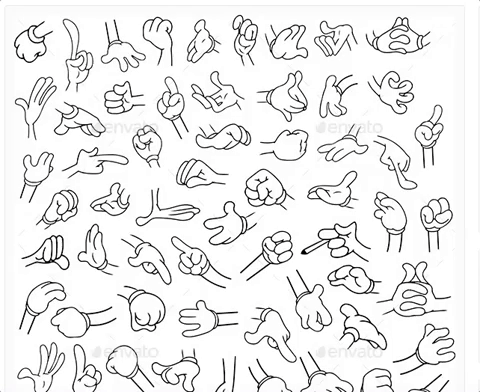
Cartoon hands tend to have a thumb and three fingers, and be more like a kids' hands than an adult hand
 https://graphicriver.net/item/cartoon-hands/5234436
A robot hand can often look very realistic in shape, with a clear joint structure. 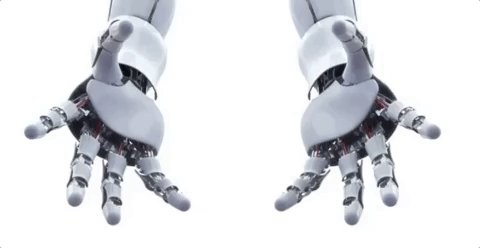
When you make your hand, you will save yourself a lot of trouble, by keeping the hand as a separate geometry. This works better if you have clothing, or something that will allow the hand to fit into, to mask any seam in geometry, but it can work with other hands too.
Keeping the hands separate helps, in large part, because the hand has more detail than the arm and wrist. I have a tutorial for joining hands, and you will see that there is a lot of vert joining that needs to happen, to make the hand and wrist fit together as a single object. (see feet and hands below, or look at the Character Modeling Method #2 tutorial on our CS22 website).
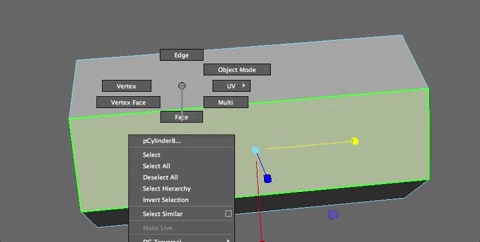
##Modeling Hands as separate objects
Let's get started. You should have very simple cylinders for fingers and a cylinder or half sphere for the palm of the hand. This method is from Andrew Silke.
==Fingers can be made with six sided cylinders,== delete the faces that would meet the palm of the hand.
==IMPORTANT: YOU WILL CAUSE YOURSELF A BIG HEADACHE IF YOU MAKE FINGERS WITH TOO MANY EDGES.==
Insert some edge loops and shape
You want to avoid having your fingers look like sausages, so shaping is important (see images of hands above).
Duplicate fingers and set them roughly into place, being careful to have them lined up from the top and sides to create the shape.
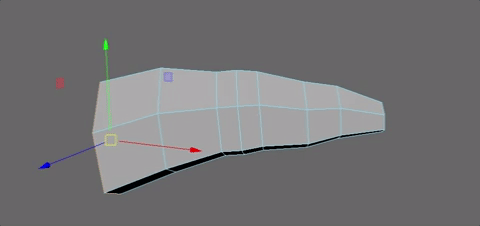
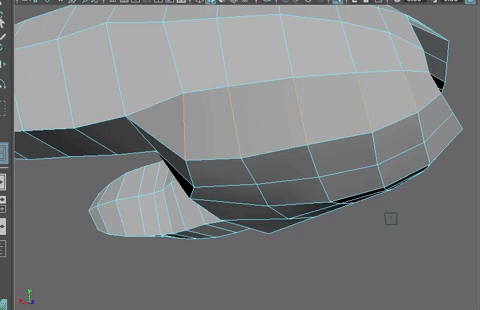
Make the Palm of the Hand from extracted faces of the wrist, or from a cylinder with the same resolution as the arms without the caps. Insert a couple of edges. Shape it and line up the fingers and palm roughly.

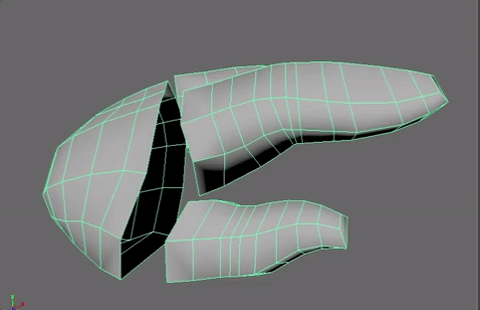
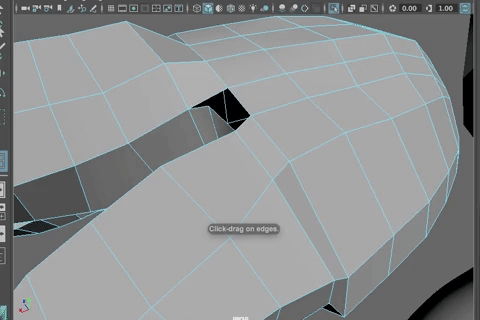
##Joining fingers and palm
Delete the faces of the palm and the ends of the fingers if needed, to make some space for joining them together
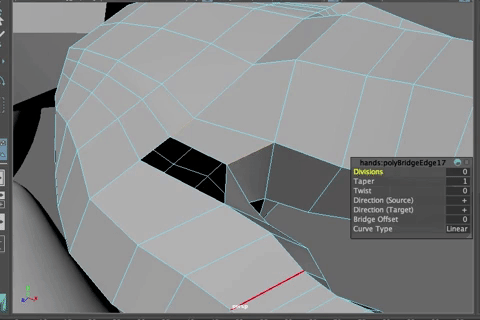
Bridge between the fingers. There is more skin between the thumb and index finger than between the other fingers.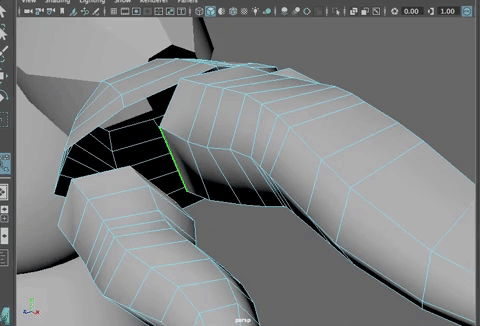
Insert one edge loop or division in each bridge to make an edge to help with splaying of the fingers.
==Adding the extra geometry between fingers is an important step for good motion.==
shape the webbing area between fingers as shown
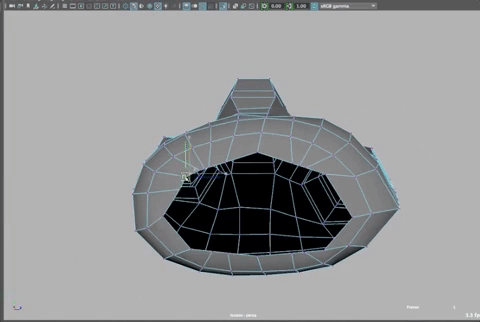
Extrude out the edge of the palm, if needed, to move the edge closer to the fingers to start lining the palm and fingers up for joining.
Start bridging between fingers and palm.
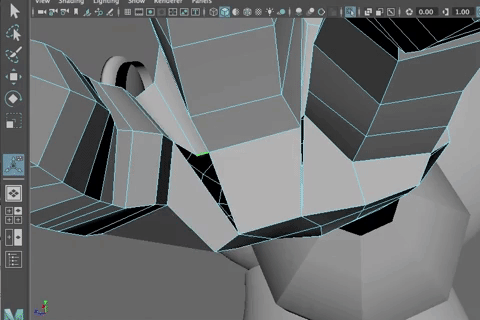
You are going to need more resolution in the palm of the hand because you have multiple fingers to join in.
It is good that you kept the resolution low on the fingers or imagine how much resolution you'd need in the palm!
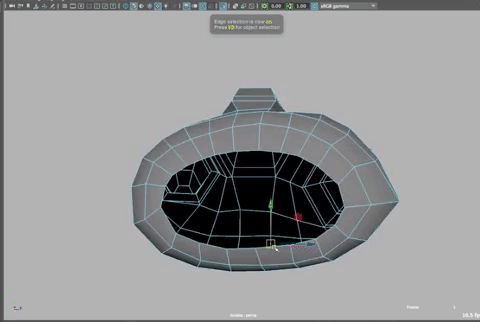
Add edge loops, link where you can, don't worry about too much perfection in shaping just yet, just add edges as needed to join up the hands and fingers.
Use the Relax Tool to smooth out the geometry.
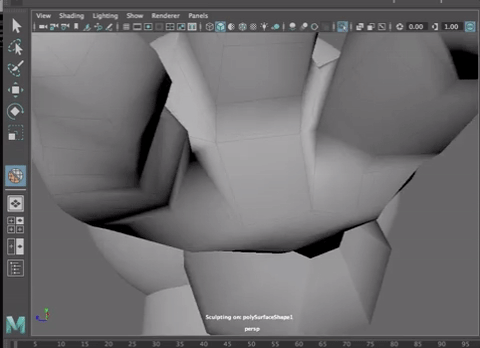
Keept working to figure out how to make it all fit together. Do your best and undo/redo when needed.
Tweak the shape until you like it. Smooth out the edges where the wrist would join.
And then bridge the faces across the back of the hand to create a sort of ball joint
And add edges to make quads.
And edges along the fingers to shape them.
When you like your hands, duplicate over to the other side
You did it!!!!
###Modeling and merging feet and hands, From Character Modeling Method #2 Tutorial:
##Feet
Delete the bottom cap of the cylinder where the feet will be. To make the feet, make sure your bottom edge is straight, with the shaping the way you want it to be (check the roundness and shape in the perspective window.
 yours should. I tried a different way when making this tutorial, but I
think keeping the cap is simpler).
yours should. I tried a different way when making this tutorial, but I
think keeping the cap is simpler).
Here Is how I like to work:
Extrude the bottom at the ankle, all the way to the bottom of the heel. The select the front four faces and extrude the forward to the front of the foot.

Clean up the edges and make sure your ankle is in the right place and edge flow up the lower leg is good.

Round out the edges on the foot.

Keep making sure your edges along the ankle are nice and straight

Now insert an edge loop around the foot and scale in X

Add more edges as shown

Shape it nicely.
If you are doing toes, don't extrude as far forward at first. Then, you will need to create another face for the little toe and tuck that extra edge into the top and bottom of the foot, making a triangle if needed. Then shape each toe so the vertices are in a good shape for that toe (pay attention to how toes are shaped) and then extrude once to the joint in the toe, reshape and extrude again to the tip of each toe (do them one at a time). Keep checking in 3 mode. Move and shape and scale until you get the look you like.


Look closely at your image plane but also at foot images and your own foot/shoes to get the shaping correct. Size your toes appropriately. Each toe will be two extrusions, one to the center of the toe and then shape the verts and then another extrusion to the tip of the toe, scale and shape as shown above.
Check your model in 3 smoothed mode along the way.
Freeze transformations
Delete the history.
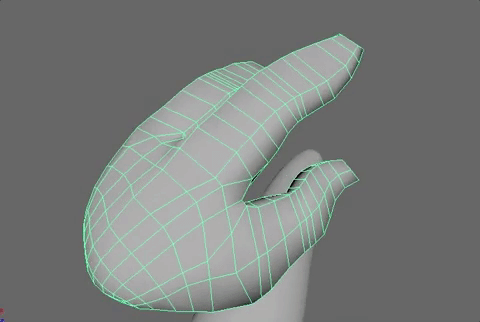
##Hands
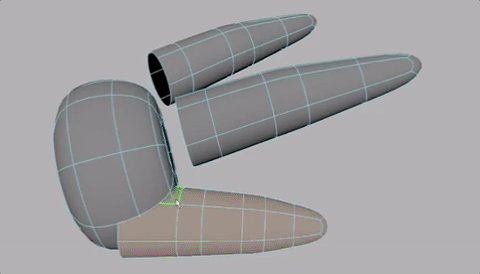
Create a cylinder for the hand, rotate it and put it into place. Make the subdivision axis to 8. Match the verts to the verts at the arm.
You can duplicate and create each of the fingers. Delete all the faces on the front and back of the finger and palm.

Continue along, roughing out the foundation. Keep duplicating and moving

Do the same for the thumb.

Select all the objects and choose Mesh> Combine. Now they are all one object.
Select two edges on each finger, between the pointer and middle finger. Extrude and scale in Y

Then merge the vertices (Merge to Center)
Do the same for the other fingers.

Keep going until all four fingers are connected by the webbing.
Select the edges facing the palm and extrude toward the palm, then extrude again as shown

There are too many vertices to merge this to the palm of the hand. Select the verts at the edge where the web comes together and merge them to center

Do the same for all the fingers

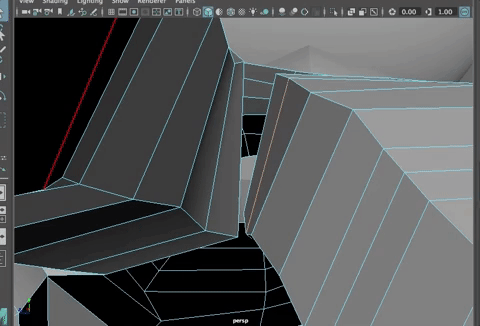
Then delete the edges that are in the middle of each of the triangles you just created and delete them to make a quad.


Move the edges along the palm of the and so they match better with the edges along the pinkie and pointer.

Insert edge loops along the palm as shown

And then one in the middle

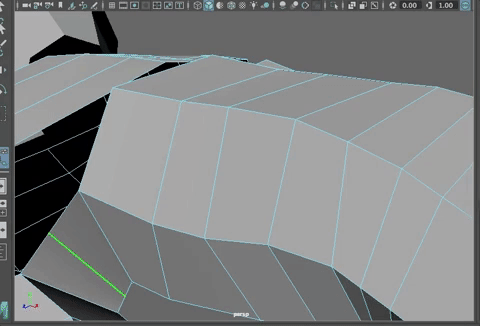
The tumb connects at the four faces along the thumb side. Delete those faces


Insert edges to meet the web of each hand.

Shape the palm a bit.
Insert a few more edge loops so the hands connect nicely to the edges of each finger.

Plus a couple along the palm as shown above.
Connect the vertices as shown

This will help the palm bend nicely.
Then use the split poly tool to connect an edge between the two verts and make a straight edge from down the palm as shown

Move the thumb verts into place to see how they will connect.

Merge the vertices of the thumb to the verts of the palm.

Remember that the g key repeats the last command so you can select two verts and hit g.
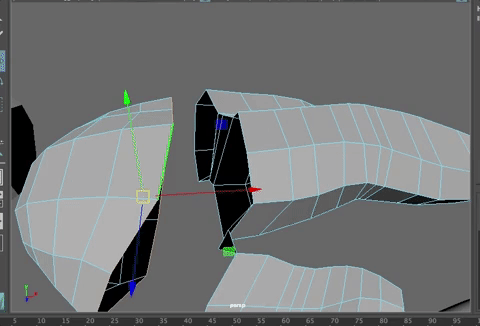
Do the same along the palm of the hand and fingers. We need to fix the top of the hand still, so that will be next.

Keep going as far as you can around the top of the hand, but you won't be able to get very far.

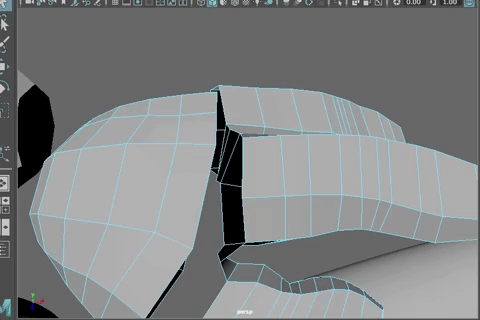
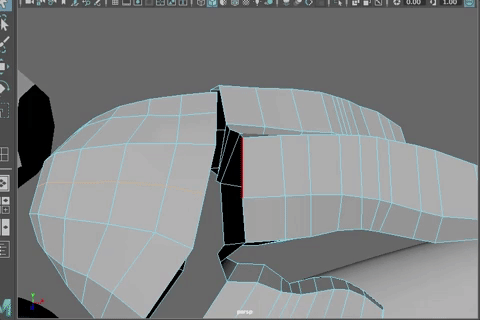
Insert 6 edge loops along the top to match. Use the Multiple Edge Loops Option in the Insert Edge Loops Options Box. Choose 6
Insert 6 edge loops along the top to match. Use the Multiple Edge Loops Option in the Insert Edge Loops Options Box. Choose 6
Insert 6 edge loops along the top to match. Use the Multiple Edge Loops Option in the Insert Edge Loops Options Box. Choose 6
Insert 6 edge loops along the top to match. Use the Multiple Edge Loops Option in the Insert Edge Loops Options Box. Choose 6

Insert the 6 edge loops on each side of the center.
Merge verts between the fingers and the top of the

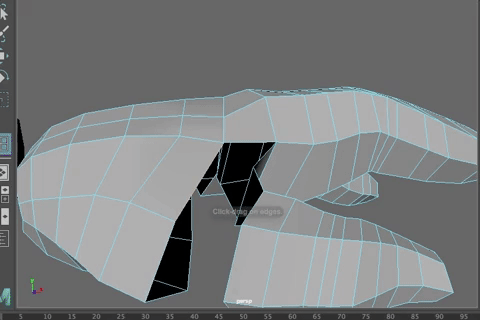
Then you just need to clean up the shape a bit to look more like a hand.
Add another edge loop right below where the fingers and palm meet

To reduce the number of edges going into the arm, merge vertices to the center as shown

Then you can delete the edges that will connect up as shown here

And, as before, delete the edges in the center of the triangles to make a quad

You can slide edges and use soft select to select verts and shape the hand. The add a bunch of edges along the index finger, putting three edges at each of the knuckles for lots of bend.

To make the tips of the fingers, select the edge ring at the tip and go to Mesh>Fill Hole
Then use Multi Cut tool to cut the shape into quads by making a cross in the tip.

Do the same for the thumb. Shape the hand, moving the thumb down a bit as it does on your hand. And add bend. Add edges as needed.
Do the same for all the other fingers and shape as needed.