Practice: God Rays in Arnold
CS22/122 Loeb
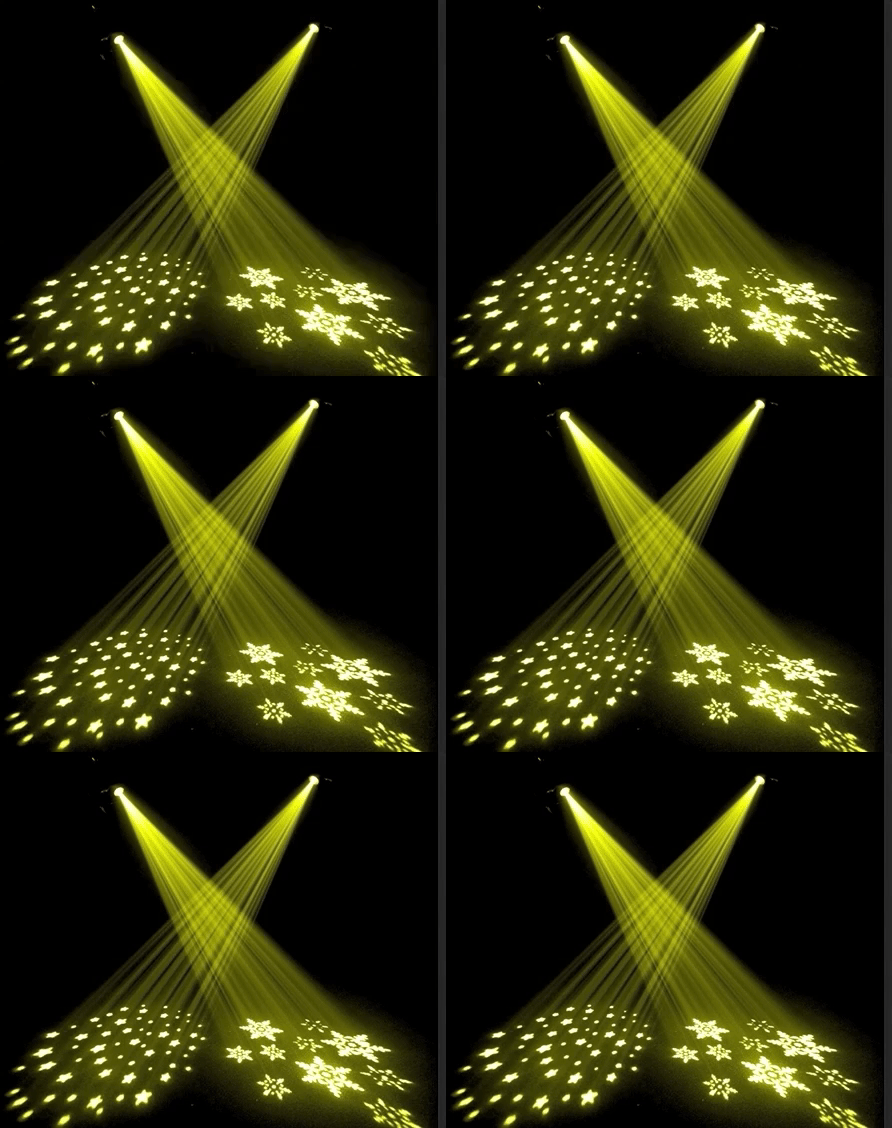
God rays happen naturally when rays of light are passing through a volume of materials/particulates, such as fog or dust.
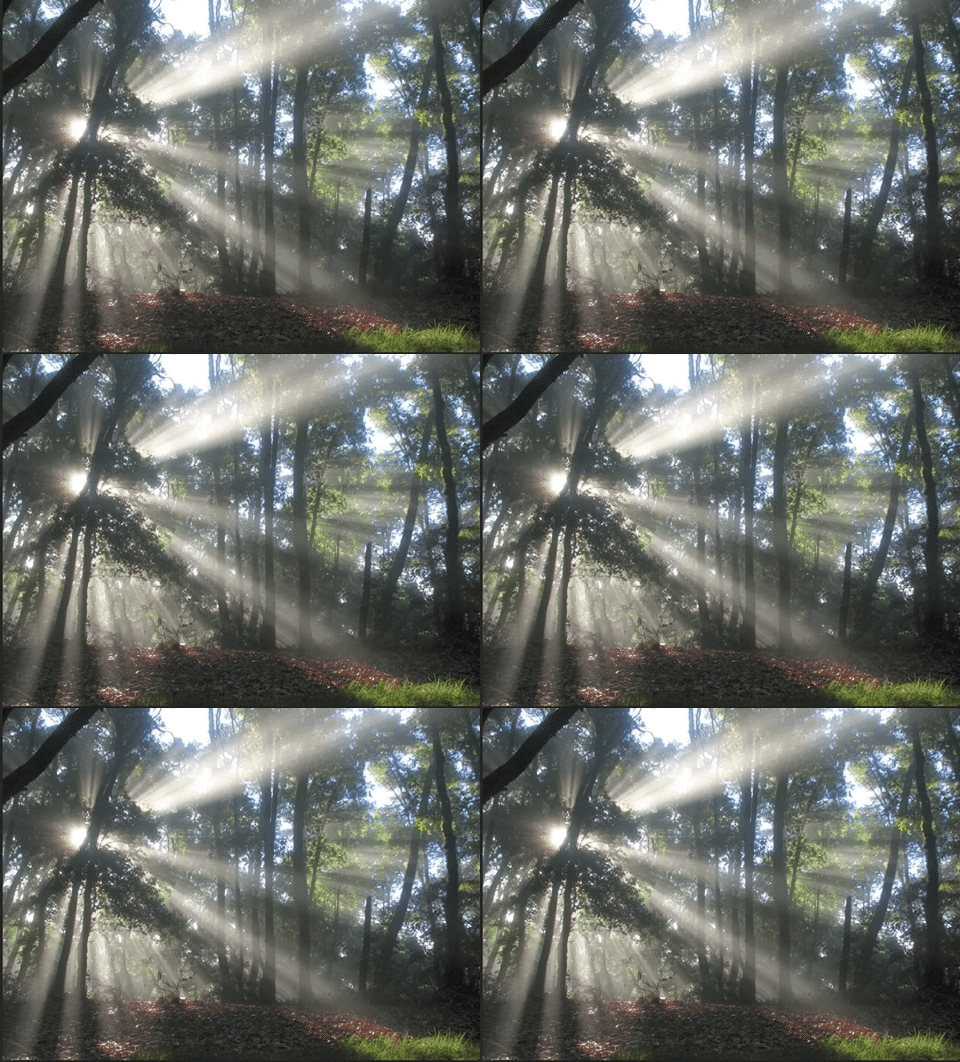
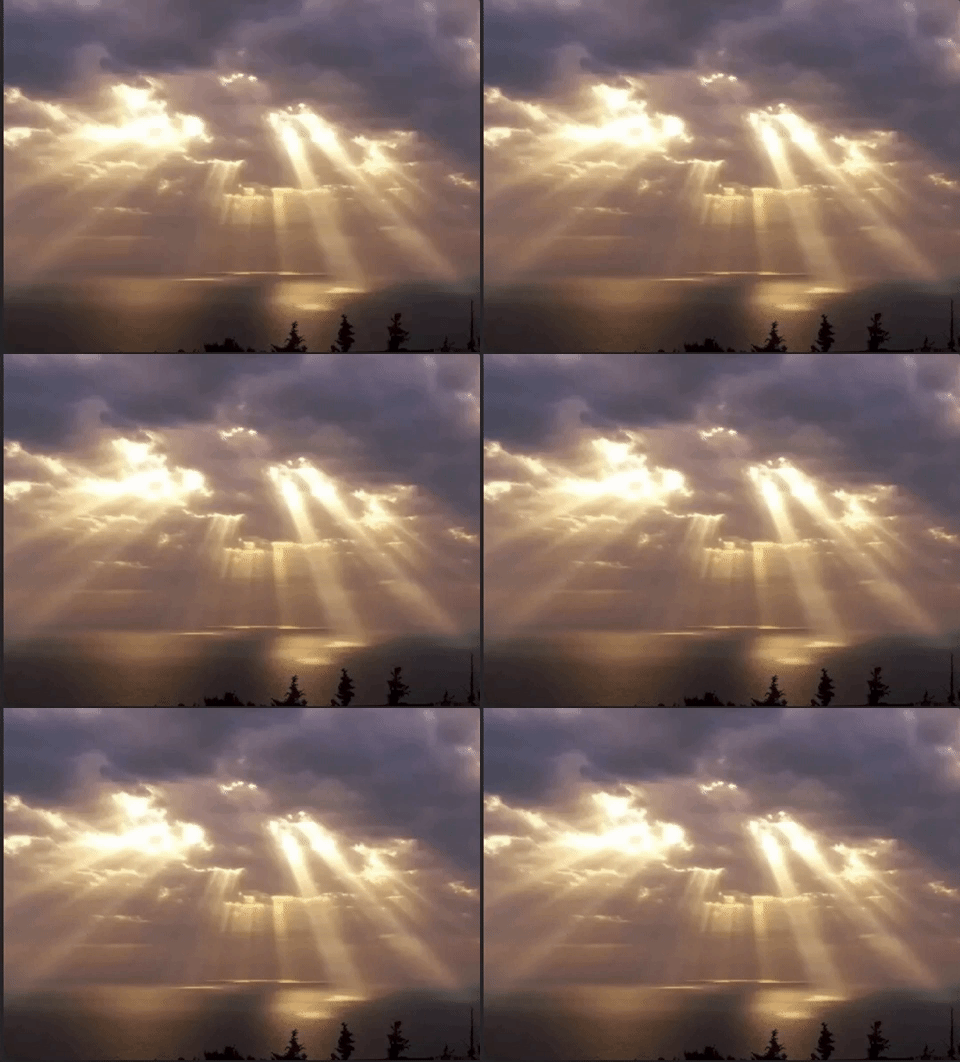
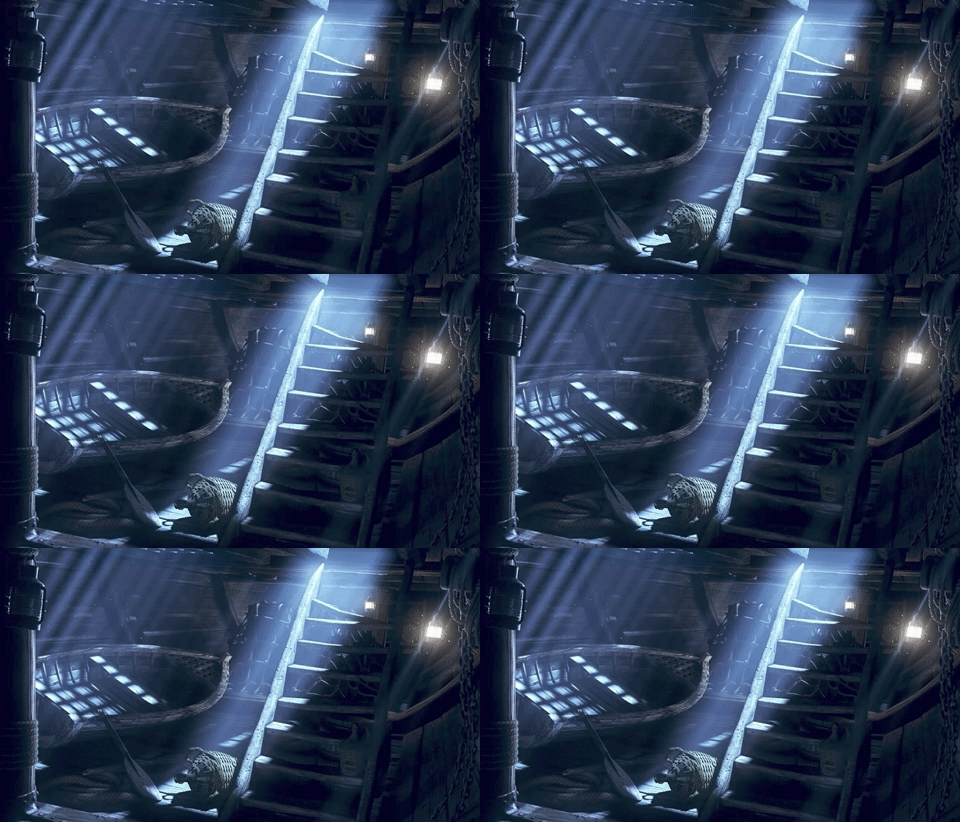
There are a few ways to create them in MAYA, but here is the simplest method:
Open your practice project
- Create a new scene
- Create a plane and scale it out to around 25 in x, y, and z
- Create a Maya Spot Light

NOTE: You can make this same effect with a spotlight, area light or point light.
- Rotate the Light -90 in X so that it is pointing down towards the plane
- Move the light upward

- Render - the scene is black
Spotlight Settings
Open the Attribute Editor for the Light (CTRL + a with light selected)
Under the Arnold Tab
- Increase Exposure to increase the intensity of the light, to something that makes your light render as a bright white disc on the plane
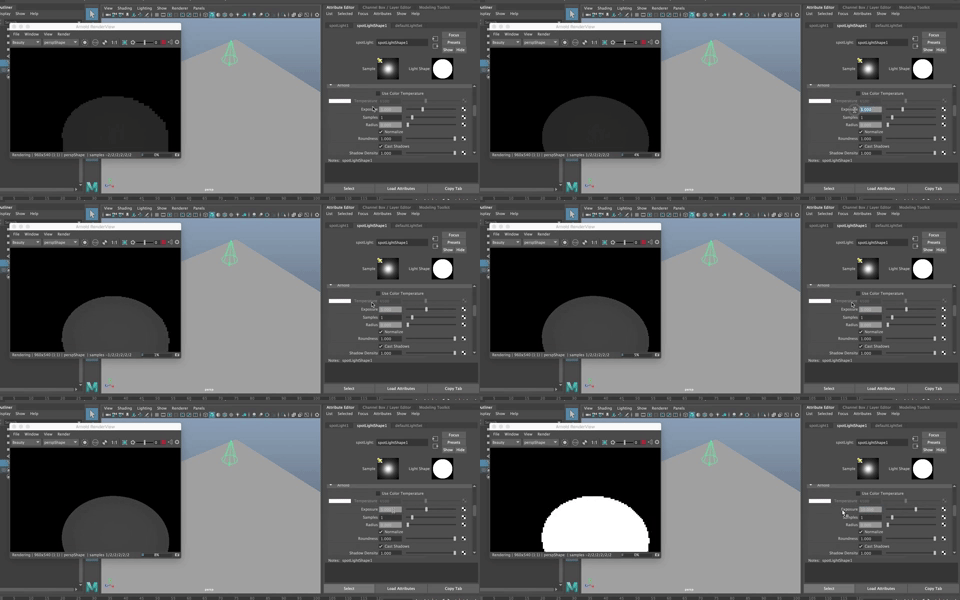
Under the Spot Light Attributes
- The Cone Angle changes the size of the disc by widening the bottom of the spot light
- The Penumbra Angle softens the edges of the disc to make a softer/harder edge
- The Drop Off relates to how the light intensity changes from the center of the disc outward. The Higher the drop off, the faster the light intensity decreases as it moves outward on the disc of light.
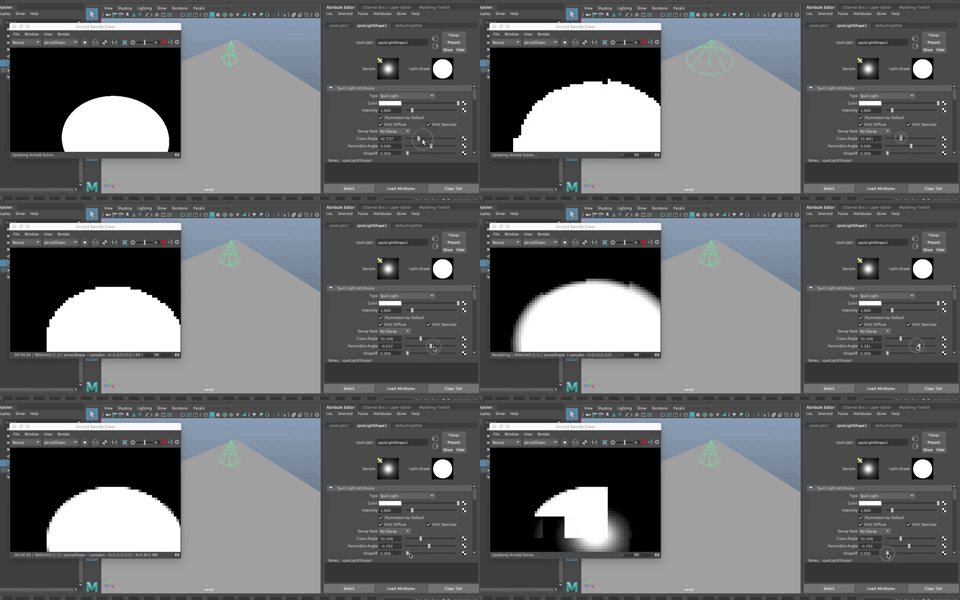
For this example, you'll want a pretty strong light with little softness around the edges and no drop off.
In Render Settings
- Open the Render Settings Window
- In the Arnold Tab, Go to Environment
- Click on the checker to the right of Atmosphere to add a node to the Atmosphere
- Choose aiAtmosphereVolume
- Close Render Settings
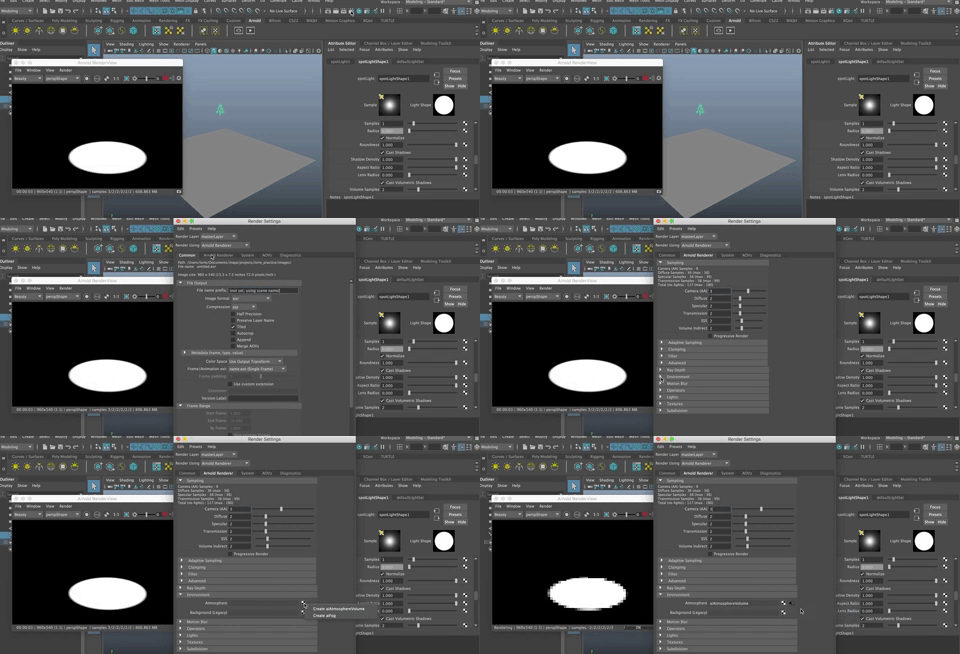
In the Attribute Editor
- The aiAtmosphereVolume node should be open in your Attribute Editor
- Change the density to increase the density of the particles the light is passing through. In my case, a very small number, such as .01 works best
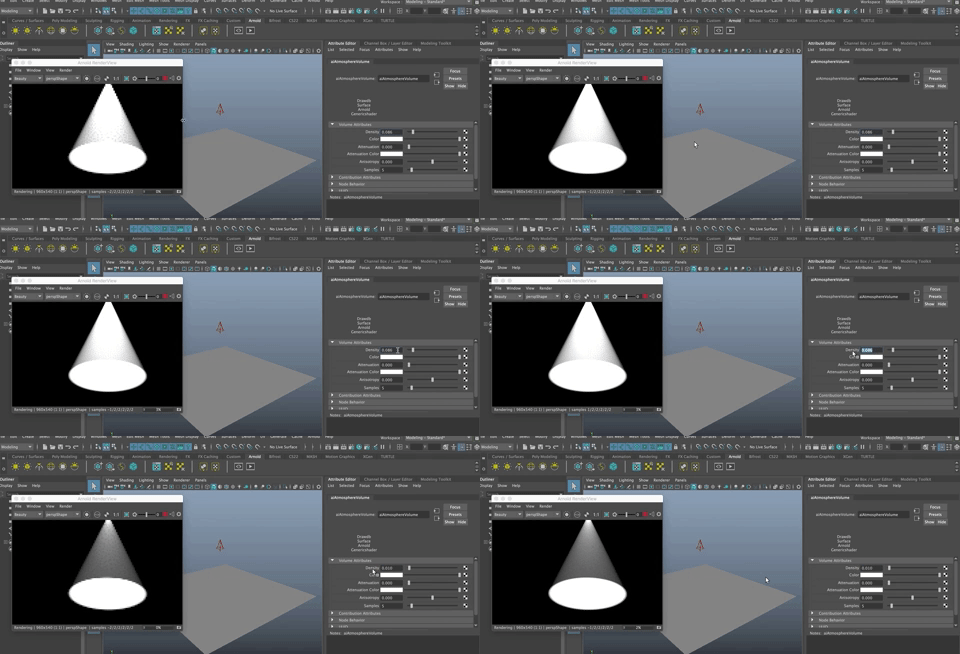
- You can change the other attribute values, of course, you can:
- add color to the volume
- add attenuation, which is the drop off from the light source to the ground
- Add a color to the attenuation which creates a filter that is quite lovely in that it is a gradient
- Anisotropy focuses the volume so it is more linear in nature
- Samples increases the quality. 5 is good.
This looks good but how do you get those ray like streaks? Let's find out...
In the Attribute Editor
- Select the Spotlight again
- The SpotlightShape node should be showing in the Attribute Editor, if not, navigate to it.
- Scroll down to the Light Filters Tab
- In the
Box, choose gobo
A gobo is a plate that goes in front of a light in theater or film that creates patterns by blocking some areas of light. It is like a stencil for light.
- Add a Fractal to the Slide Map by clicking on the checkerboard
- Then choosing Fractal (if you don't see fractal, be sure you are in Maya 2d textures in the Create node window)
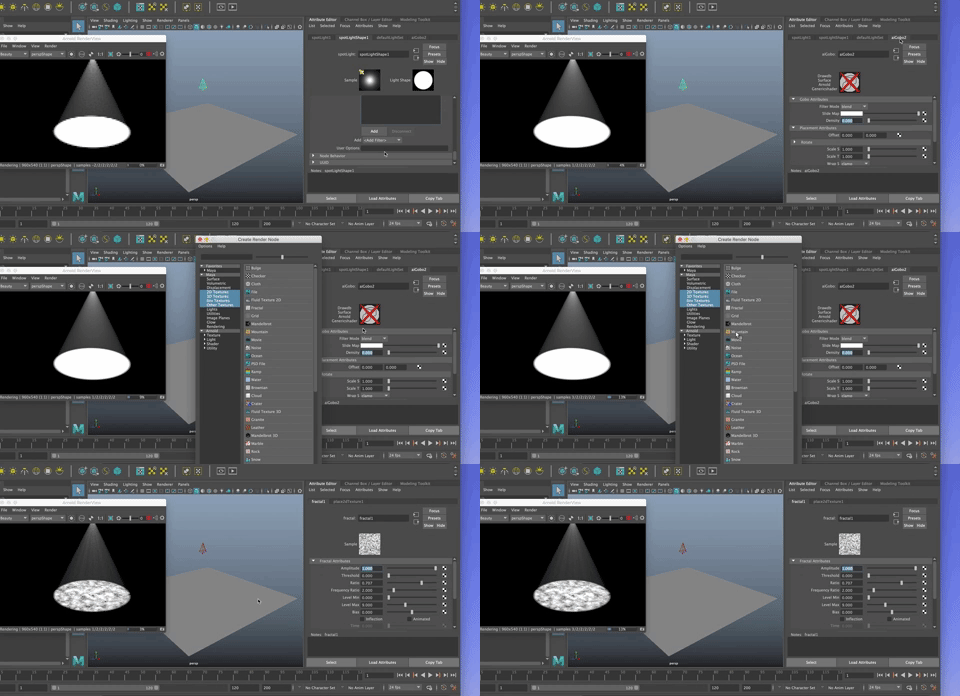
- A Fractal image is a repeating pattern created by recursions
- Now you see rays of light, especially if you zoom in

You can change some attributes on the fractal image by changing the amplitute, threshold, etc. You see the changes in the Sample Square
Having even more fun with Volume Lights
Let's keep playing. You can save your scene naming it Spot God Rays or something else you like.
Start a new scene
- Create a Sphere and scale it up
- Go into faces component mode
- Select random faces around the sphere and delete them.
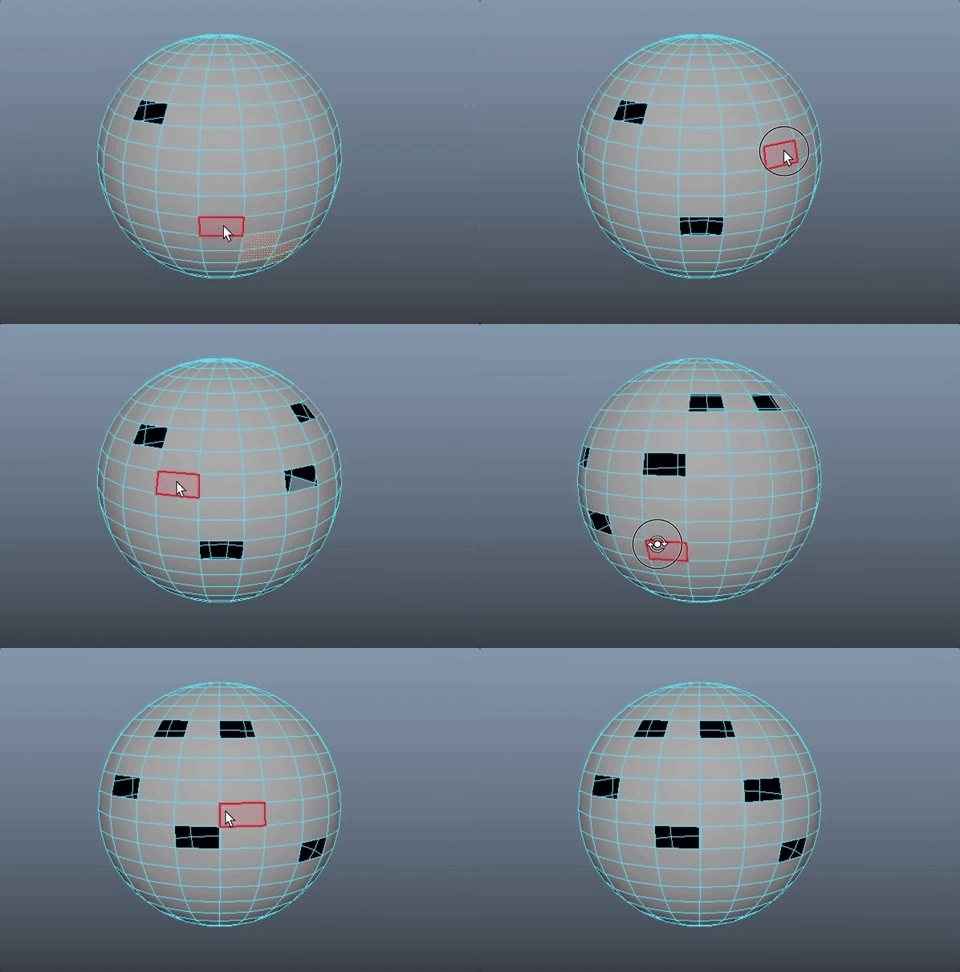
We want to have light emitting in 360 degrees from the center of the sphere. Can you remember which kind of light shines in 360 degrees from a single point?
(Answer: Point Light)
Create a point light and move it to the center of the sphere if it isn't already there.
Nothing shows in the render because the exposure is too low. Fix this by going into the Arnold Tab for the point light and increasing the exposure until light is radiating from the deleted faces.
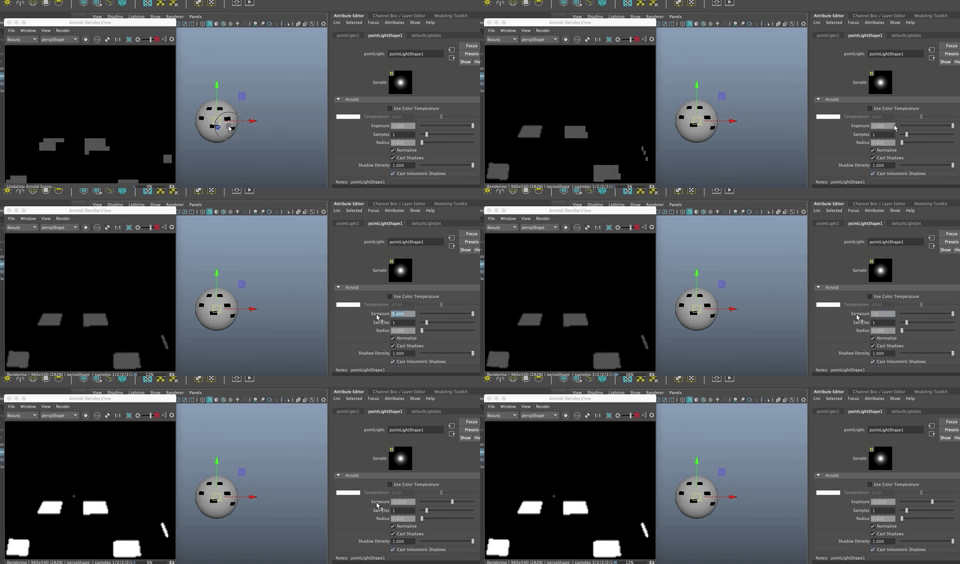
Now, in the Render Settings, do the same thing you did before.
- In the Arnold Rendered Tab, Under Environment Tab, choose Atmosphere and aiAtmosphereVolume
- Nothing happens
- Increase the Density

(You may need to Update the Full Scene in the Arnold Renderer)
If it is way too bright, you can decrease the Exposure of the point light itself
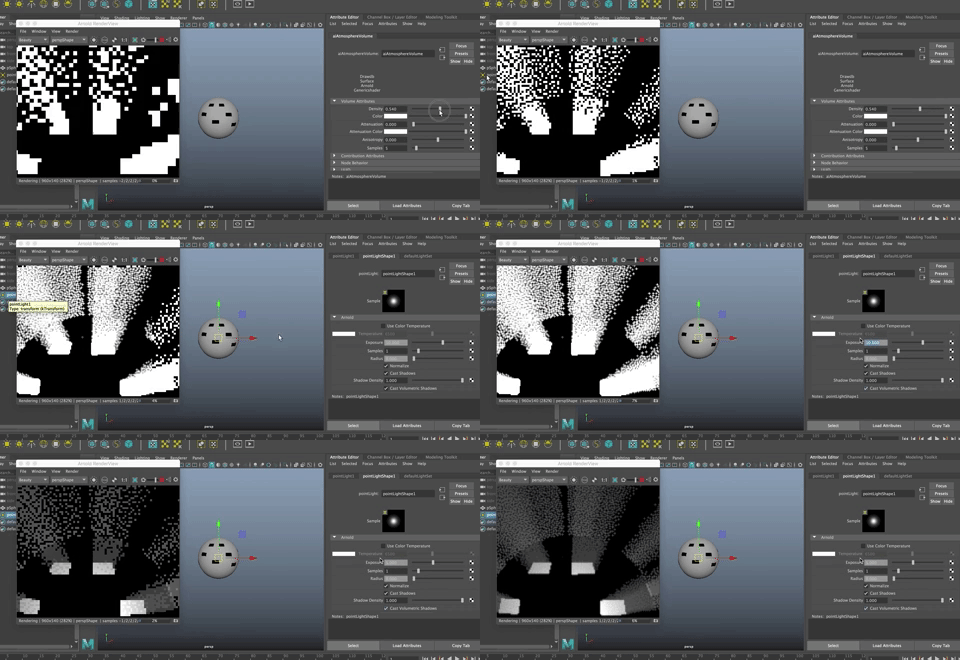
You can already get some nice effects.
If you want to keep working on the aiAtmosphereVolume node, you can find it in Render Settings by clicking on the arrow in the environment tab
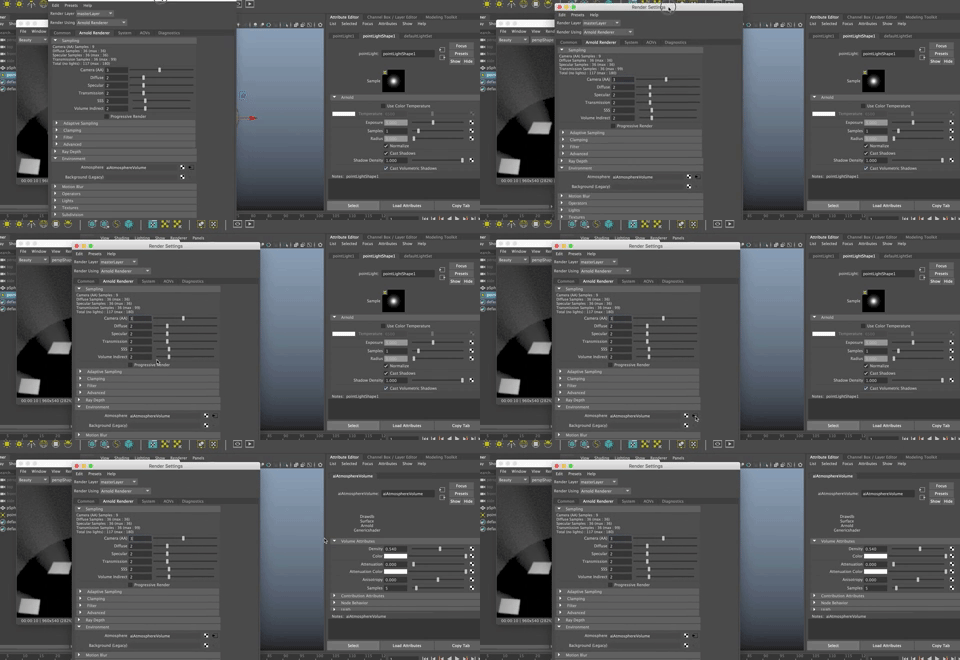
In the Attribute Editor for the volume you can
- Change the density
- Add a color
- Try clicking on the Checkerboard to the right of color and adding a Ramp
- In the attribute editor for the ramp node, move the ramp indicators around and add color. This makes a gradient of the light around the point light
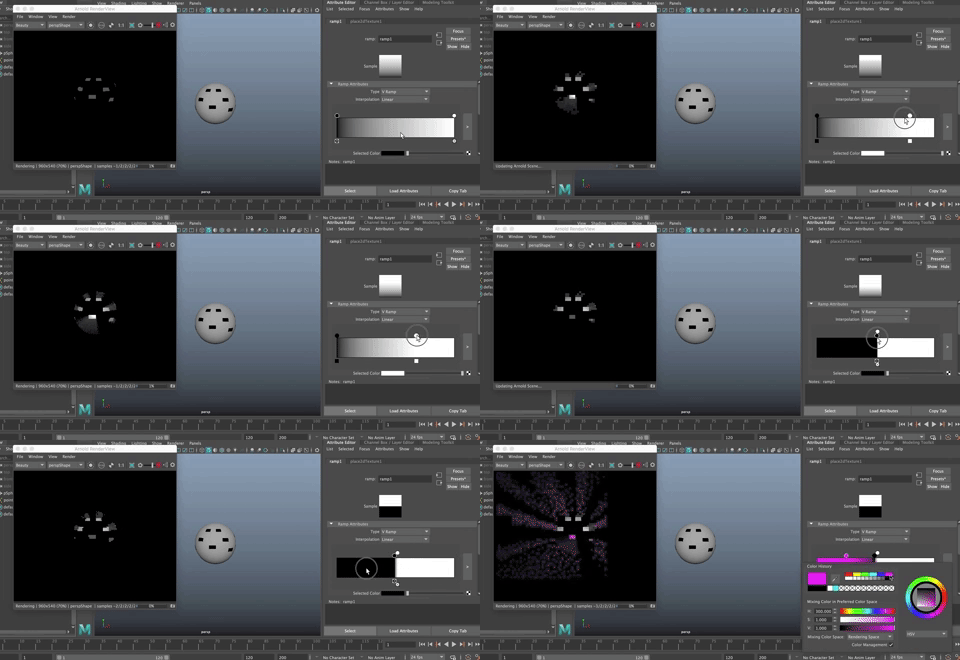
*Note: You cannot add a gobo to a point light because the source of the light is too small to block.*
To make the renders look better, you will want to increase the Camera Anti-Aliasing (AA) in render settings, which we will get to in the Rendering Tutorial.
SAVE this file as we will use it again when we do MASH. Call it GodRaySphere or something like that.