Creating Eye Controls
CS22/122 Loeb
We want to create a character who seems to have a soul--a character with personality. As the eyes are the window to the soul, we want to spend some time thinking about how the eyes will move.
Eyes blink. Blinking makes a character seem like they are thinking. In real life, we blink to keep our eyes moist and to proptect our eyes from bright lights or dust or something like that. We also blink when we turn our head (I believe this is because it is too hard to focus on anything when your head moves quickly) and we blink when we are focusing inward in thought. Double blinks can mean surprise.
In animation, blinking is generally used as an action that connotes thought or internal focus. If a character doesn't ever blink they look very robotic.
Blinking is usually controlled through animating the lids (if you used a NURBS sphere) or with blend shapes. This tutorial is not about that.
In this tutorial we are creating controls that allow a character to turn their eyes to look in various directions.
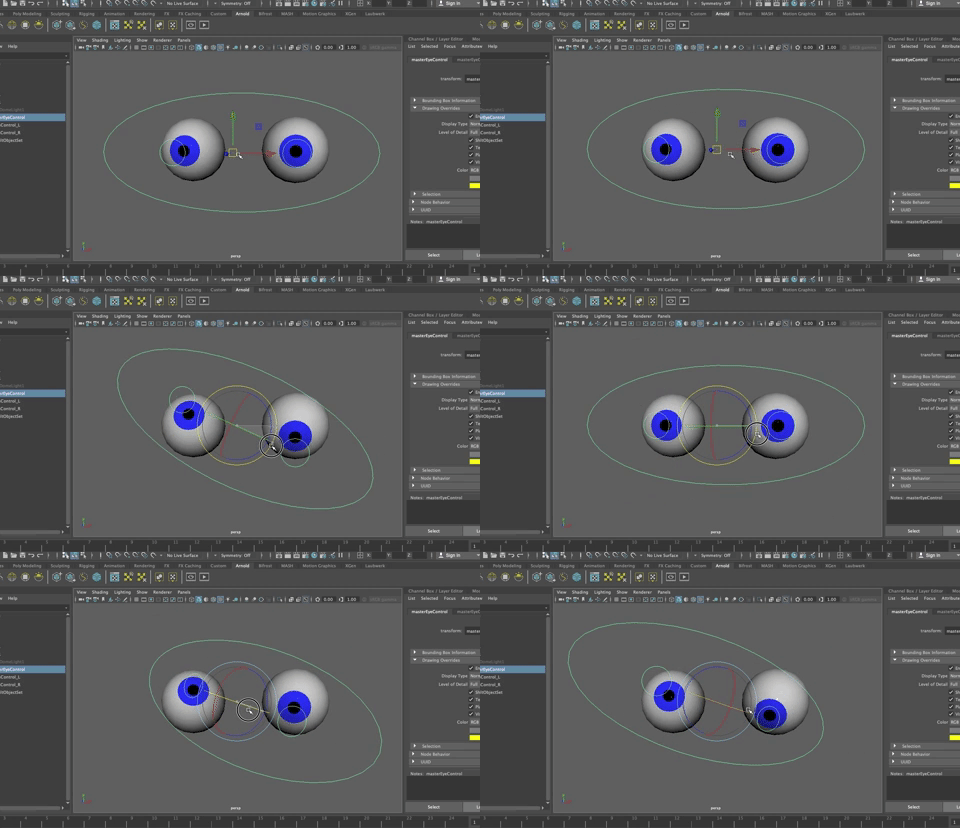
First, if you followed the eyeball creation tutorial, and you still have separate pupils and you need to parent each pupil to each eyeball. First select a pupil, the shift select the eyeball, hit p to parent. Repeat for the other pupil and eyeball.
The eyelids will be parented to the head control later.
- For most of you, open the scene called eyeBallsAimConstraint.mb or open the scene from the Rigging Scenes Folder you downloaded earlier.
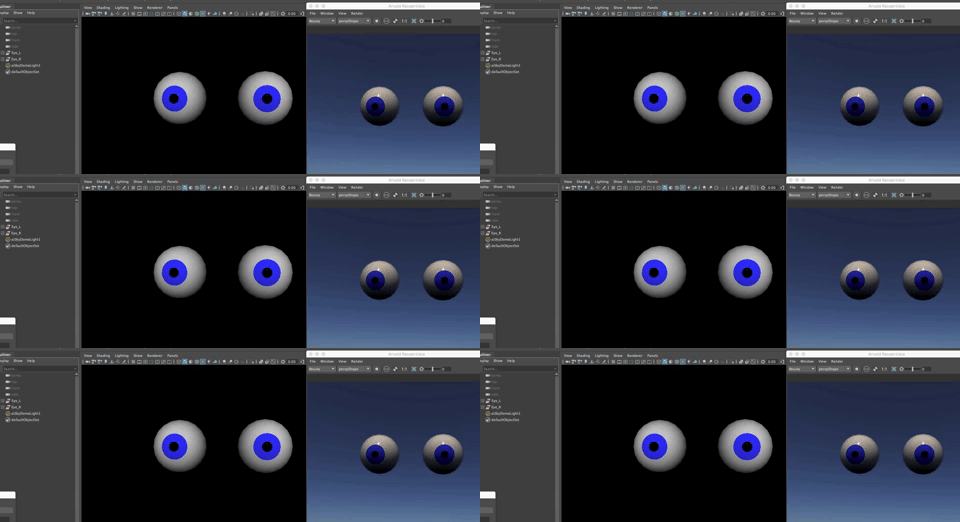
This is a scene with two simple polygon eyeballs, a ramp shader for the iris, and a physical sun and sky.
Our goal is to create three controls:
- A control that allows you to move the eyes up/down, left/right, around
- A control that allows you to move just the right eye left/right and up/down
- A control that allows you to move just the left eye left/right and up/down
Create Controls
Let's start with the individual eye controls
We will use controls that are in a circle shape, just larger than the iris.
- Create a NURBS Circle
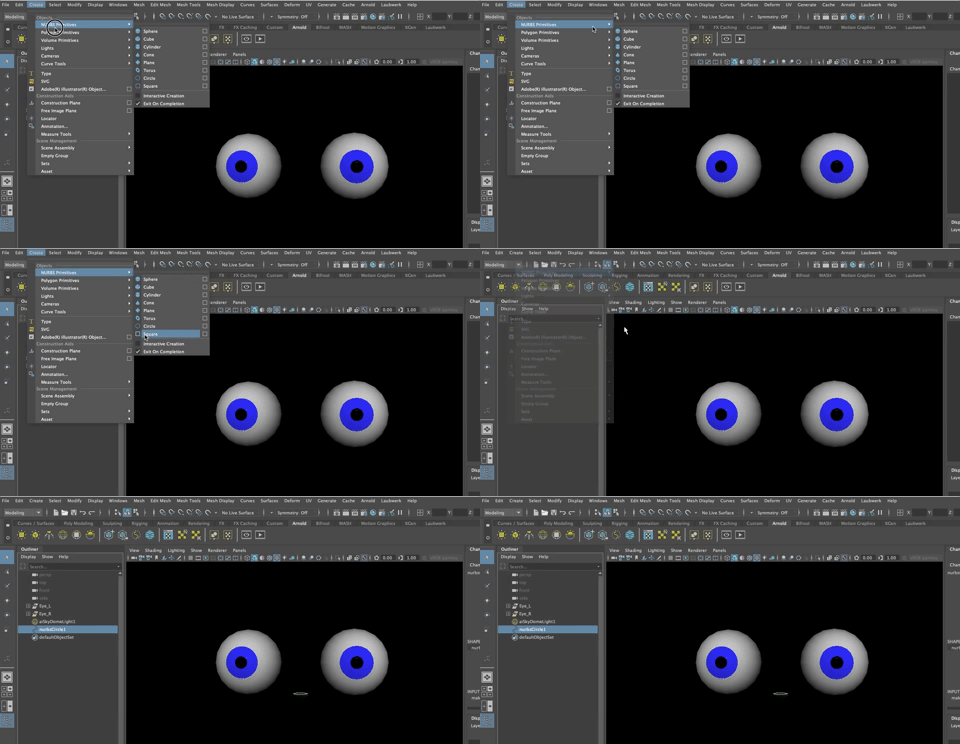
- Rotate it 90 degrees in X
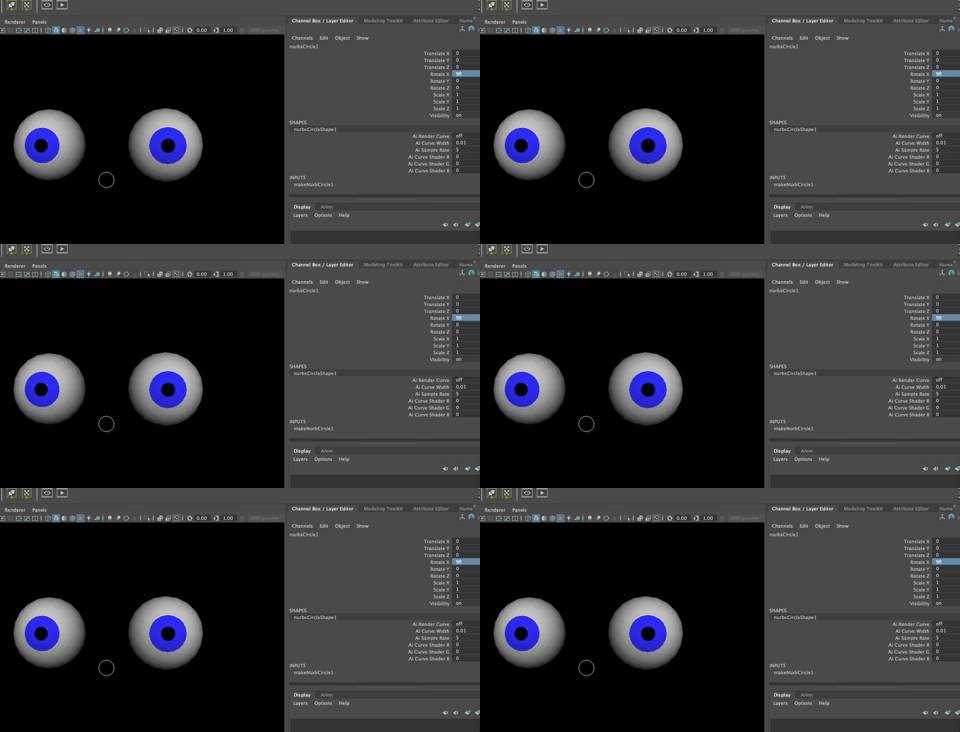
We want to line the cirle up with the where the pupils are. Here is a trick to do that. Point Constrain the circle to the pupil!
Try it:
- Select the object you are constraining to (Iris_L)
- Shift select the object you are constraining (nurbsCircle1)
- In the Rigging Module> Go To Constrain>Point>Options Box
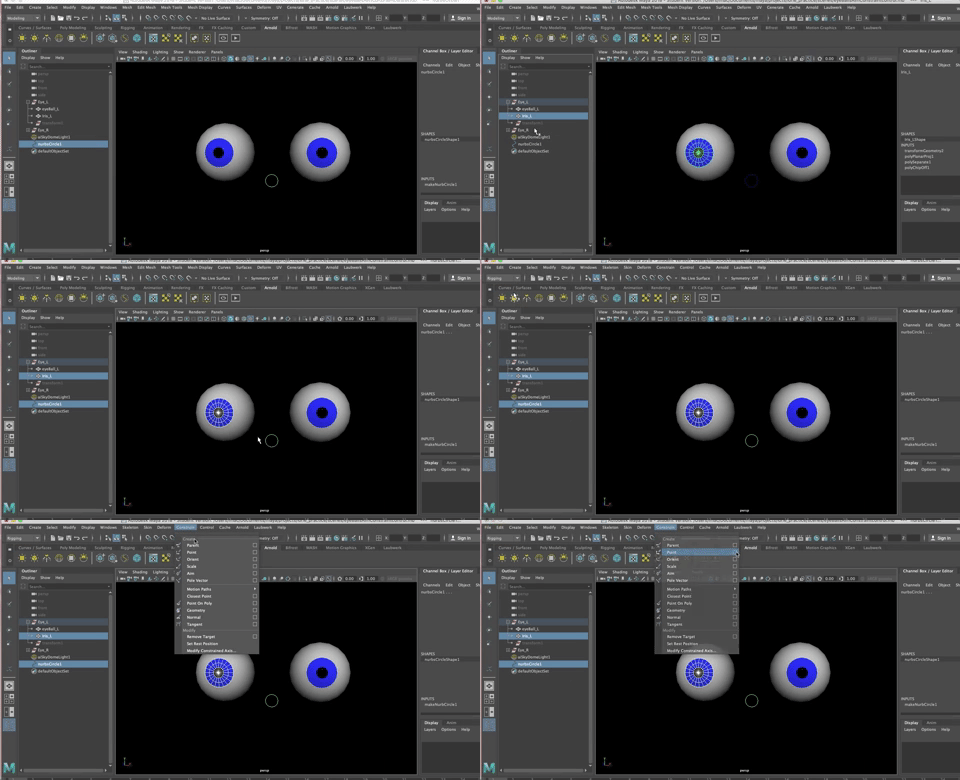
- Make sure "Maintain Offset" is checked OFF
- Hit Apply
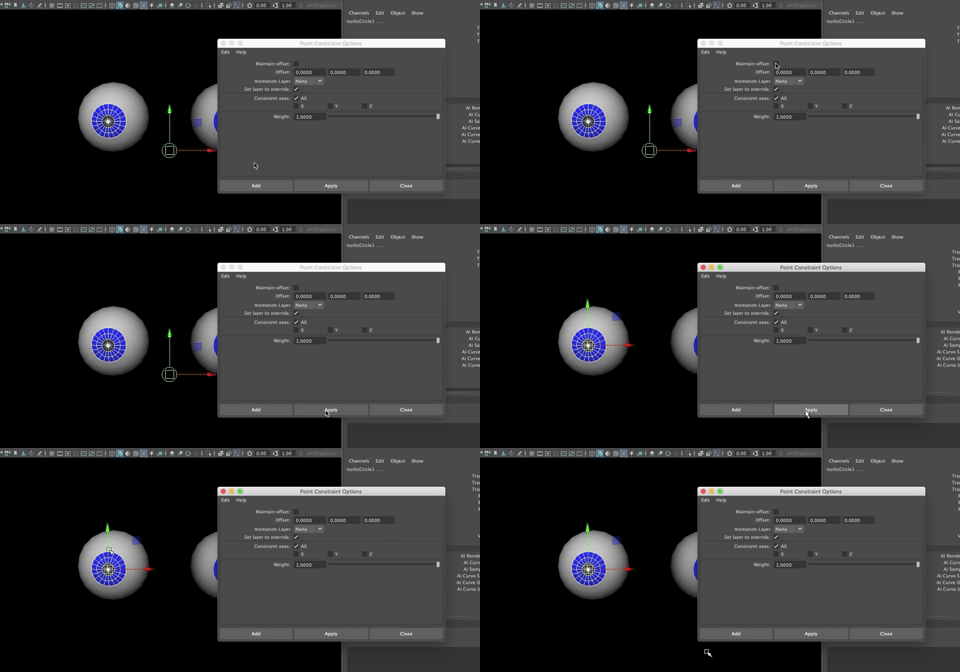
The Center Pivot of the NURBS circle is point constrained to the Center Pivot of the left iris.
Repeat for the Right Eye
- Create a NURBS Circle
- Rotate 90 in X
- Point Constrain the circle to the Right Iris
Delete Point Constraints
We created the point constraints simply as a method to line up the circle perfectly to the iris, but we don't actually want the constraint to stay active.
Remember that the constraint attribute is attached to the constrained object.
- Select either of the nurbsCircles in the Outliner
- Open up the hierarchy
- Delete the constraint
- Repeat for the other one
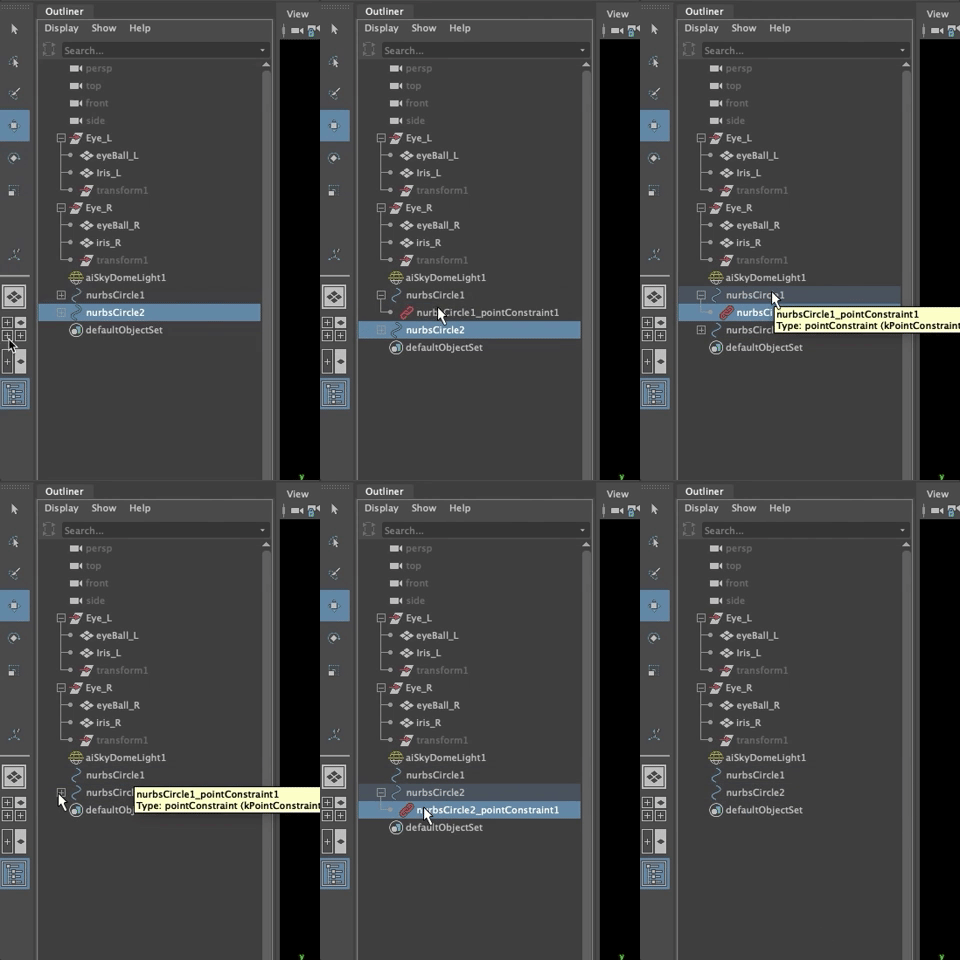
The circles stay in place but the Constraint is gone.
Rename the circles to eyeControl_L and eyeControl_R (Remember, the right eye is the character's right eye)
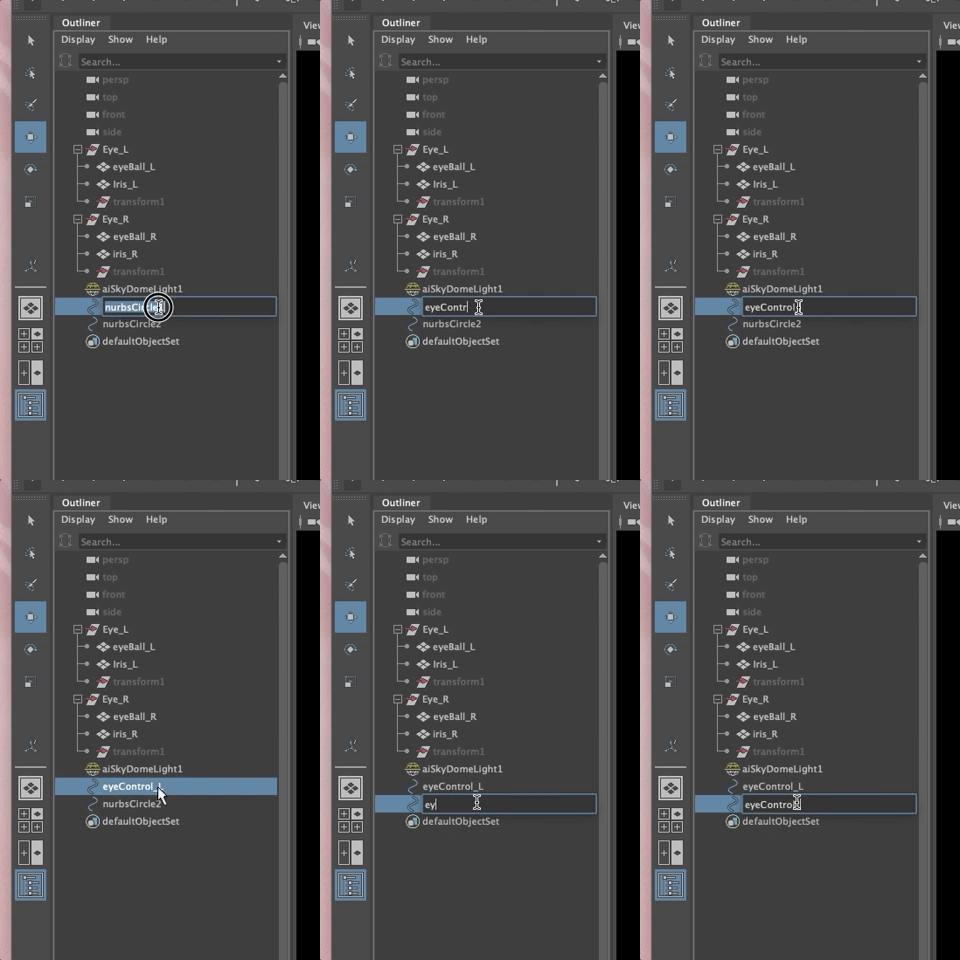
Scale the circles up so they are larger than the pupil
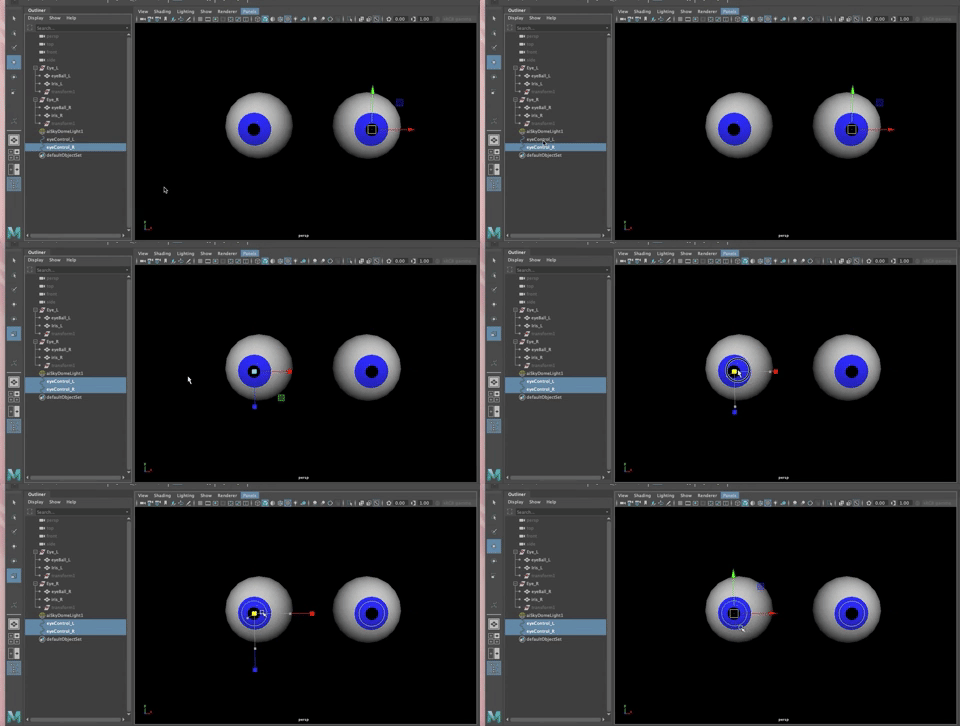
- Translate them in Z so they are in front of each eye.
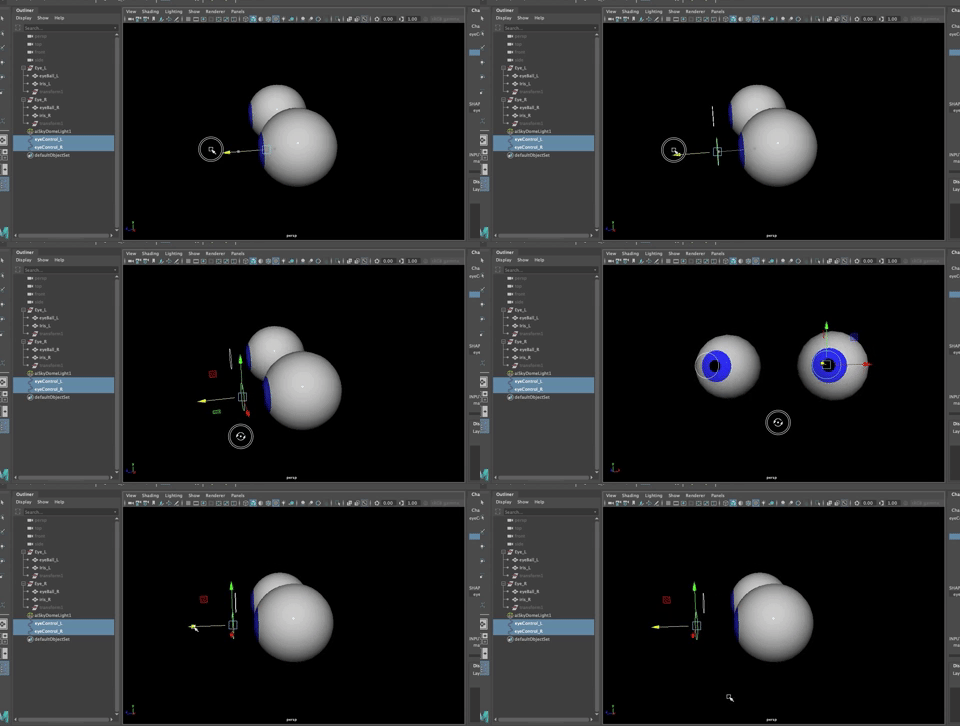
- Freeze Transforms on the two controls. (Ctrl + shift + f)
Aim Constraint
Now we want each control to move its corresponding eyeball left/right or up/down. Using an Aim Constraint will allow this.
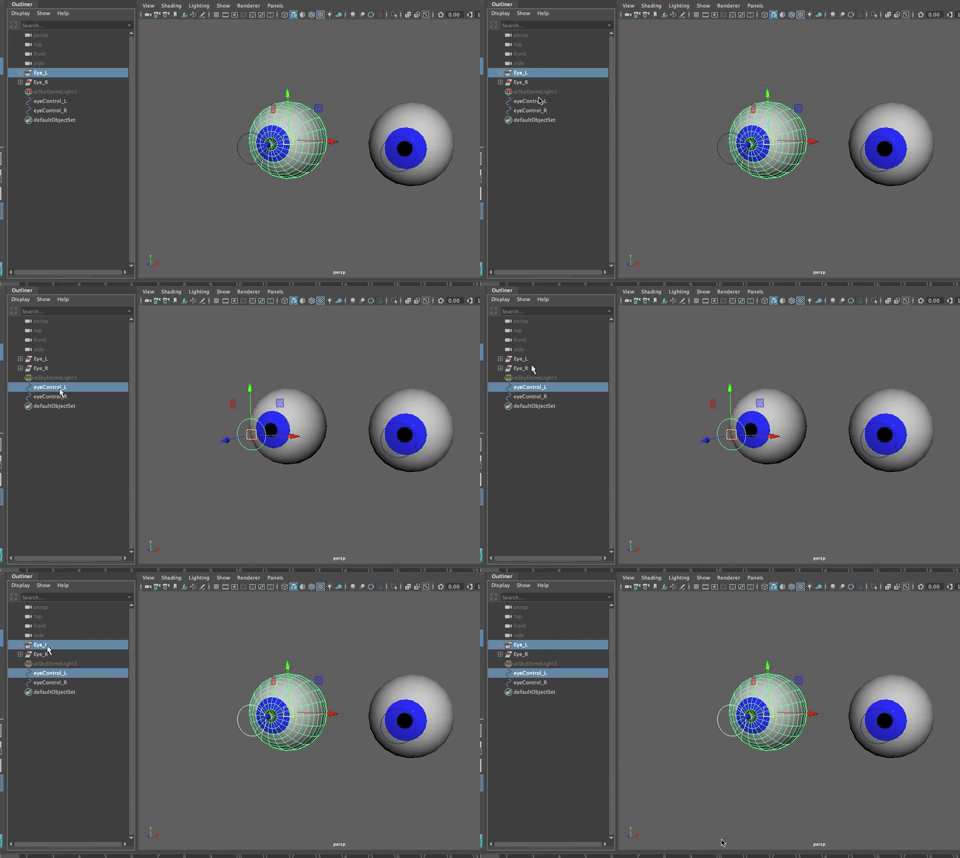
- Select the object that is leading the motion (eyeControl_L)
- Select the object being constrained (Eye_L - the whole eye including the eyeball and iris)
- Go to Constrain>Aim>Options Box
- Make sure Maintain Offset is checked ON because you want the distance/aim between the control and the eye to stay the same.
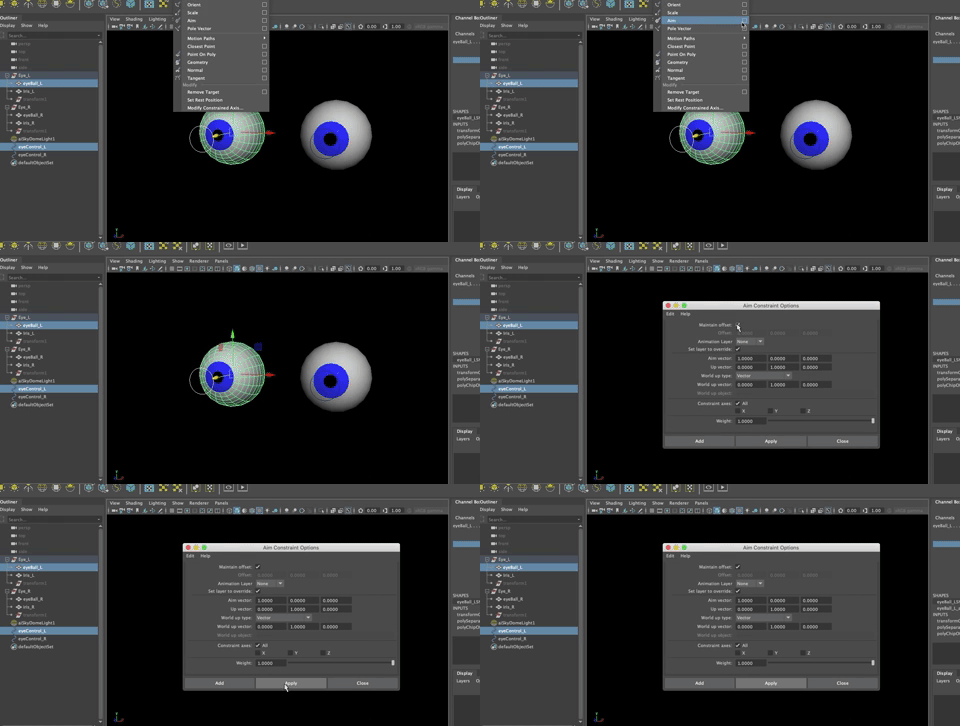
- Do the same for the other eye/control and eye
Now if you move either control, it also moves the gaze of that eyeball.
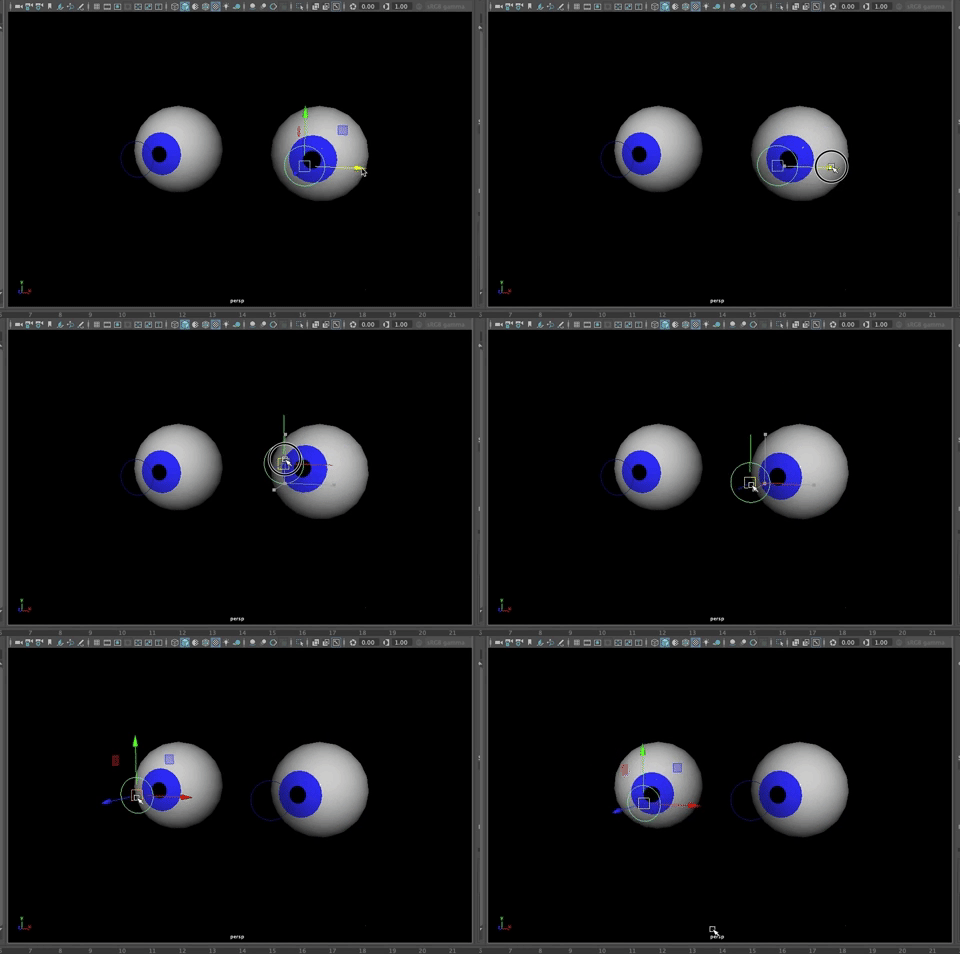
- Go back to the original position, making sure all the translate values you may have changed are back to 0
Making the Control for Both Eyes
In addition to controlling each eye individually, we want to be able to control both at once. In humans, both eyes almost always move at the same time.
We will create a new control and parent the two eyeControls to it.
- Hide the SkyDome so it is easier to see the scene
- Create a NURBS Circle
- Rotate it 90 degrees in X
- Scale it up in all directions
- And Scale it so that it is an oval that could fit around the controls
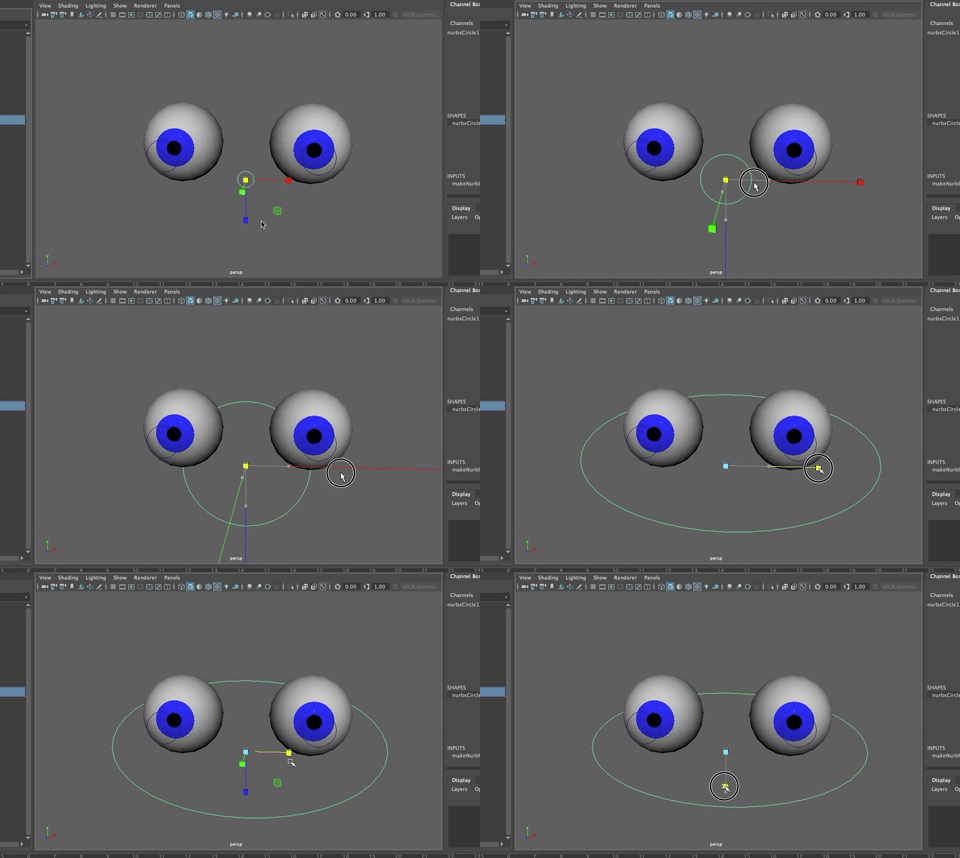
- To line it up, use the point constrain method you used before, but select both eyes then the circle
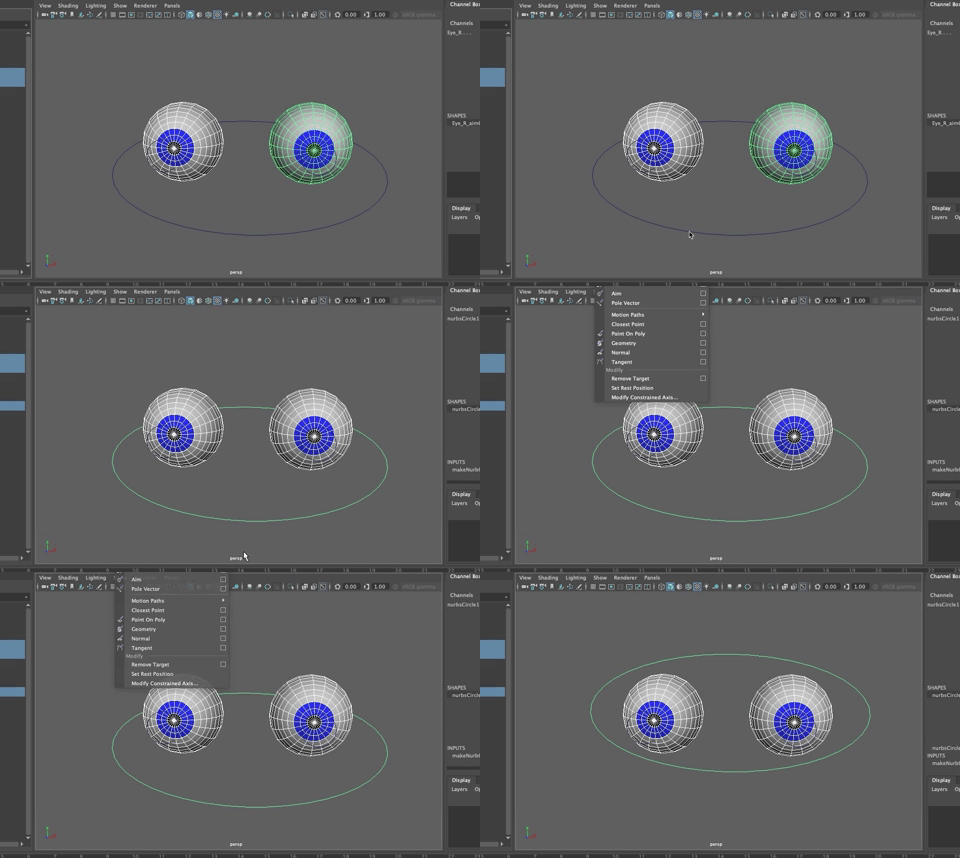
This puts the oval you made equal distance from the center pivots of the two eyes.
- Rename to masterEyeControl
- Delete the Point Constrain
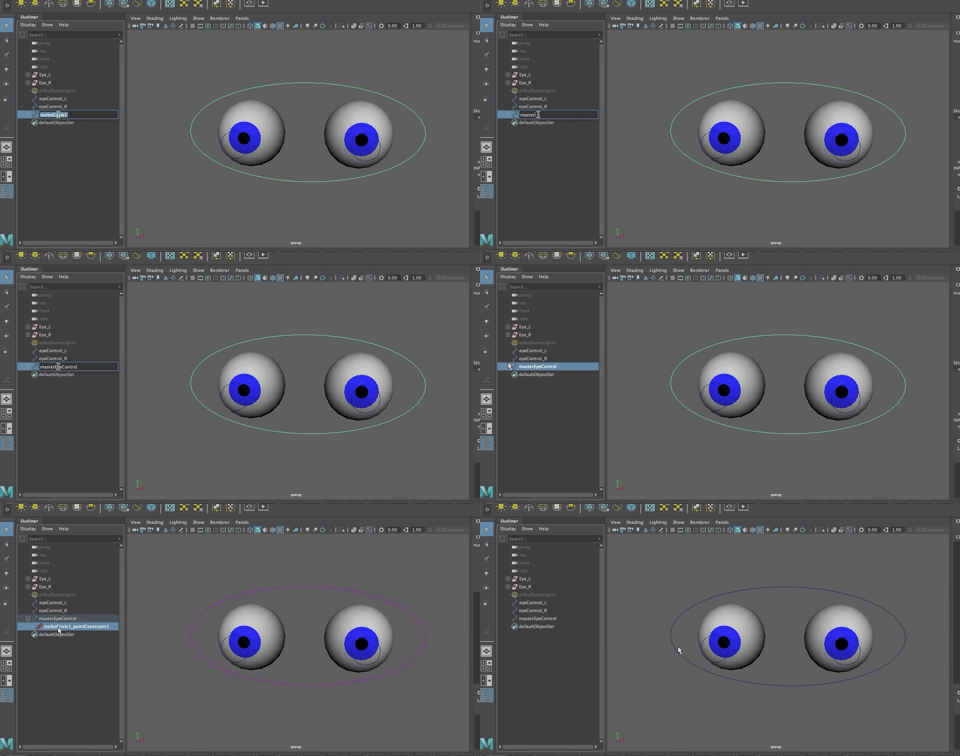
- Move the Oval forward in Z
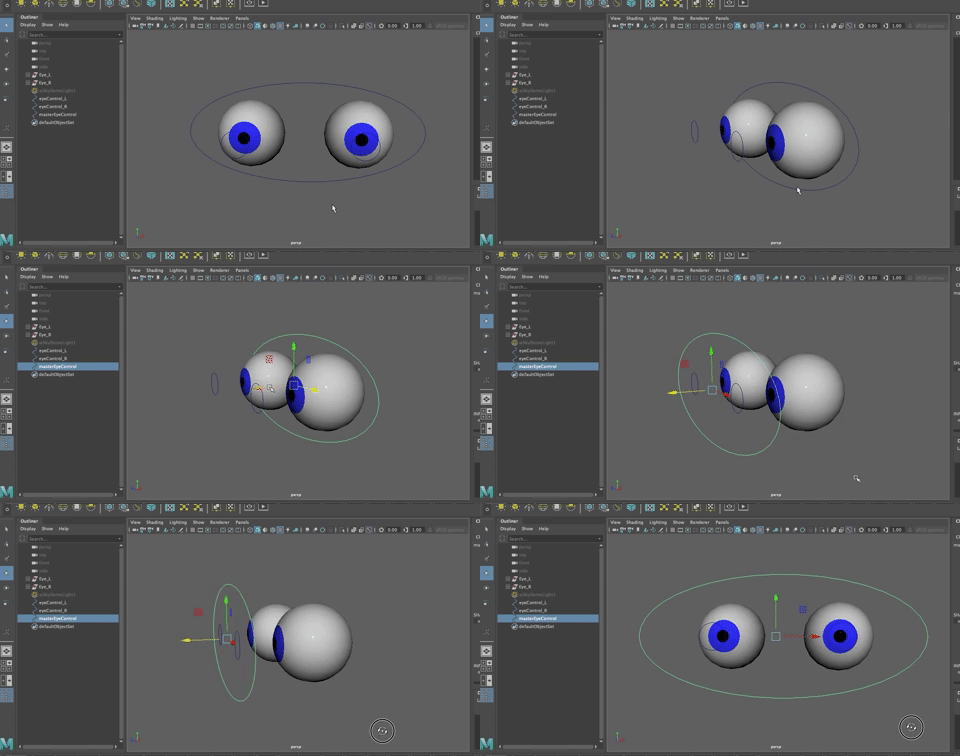
Freeze Transformations (Option + f)
Parent the two eyeControls to the masterControl. Remeber, with a simple parent, you first select the child and then the parent and hit "p". You can also just MMB drag the control onto the master in the Outliner.
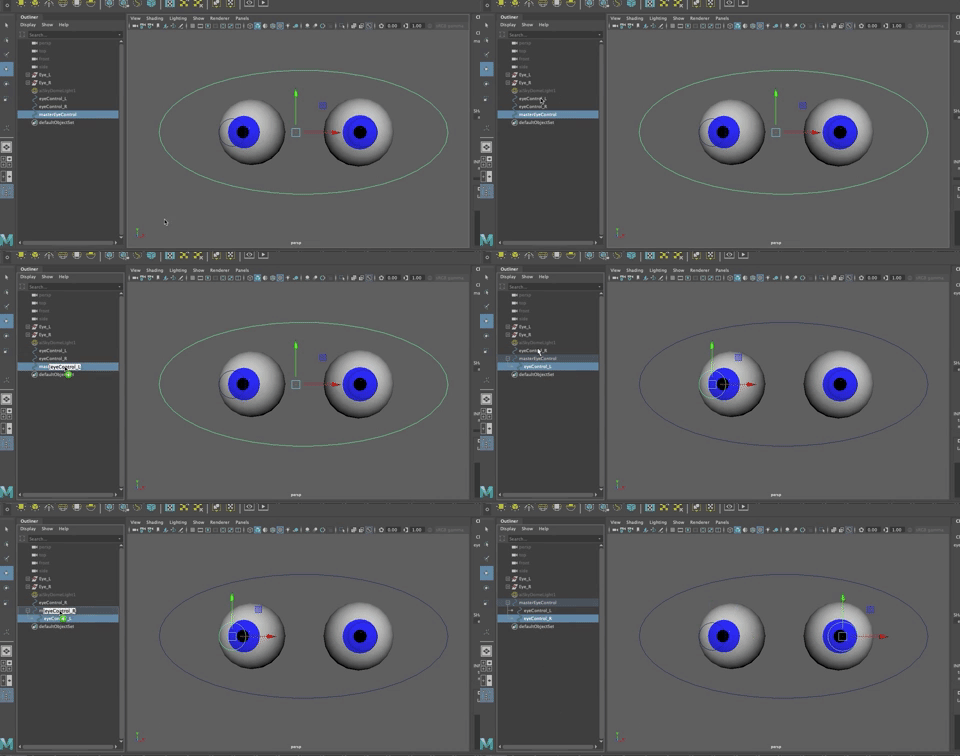
Now, if you move the parent, the children come along, but you can move each child indiviually.
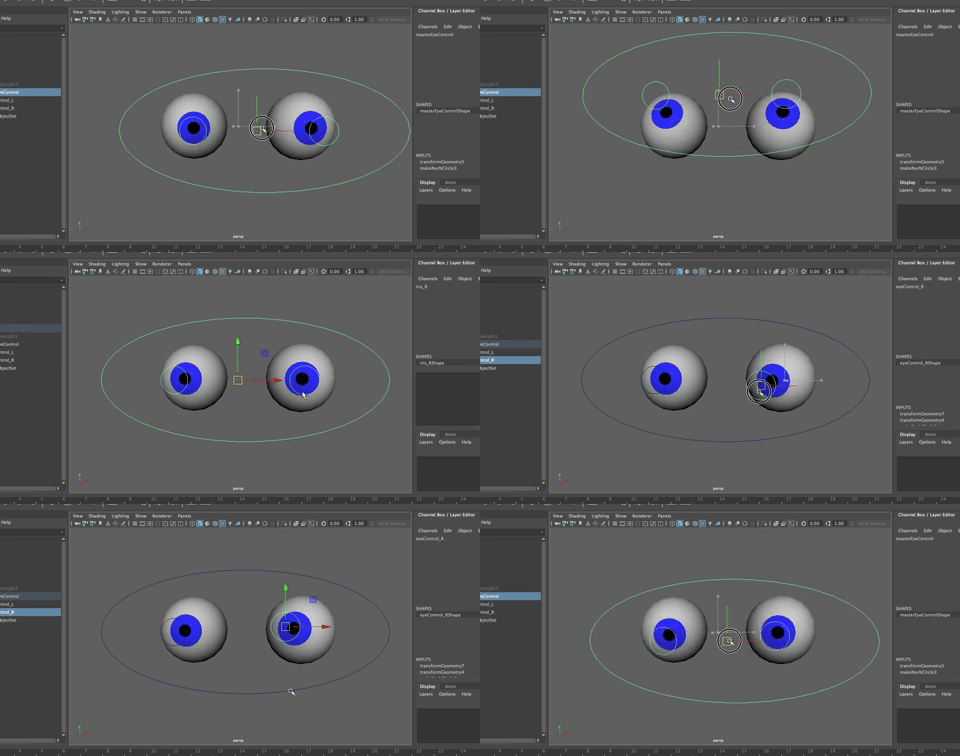
Undo until you are back at the home position with all the controls at a translate value of 0
Hiding Attributes
To make it easier for the animator (you), it is a good idea for the rigger (also you), to hide any attributes that aren't designed to be changed.
In this case, the two eyeControls only translate in X and Y and the masterEyeControl only translates in X and Y and also rotates.
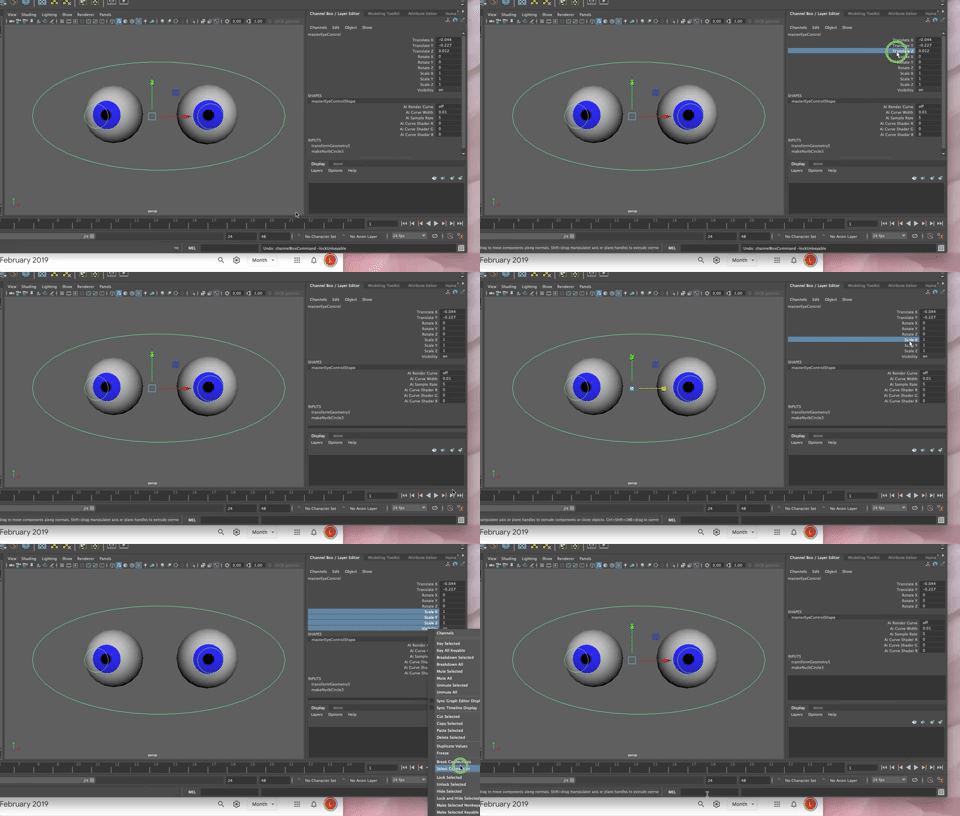
- Select the left and right eyeControls
- In the Channel Box, Select all the attributes except the two you want to keep active
- Right click to bring up the Marking Menu
- Since we don't want people to be able to change any of the values besides Translate X and Y, you can Lock and Hide the other values
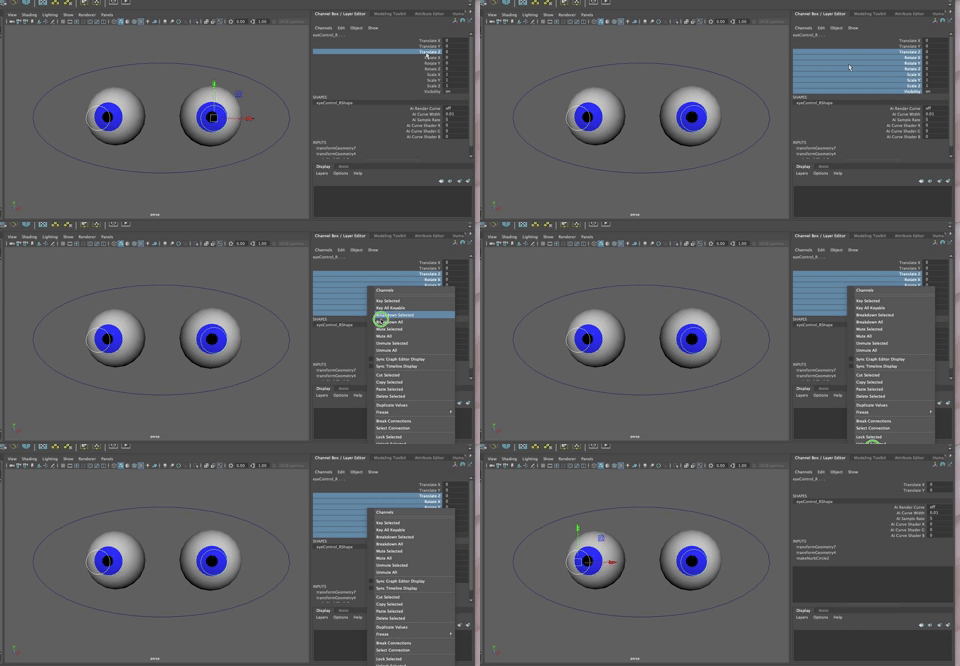
Now only Translate X and Y are available for the animator to use.
For the masterEyeControl,
- Lock and Hide Translate Z
- Lock and Hide all the Scale attributes and Visibility
Adding other Cues
The job of a good rigger (you) is to make it as easy as possible for the animator (you). One way to help with that is to have different colors for the left and right controls.
A general rule of thumb is that the right controls are red and the left are blue. You can do what you want, but avoid colors that might be hard to see and keep them consistent throughout the rigging.
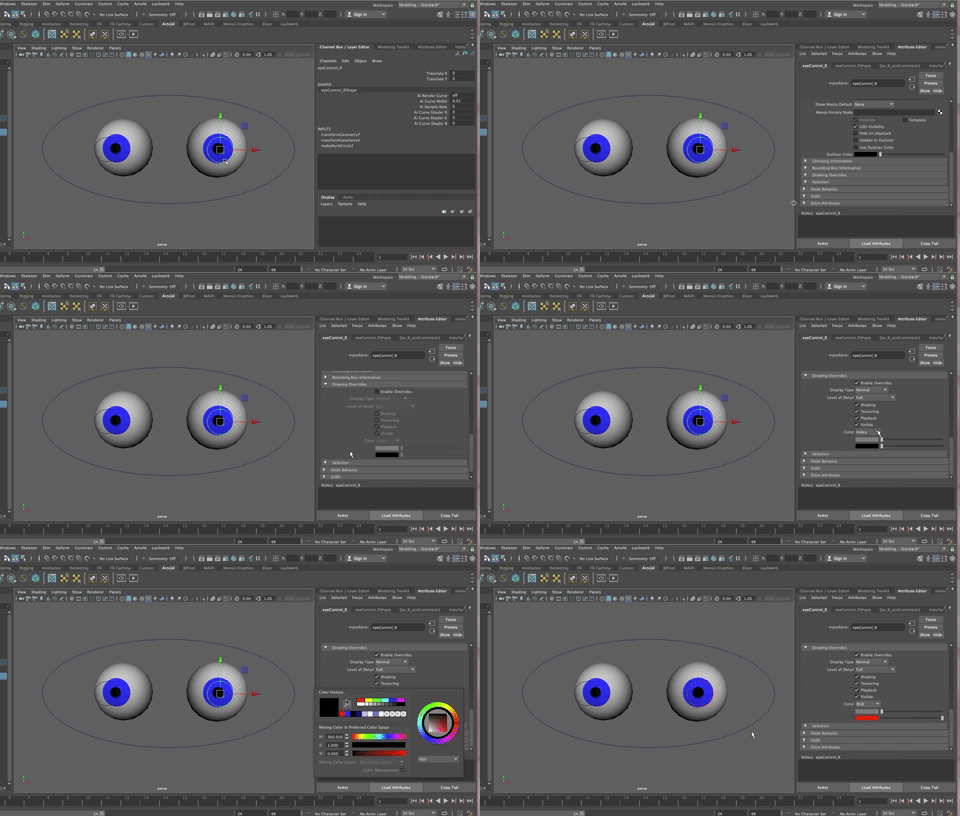
- Select the eyeControl_R
- Open the Attribute Editor
- Open the Drawing Overrides tab
- Check ON Enable Overrides
- Choose RGB from the Color type
- Change black to R
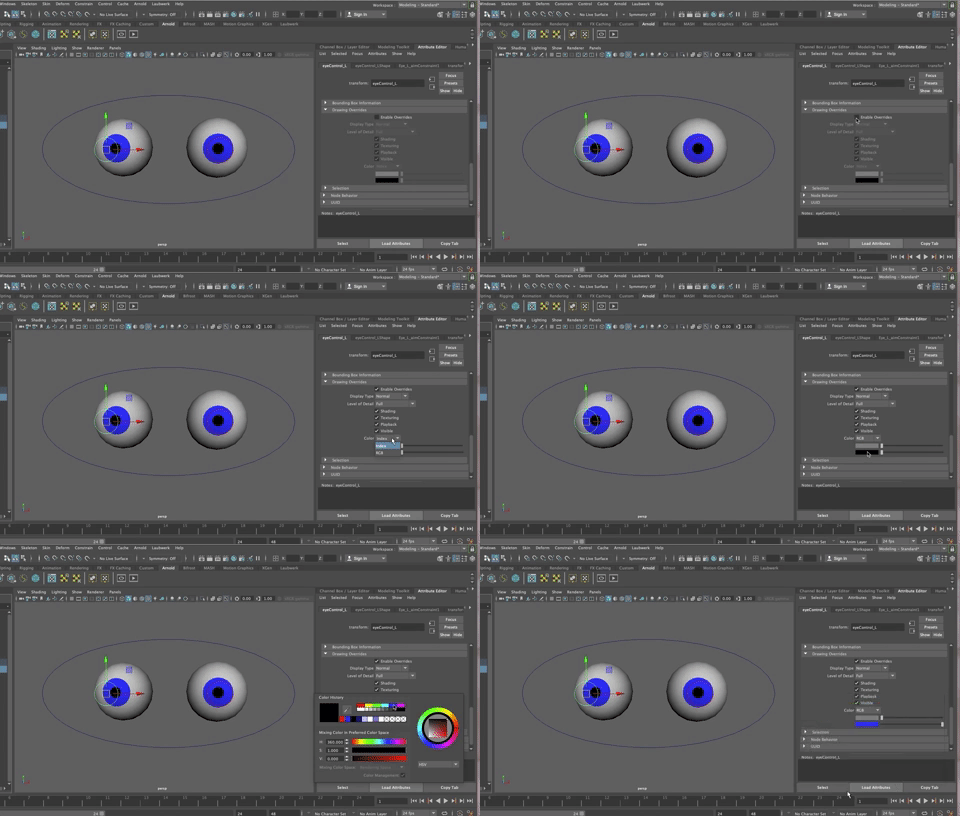
Repeat for the left eye control but choose Blue.
And for the masterEyeControl, choose yellow (all the prime colors)
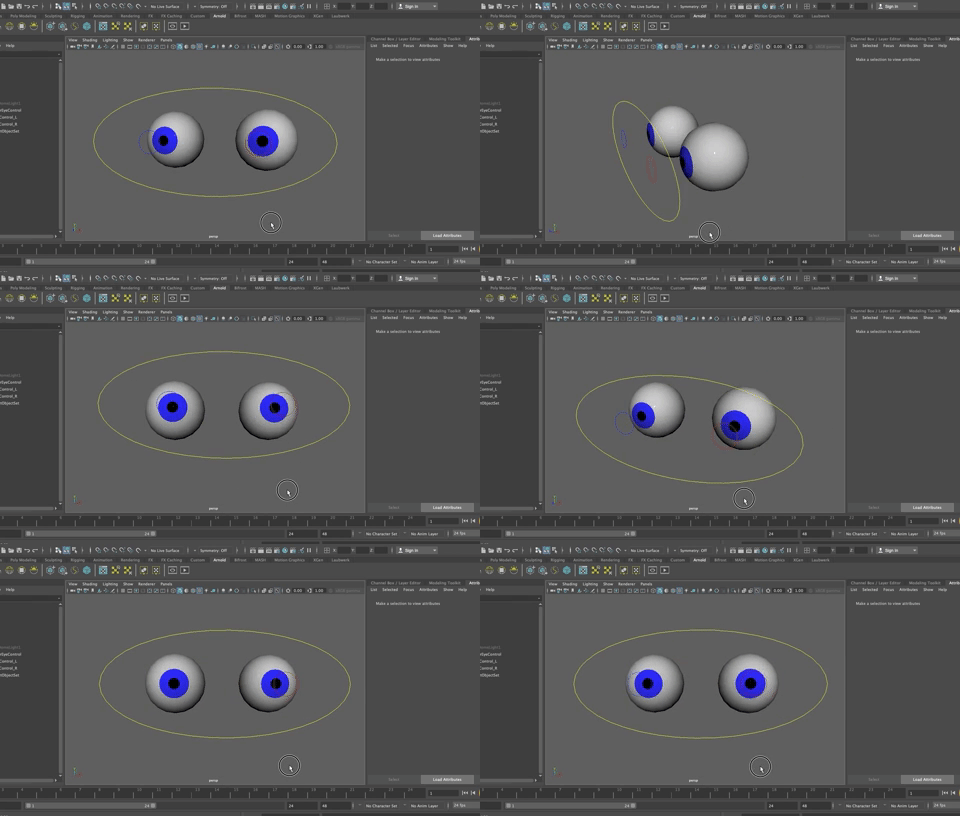
- Delete History (Option + Shift + d)
- SAVE
This is how you create controls. You will set keys on the controls, not on the eyes. All the character geometry will be put into a layer and referenced, so it cannot be selected during animation.