CS22 Loeb
Displacement mapping
Displacement maps are a way to use a texture to change the geometry of an object and give it depth. In this tutorial, you will learn a quick way to add a displacement map to an object.
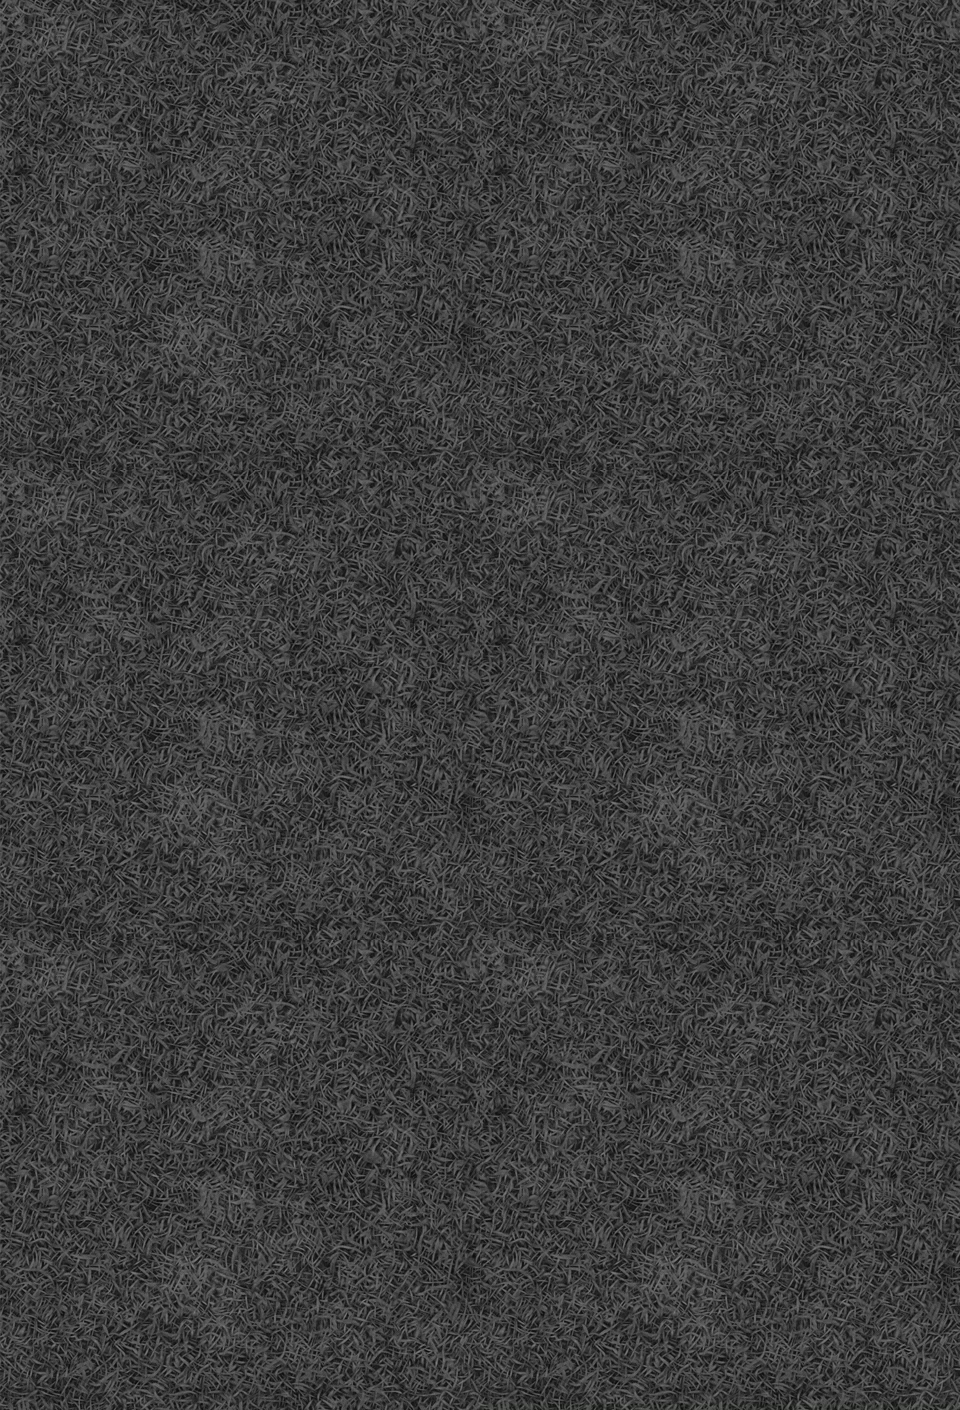
A displacement map is a high contrast, black and white version of the color map you add to the base layer on an aiStandard Surface Material
In this case, we will use the two png files (grass_001_DISP and Grass_001_COLOR) in the Displacement Map folder in the Files to Downlod for Class Folder.
Download the two png files to your Source Images Folder for your Practice Project or just Download them and then Drag these two files into your Source Images Folder for your practice project.
File>Save Scene As, and save a file called DisplacementMap in your Practice Project.
Create a polygon plane and scale it up a bit.
Add an aiSkyDome to create some light to see the rendered image.
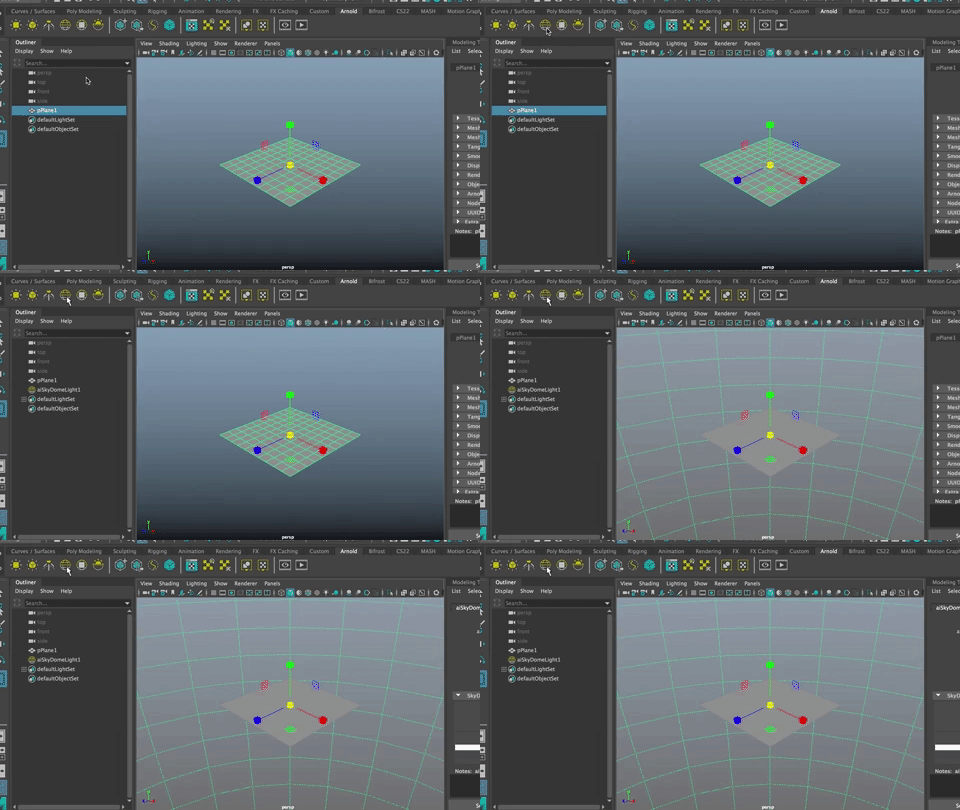
Open the HyperShade Window. Windows>Rendering Editors>HyperShade or better yet, click on the blue icon at the top of Maya
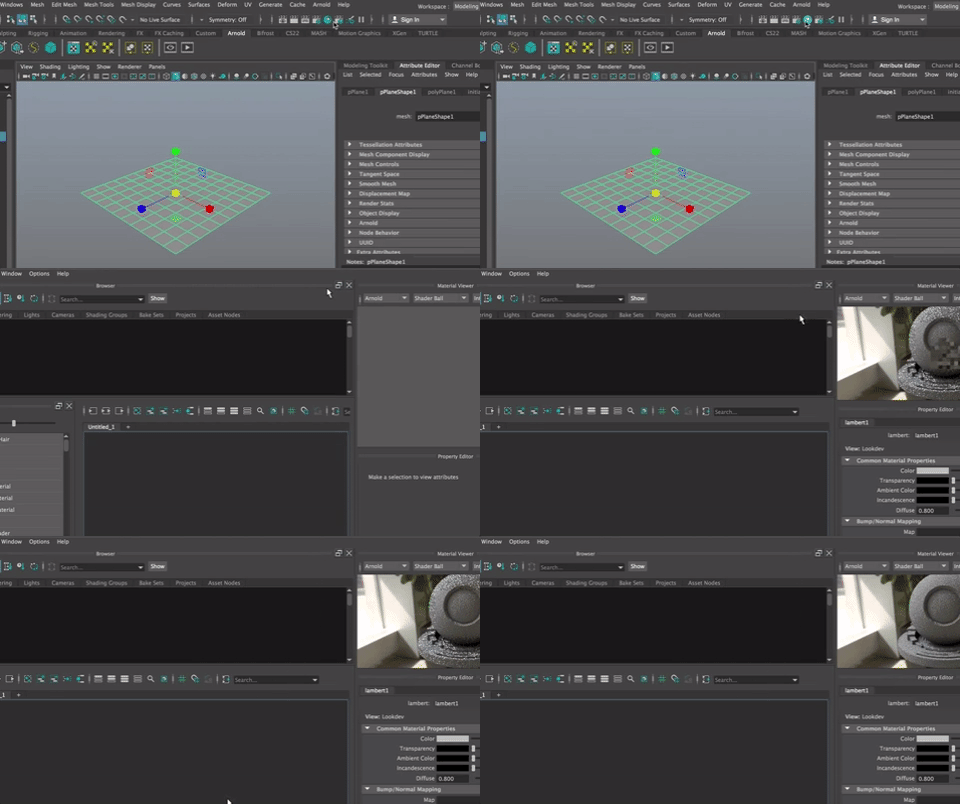
The HYPERGRAPH
There are several windows within the Hypergraph.
In the Create Node, Choose the Arnold aiStandardSurface Shader. It will appear in the Work Area.
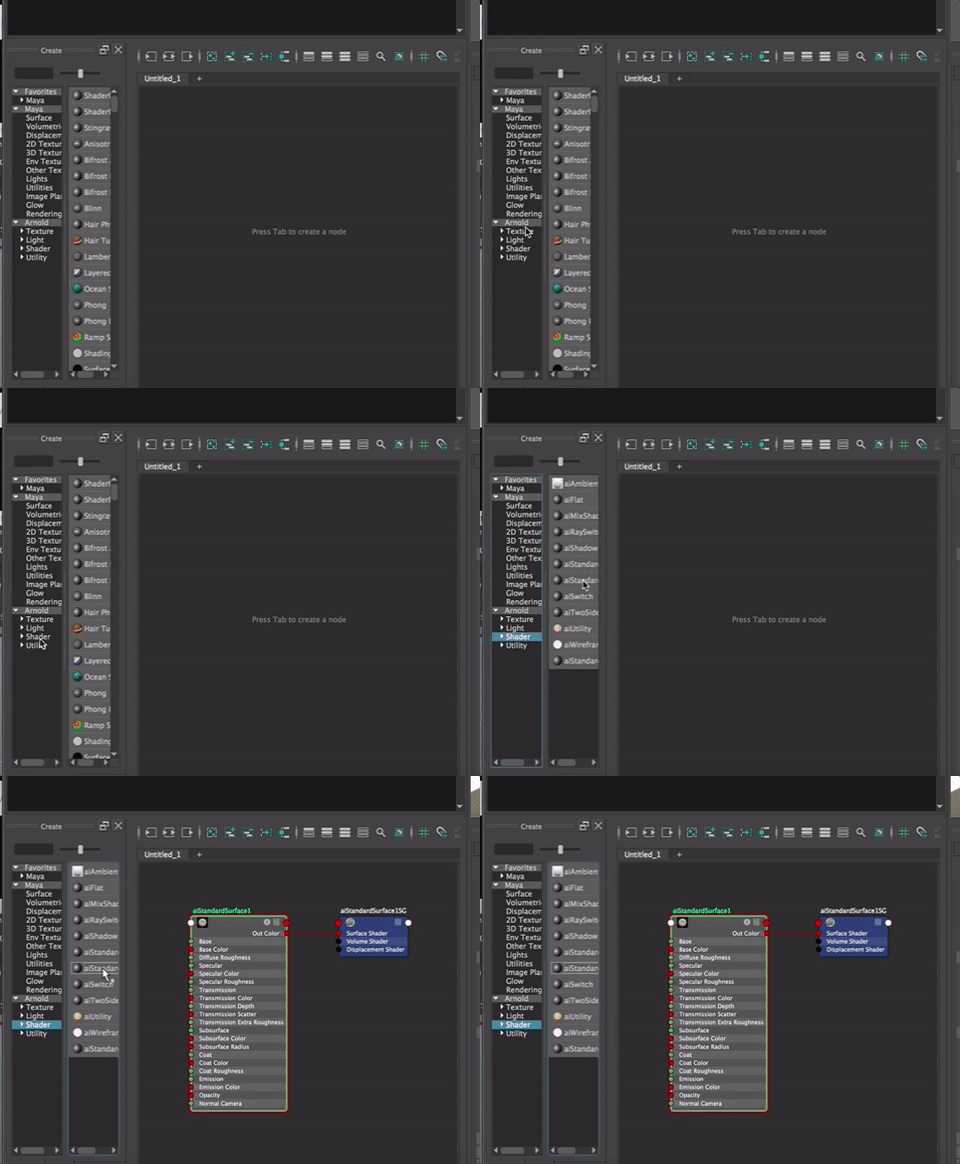
We need to add the texture to this material. To do that, you can simply LMB click and drag the textures from the Source Images folder in your Finder Window to the Hypershade work area. In this case we want the Grass_001_COLOR.jpg texture and the Grass_001_DISP.png
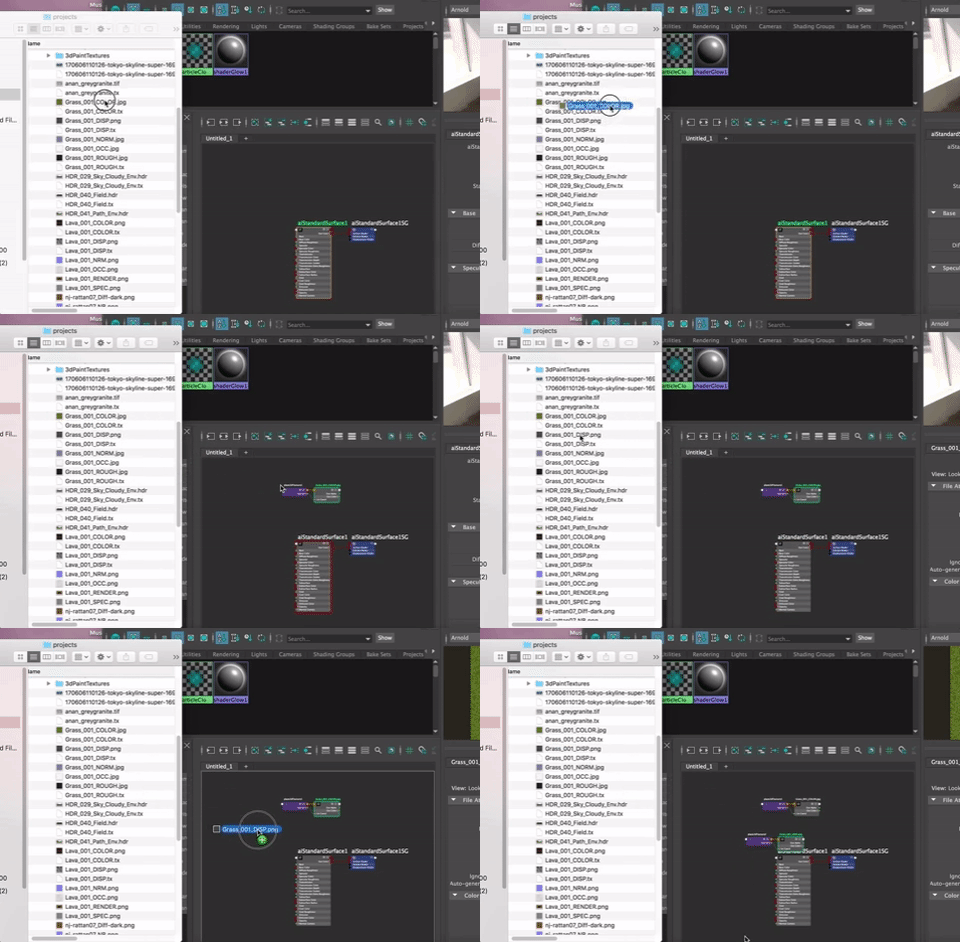
With your mouse over the Work Area, Hit A to frame all the nodes you've created.
Notice that the png files are in the Work Area of the Hypershade and they automatically come with a Place2dTexture node coming into them.
Connecting the png files to the Material
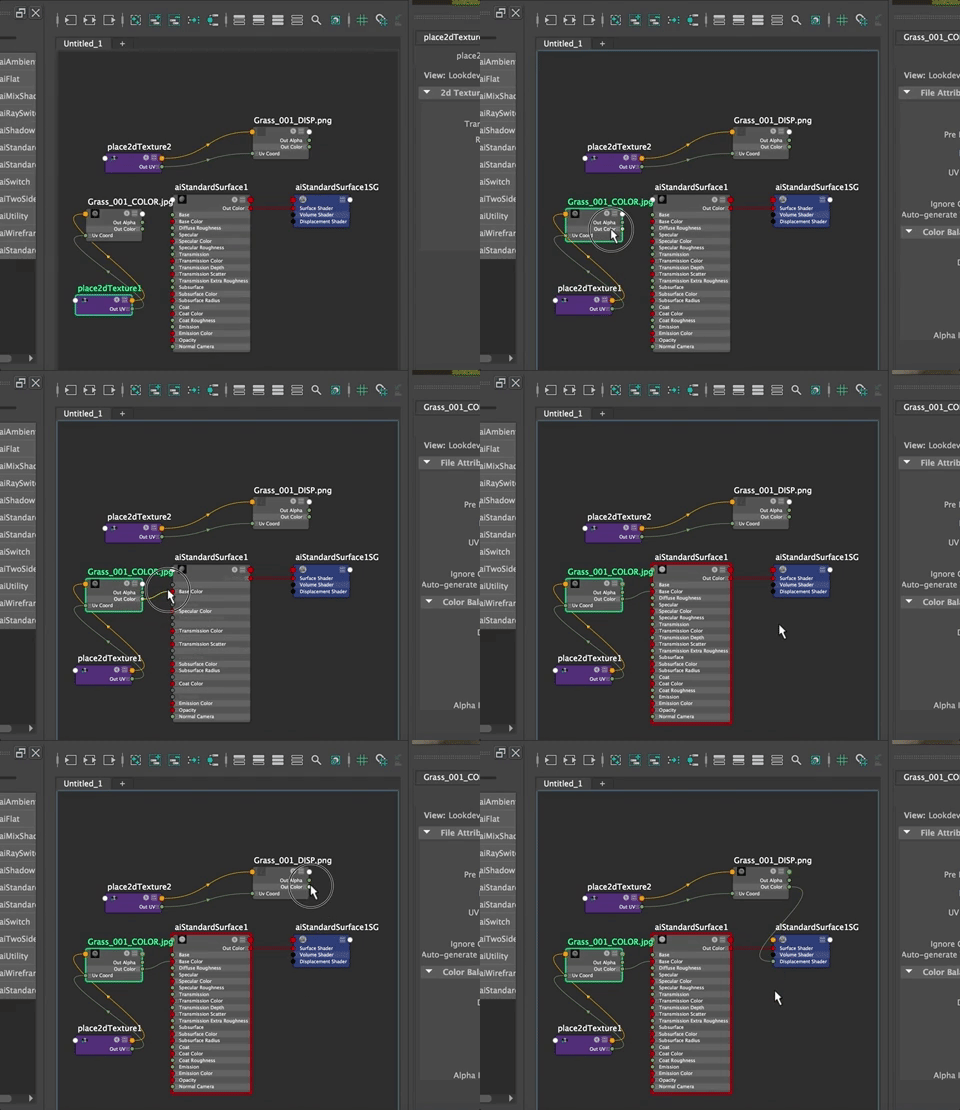
You need to connect the Out Colors from the two textures to the Base Color and the Displacement Shader.
LMB click and drag to make the connections as shown below
LMB dragging the OutColor from the Grass Color file to the Base Color of the AiStandard Surface
and the Out Color from the Grass Displacement file to the Displacement Shader in the aiStandardSurface1SG (SG stands for Shading Group. Every material needs a Shading Group or it will not render).
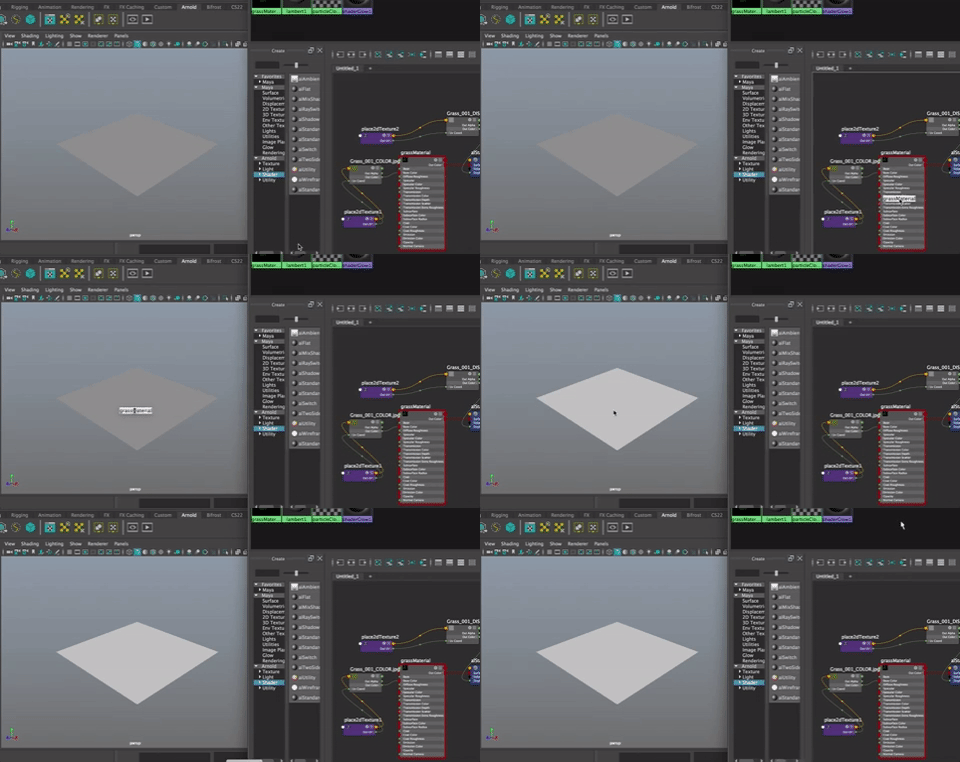
Rename the aiStandardSurface1 Shader to M_grass
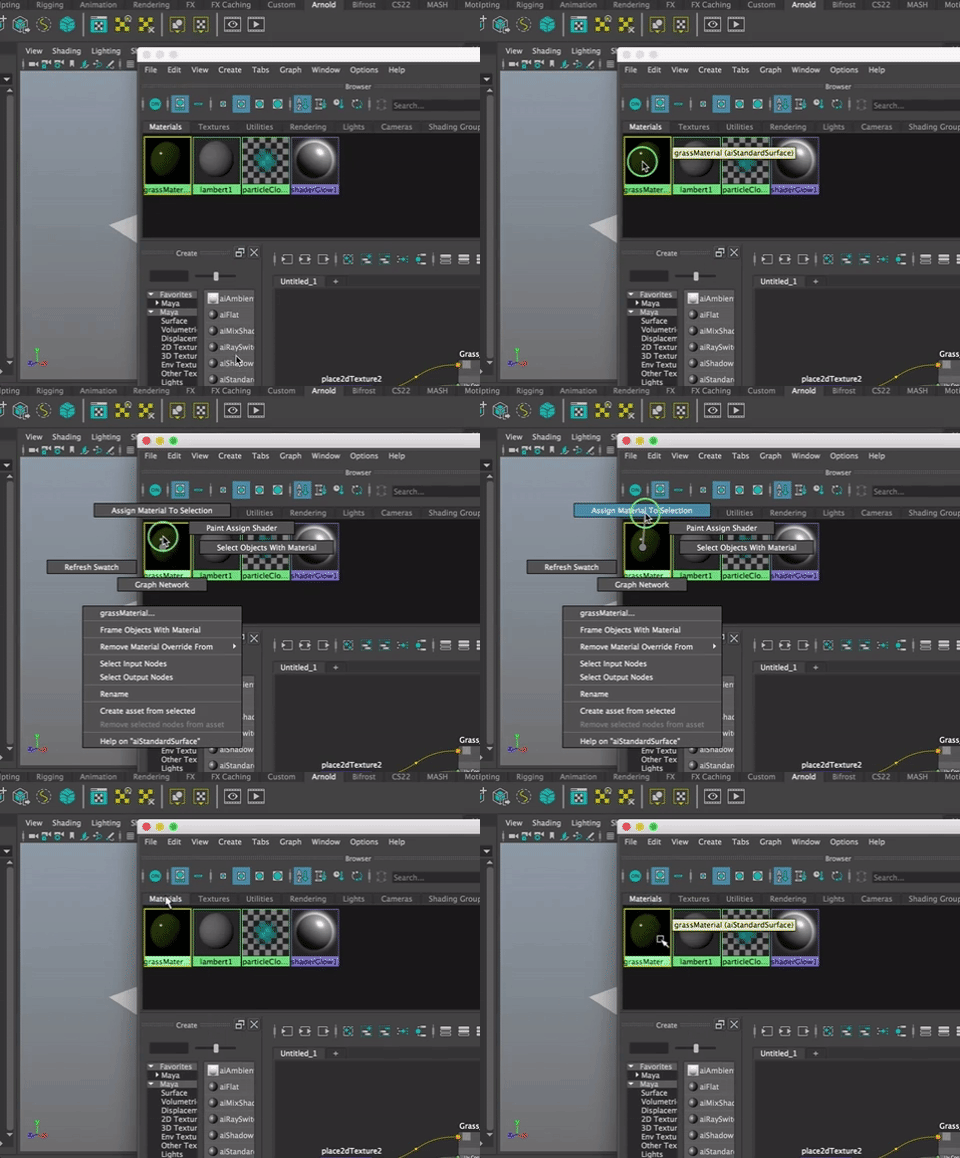
Now you just need to assign the grassMaterial to your polyplane. An easy way to do that is to MMB click and drag it from the HyperShade onto the object in the View Port.
Note: You could also right click on the polyplane and Choose Existing Material>grassMaterial, or you can select the polyPlane in the ViewPort and right click on the grassMaterial in the Hypershade and choose Assign Material to Selected
Hit the 6 key to see the texture on the plane.
If you Render, it looks flat

To fix this, go into the Attribute Editor for the polyPlaneShape node.
Open the Arnold Tab
And Scroll Down to the Subdivisions Tab and open it.
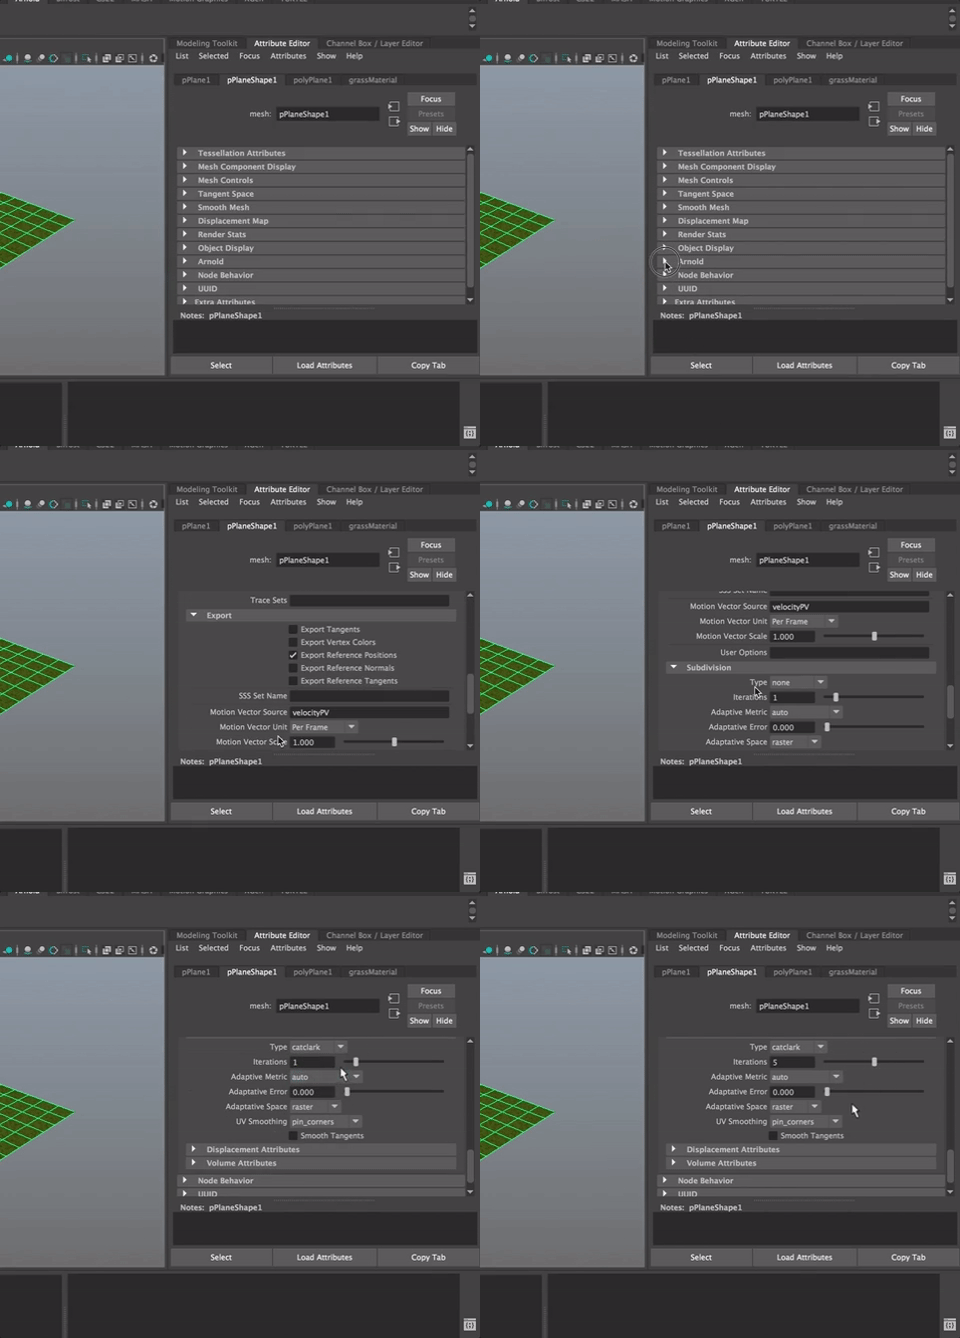
Change the "type" to "catclark"
And increase the iterations to something like 5. This adds smoothing to the plane.
Now Render.
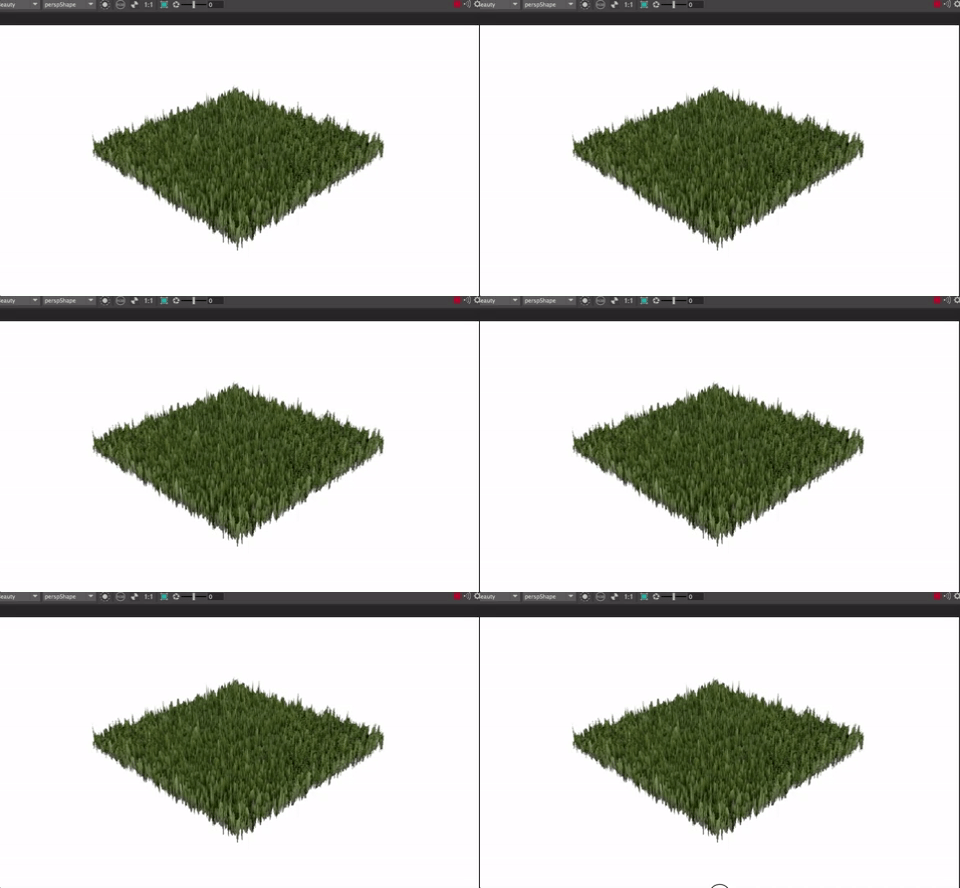
It doesn't look great.
You need to adjust the height of the Displacement in the Displacement Attributes Tab. Try a smaller number. Also, check on Auto Bump
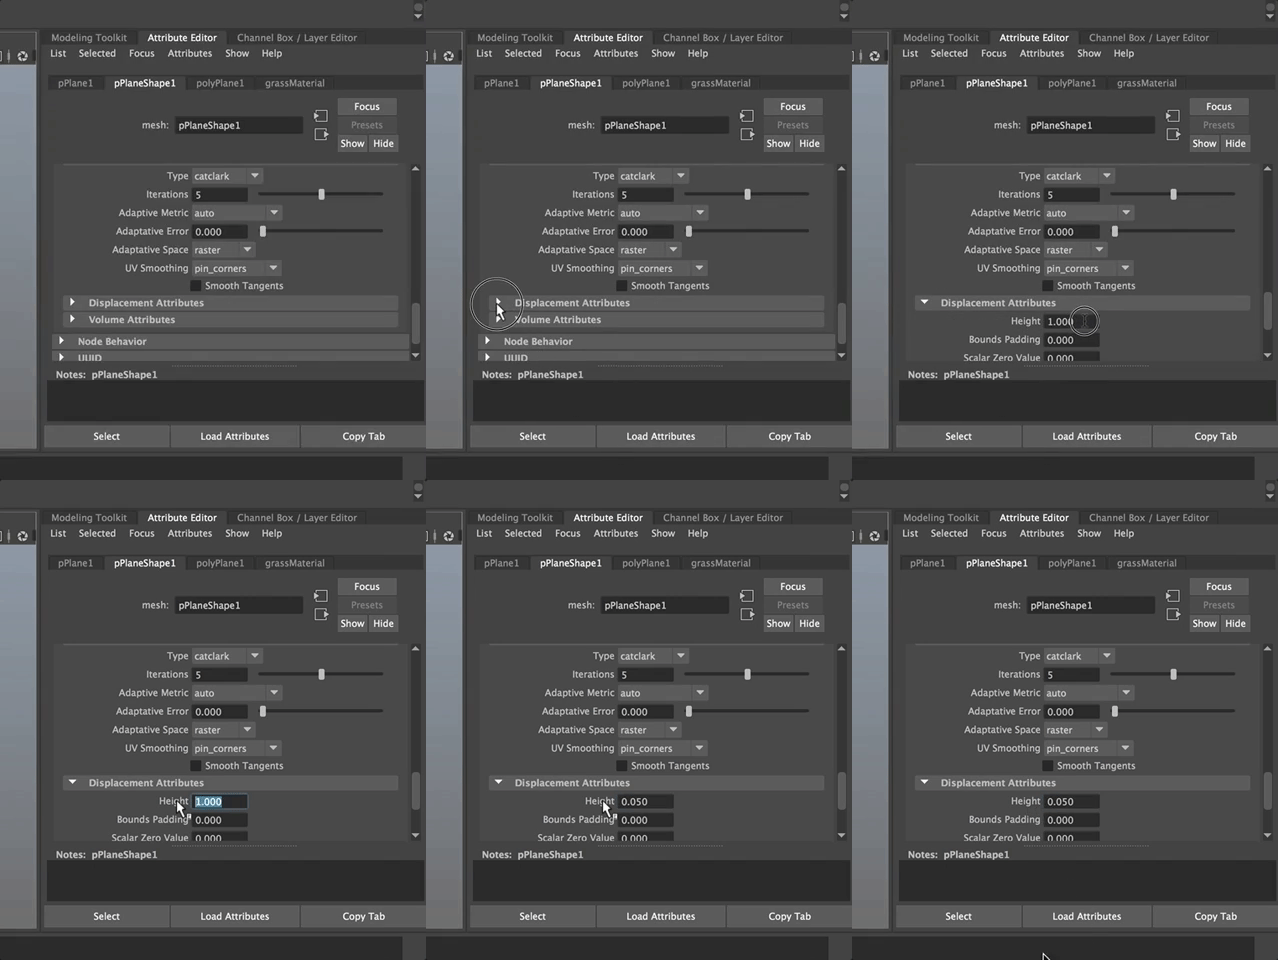
Now Render. If the number is too low, it won't look like anything happened. Try increasing it a bit. In this case, I tried, .5
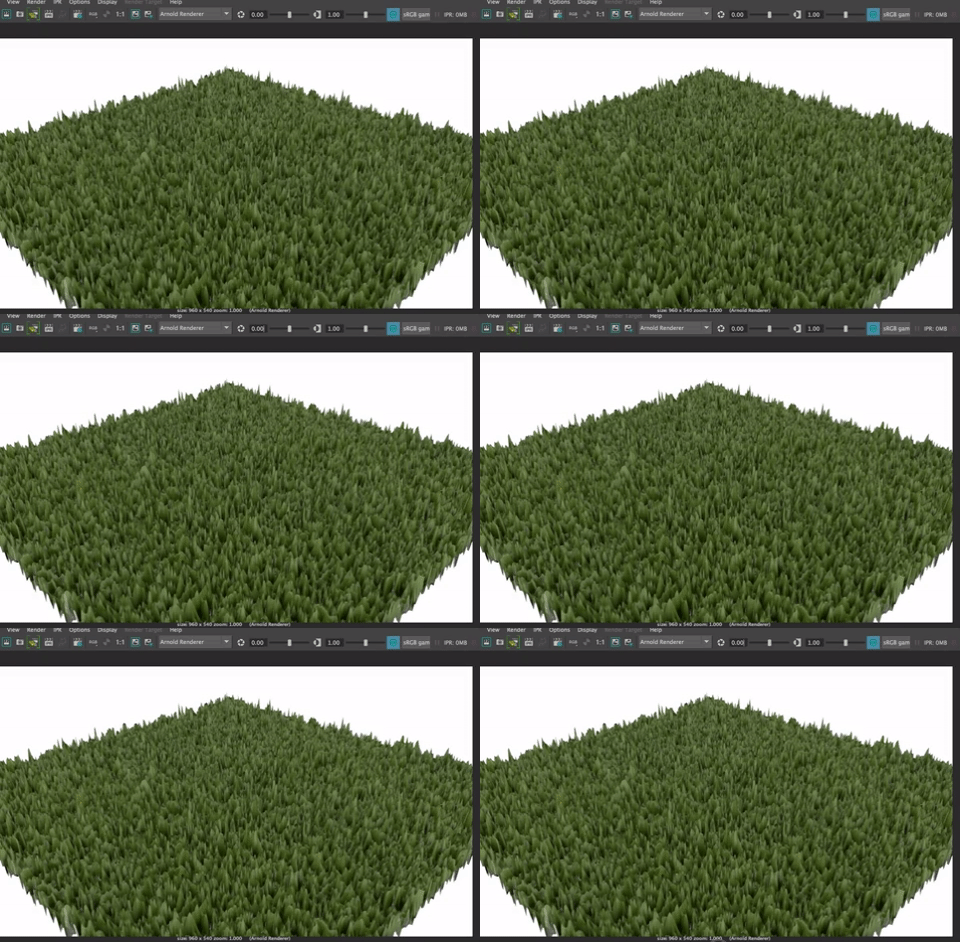
Don't forget to adjust the place2d texture node'a Repeat UV values!.
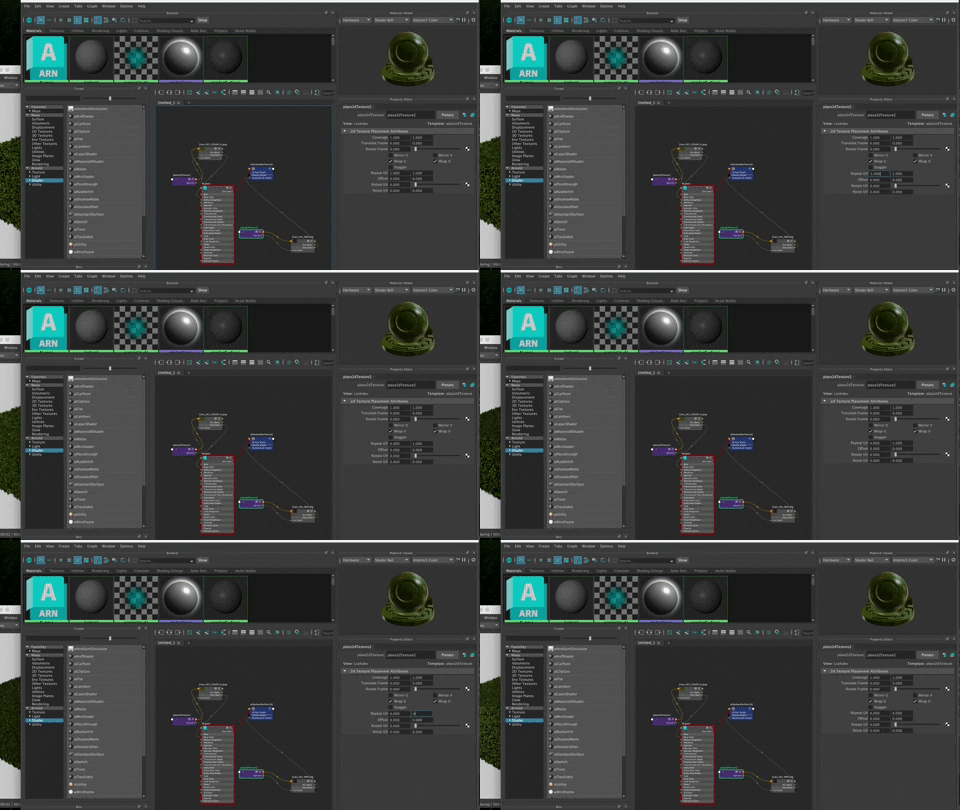
You need to do that for all nodes attached to this material and they need to be the same.
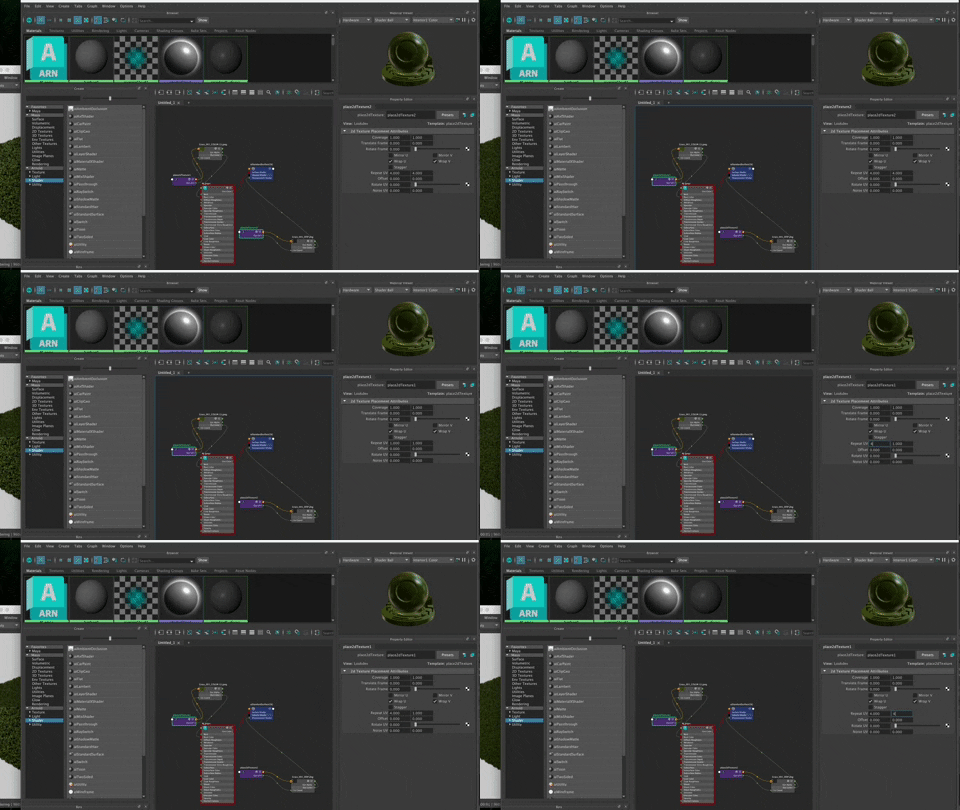
Play with the number. The correct number has something to do with the size of your plane, the image and the height you set.

Remember these settings when you start adding Substance materials (.sbsr) because if there is a displacement node, it is very important to decrease the height value as you did here.