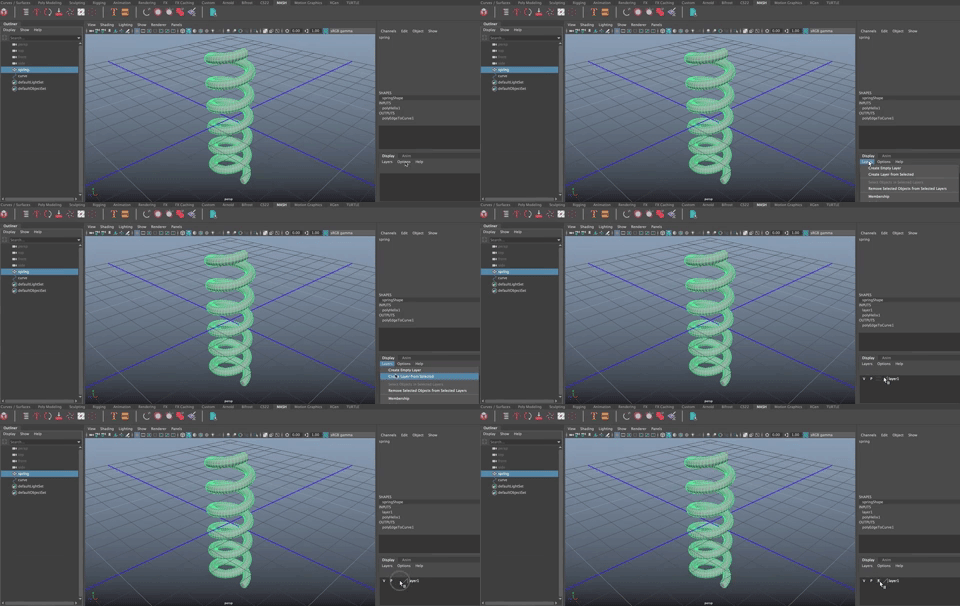
Deformers
CS22/122 Loeb
Deformers allow you to shape and animate an object in some interesting ways. We've already seen the bend deformer, which is a non-linear deformer that allowed you to create a curved window frame in your room tutorial. Let's look at a few others that will be super handy for you as you model and animate.
Wrap and Shrink Wrap
Some of you are making eyes, eyebrows, mouths, that you want to be on the face and move with the head. Here is a great way to do that.
Start a new scene
Create a pipe (or cylinder)
- Rotate in Z 90 degrees
- rename it "eye"
- Scale it up a bit and flatten a bit as shown
- Move it up off the grid

- Create a plane
- Scale it up so it is bigger than the pipe
- Add subdivisions so it is 20 X 20
- Rotate -90 in z
- Move it up so it is next to pipe
- Select both and move in positive x

- Rename plane to "grid"
- Freeze transforms (options + f) on both objects
- Delete History on both objects (Option + shift + d)
Adding Wrap Deformer
- Select the object that is being wrapper (pipe/eye)
- Shift select the object it is being wrapped onto (grid)
- Go to Deform>Wrap>Options Box
- Reset Settings (it is a good idea to reset settings as someone might have changed them along the way)
Create

Now if you use soft select (b) to choose some verts on the grid (plane) you will see the eye (pipe) deform with it.
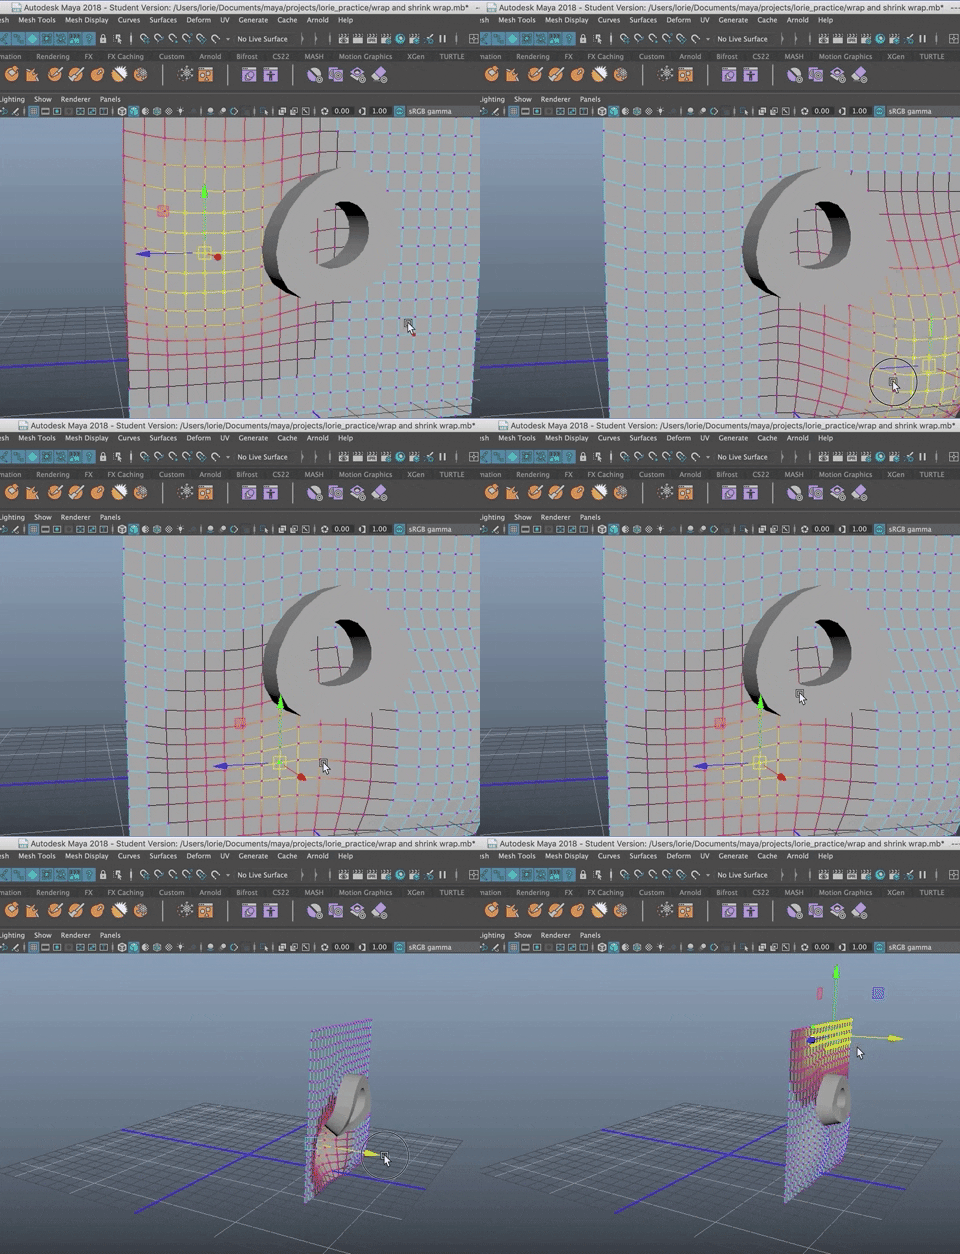
- Undo to where you were before you deformed the grid (so the plane is flat again)
Shrink Wrap
Once wrapped to the grid, you can wrap it to a sphere or face object. By first wrapping the "eye" to the "grid" it allows for more organic movement, but you could shrink wrap the "eye" directly to the face without first doing the step above.
- Create a poly sphere and rename it to face or head
- Scale it up and move it into place as shown
- You want the face/head to be close to the origin and so you may needto move the grid (and thus the eye) in x
- freeze transforms and delete history on all

- Select the grid (plane)
- Shift select the head (Sphere)
- Deform>Shrink Wrap

The eye and grid are wrapped to the sphere. Let's make it look a bit better.
You will notice some distortion in the shrink wrap process. The eye is smaller, for example.
Note: If the sphere were higher res to start with, it would have looked better.. We won't worry about that for now.
Go into the attribute editor for the shrink wrap. (You find the deformer with grid, in this case)
- Change settings as shown
- Projection to Vertex Normals
- Shape Preservation Controls
- Enable
- Steps all the way up to 100
- Iteration steps all the way to 10
- Reprojection to Reprojection Per Step
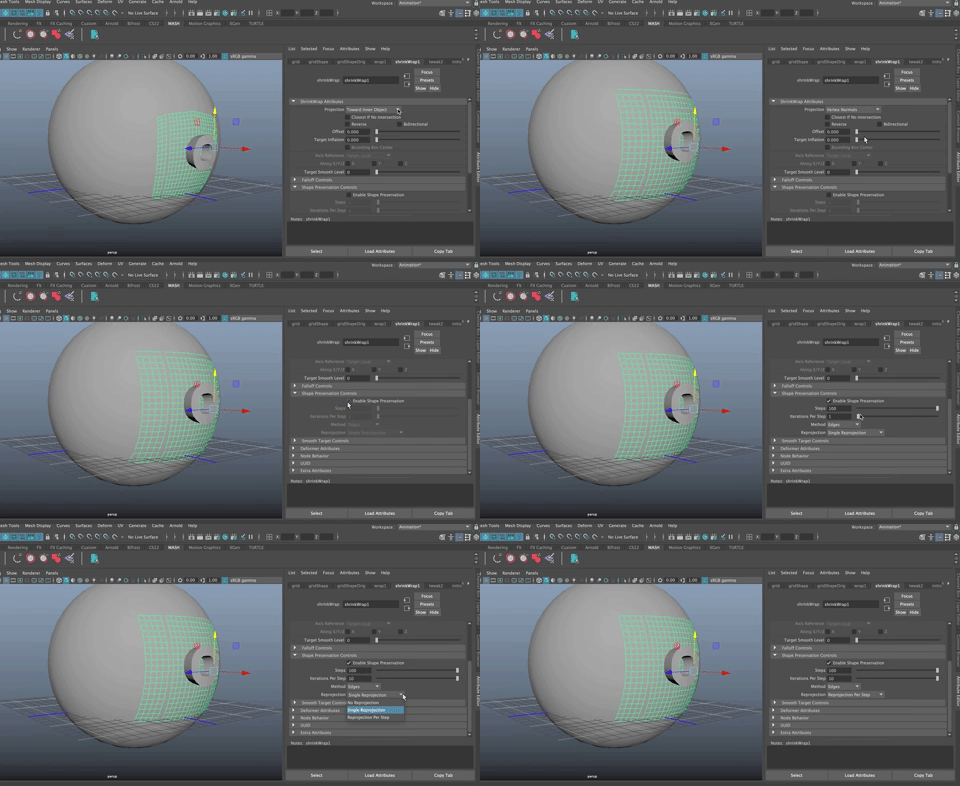
It looks much better now!
If you move the head the eye comes along. If you deform the head the eyes deform with it.

Cluster Deformer
The Cluster Deformer allows you to select a set of verts and create a deformer handle to alter them.
- Select some verts (good idea to use soft select)
- You could also choose an entire object or other type of component)
- Deform>Cluster
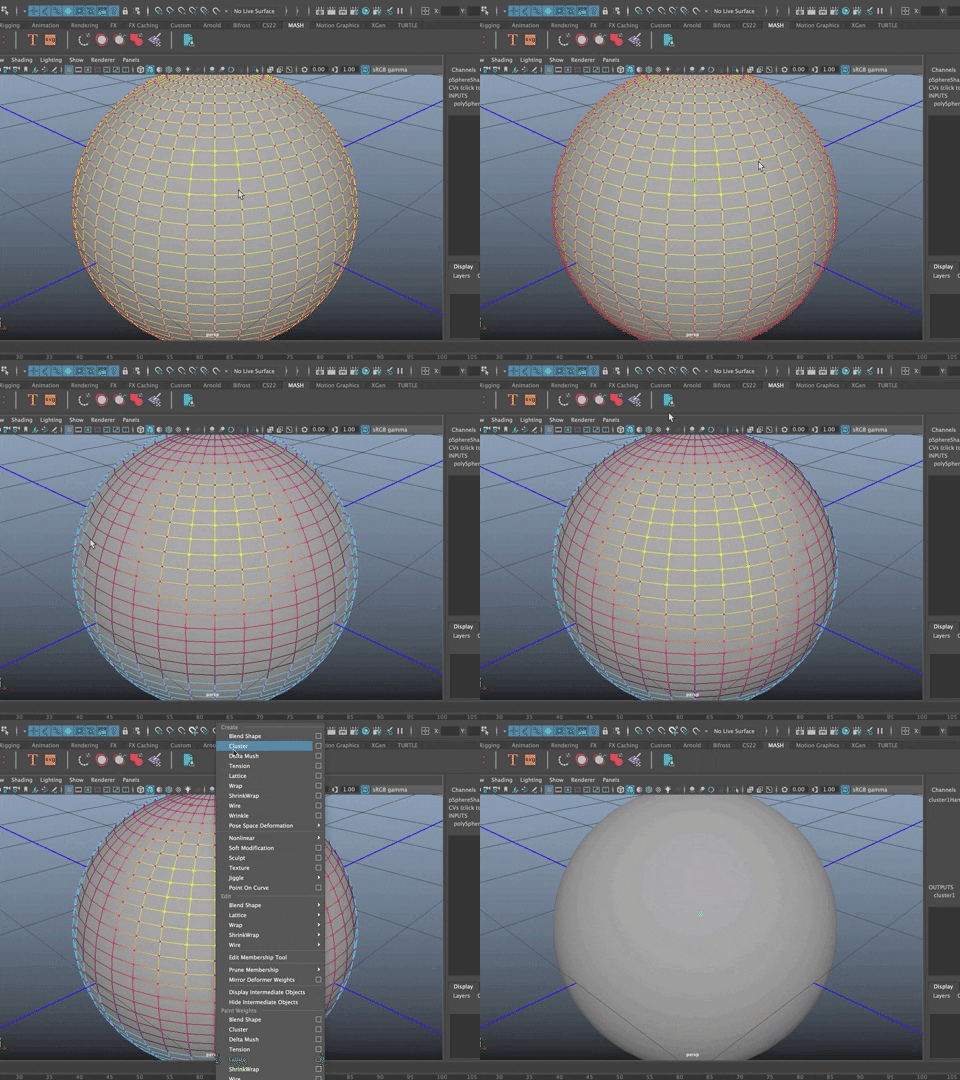
The beauty of this is that you have a single Cluster Handle that can be moved and keyed to change a collection of verts.

Painting Weights on Deformers
You can alter the influence of most of the deformers
- This time, select the entire object and create a cluster deformer
To paint weights (change the influence), go to Deform>Paint Weights> choose the deformer
In this case, we'll choose Cluster
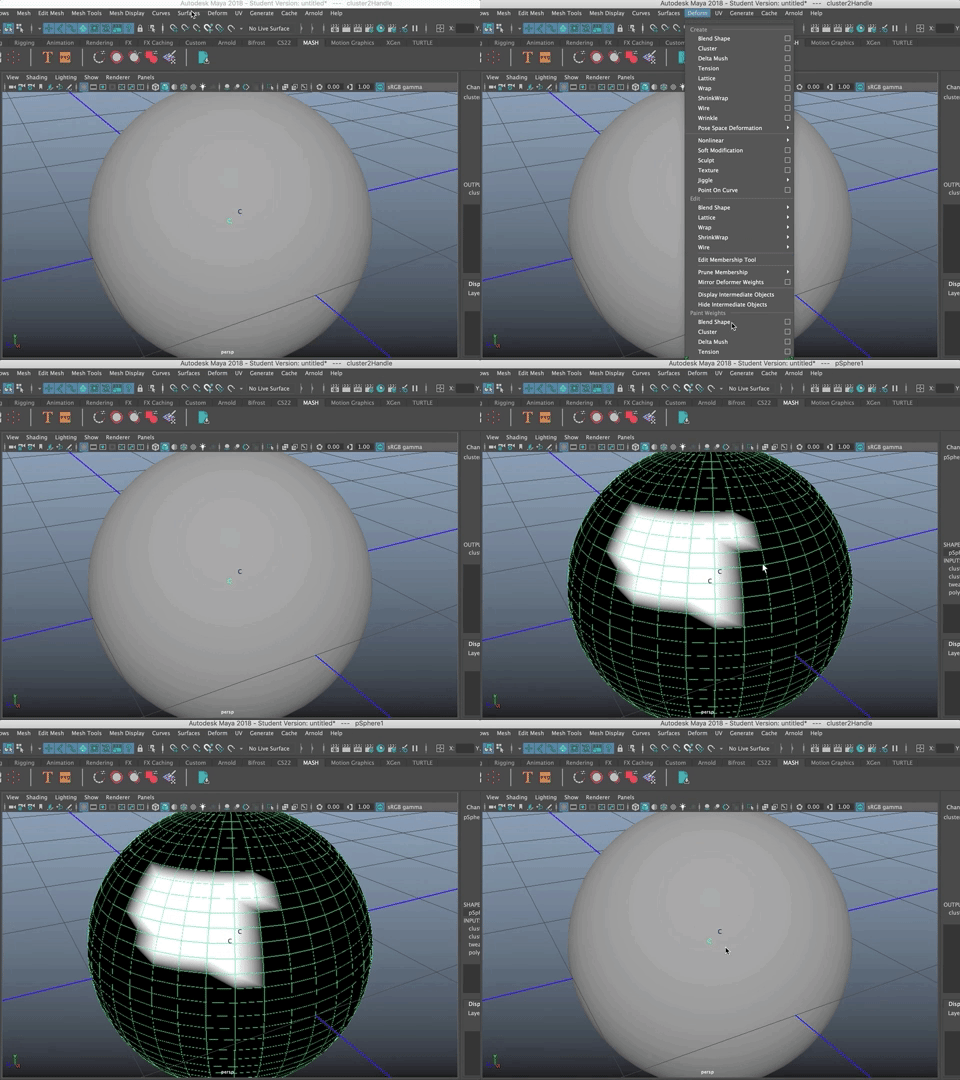
- Open the Tool Editor for the Paint Weights Tool
- Be sure you have Cluster2.weights chosen
- Select Replace
- Move the value to 0
- Choose Flood
- This makes 0 influence for the cluster (all the verts were at 1 before because you chose the entire object when making your cluster)
- Now change to replace, up the value, and paint on the area you want influenced by the cluster handle
- You can use Smooth to smooth out the weights
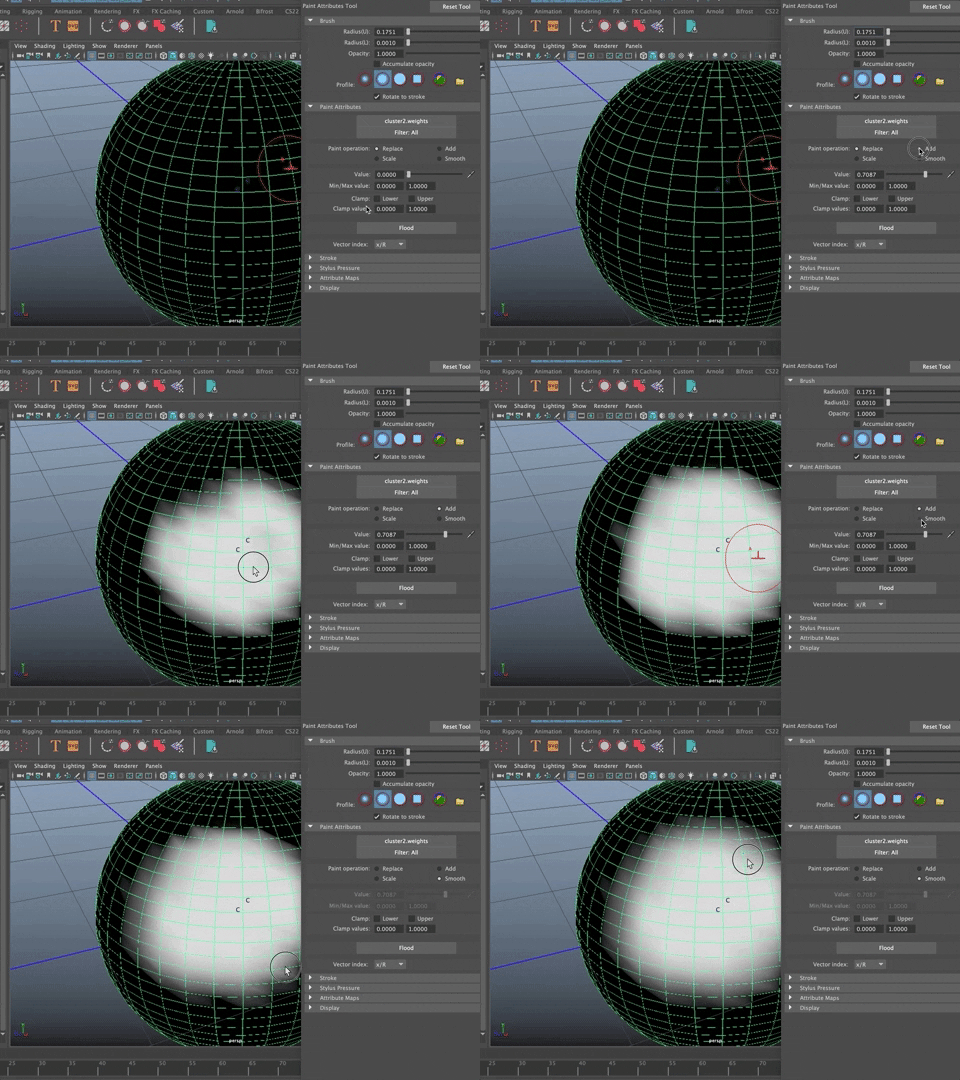
Now the cluster handle 2 influnces the verts that are white in the paint weight option.

Lattice Deformer
The Lattice deformer is great for making organic motions (on a tail or animal ears, for example)
- Create a cylinder
- Rotate 90 degrees in z
- Change the INPUTS so the
- Height is 20
- Subdivision Axis 30
- Subdivision Height 20
- Subdivision caps 2
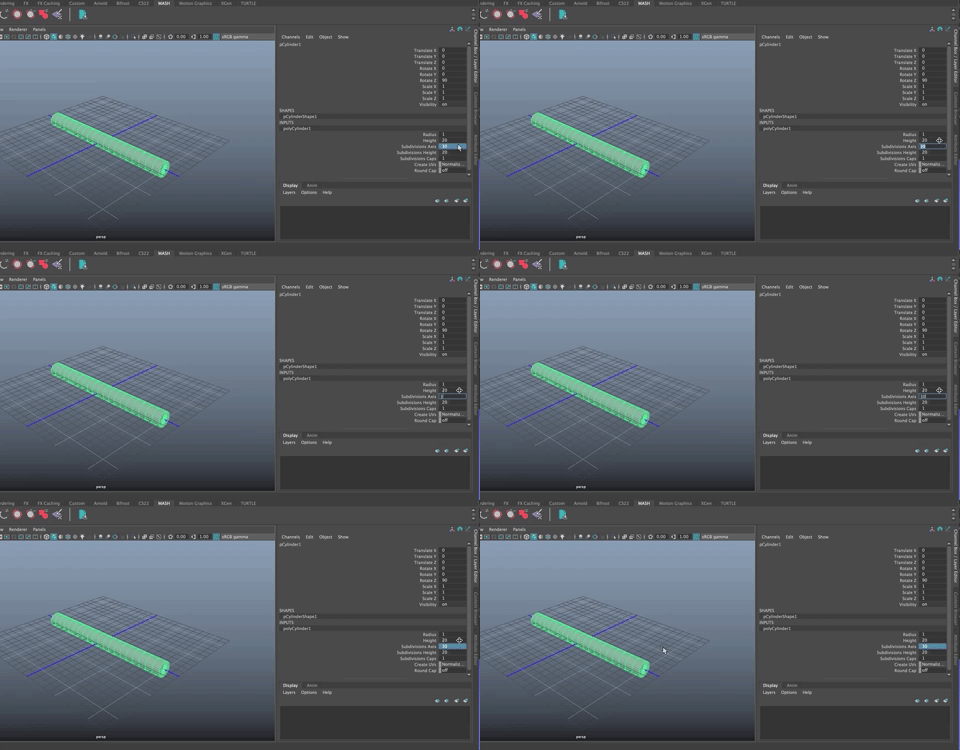
- Freeze Transforms (options + f)
- Delete History (options + shift + d)
- Rename to tail
- With "tail" selected, choose Deform>Lattice
- A box forms around the tail object
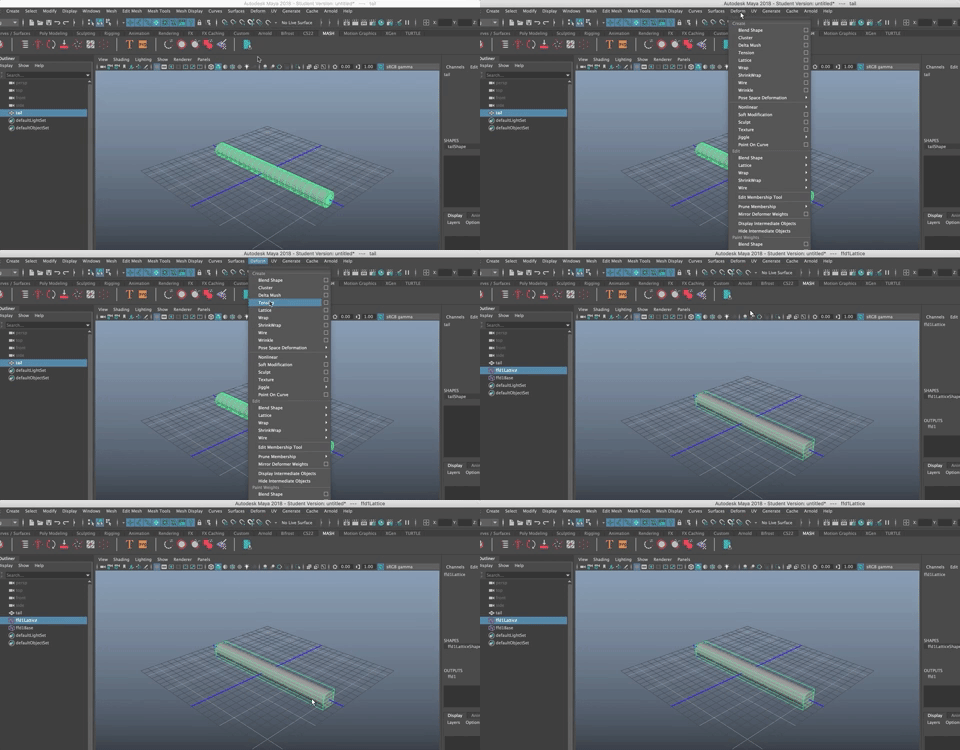
- IN the Channel Box
- Under the Shapes Node for the ffd1LatticeShape
- Change S Divisions to 8 or so
- Change T to 5
- Change U to 4
- You will notice that there is more resolution in the lattice box

More resolution means more detailed selection.
- Right Click on the Lattice
- Choose Lattice Points
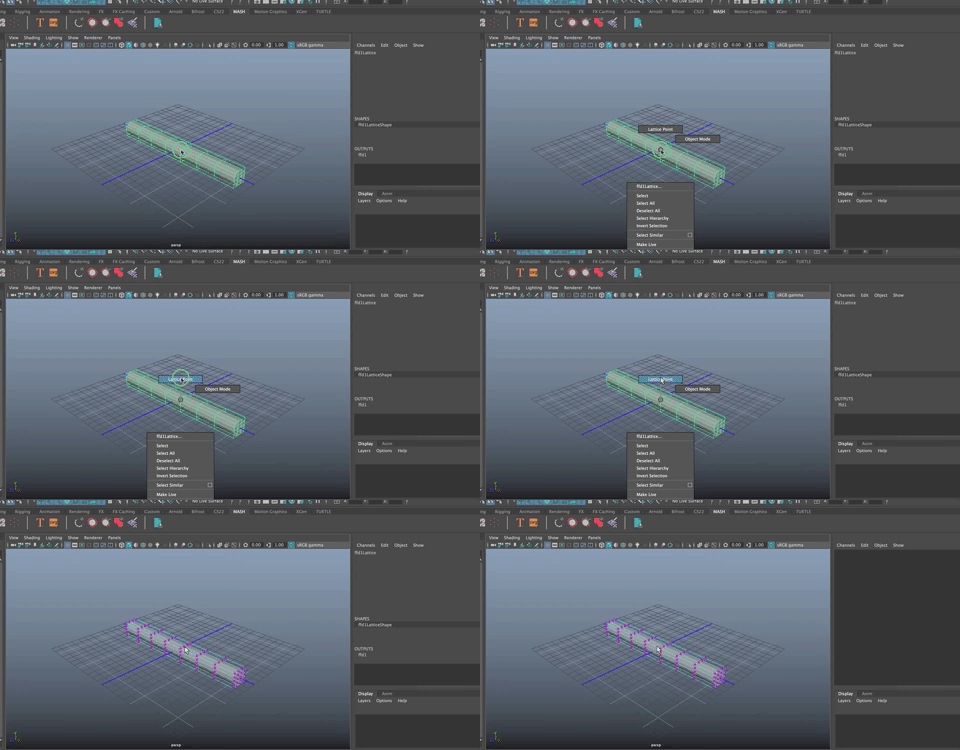
- Lattice points are the points at the edge intersection on the lattice that corresponds to a set of verts on the object
- More resolution on your object allows you to move more smoothly.

- More resolution on the lattice means each lattice point is affecting fewer verts.
- You can move the lattice points and key them so the object animates.
Try it.
- Go to Frame 1.
Select all the Lattice Points.
Hit S to set a key.

- Move to another frame in the timeline
- Choose some lattice points and move them
- Hit S

Keep going.
In the Viewport, Uncheck Show>deformers
Now play the animation.

Wire Deformer to make a spring
If you want to animate a spring or something like it, the wire deformer is fabulous!
- Create a Poly Helix
In the Channel Box, Change INPUTS to:
- Coils 6
- Height 6
- Width 2
Radius .2
Leave the rest as is
Go into edge component mode
- Double click on one of the edges that wraps its way down the spring
- Go to Modify>PolyEdge to Curve
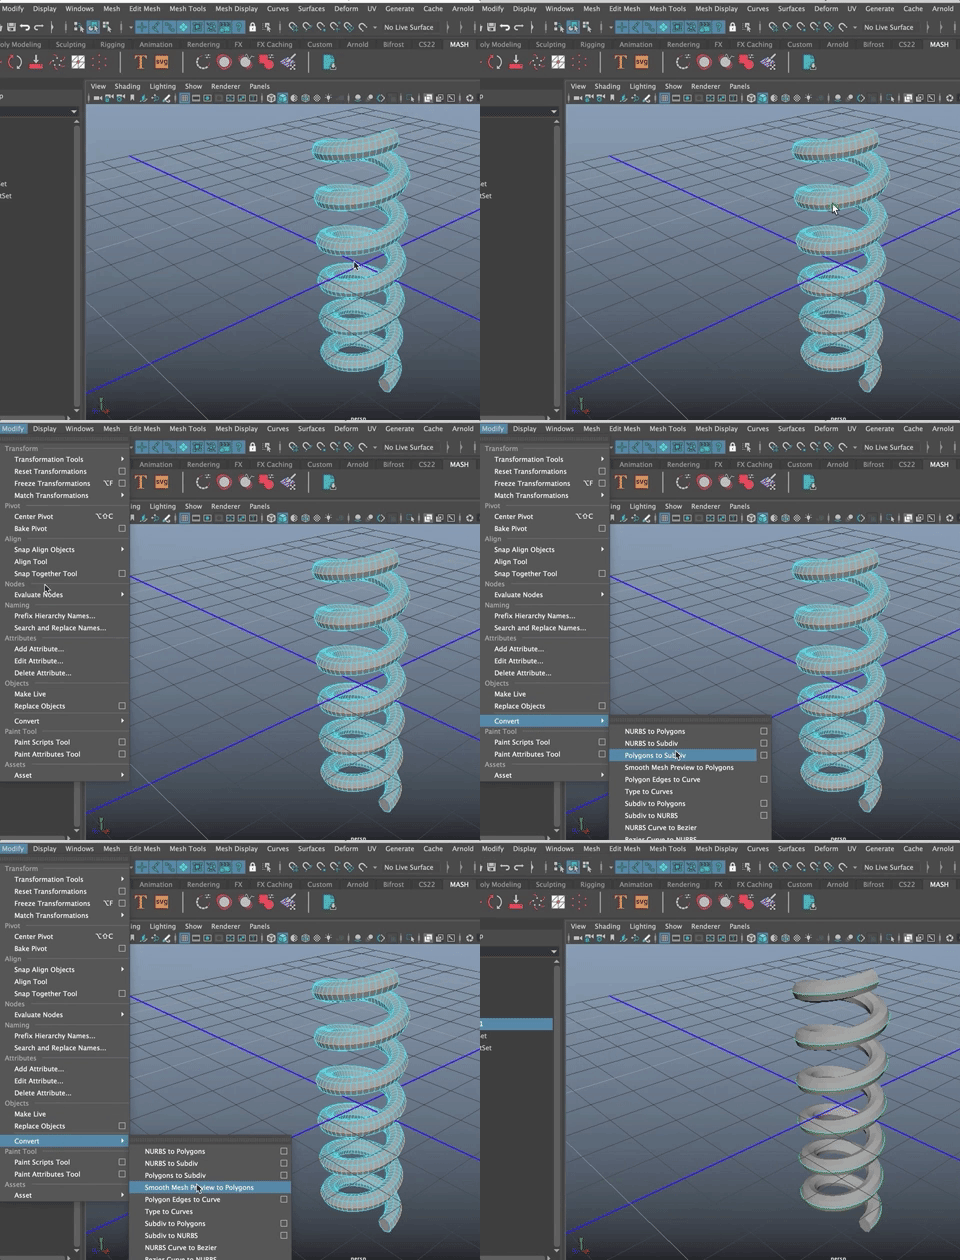
- Hit 3 to smooth
- Rename the helix to "spring"
- Rename the polytoCurve to "curve"
- Select the spring object and put it into a layer
- Reference the layer
