Tutorial: Blend Shapes
For the last few years, Maya has had a handy-dandy Shape Editor for building Blend Shapes. You will see online tutorials for the "old" method of creating them, but the Shape Editor is much easier. In the "old" method, you had to duplicate the model multiple times and use a different duplicate for each shape.
With the Shape Editor, you make the changes directly onto your model. It is much easier and allows more flexibility.
Creating the Blend Shapes
Select the model. You can use blend shapes to animate any portion of the character. We will use them to animate the face. You could also use them to animate the ears, eyes if they are not inside the head, or tail.
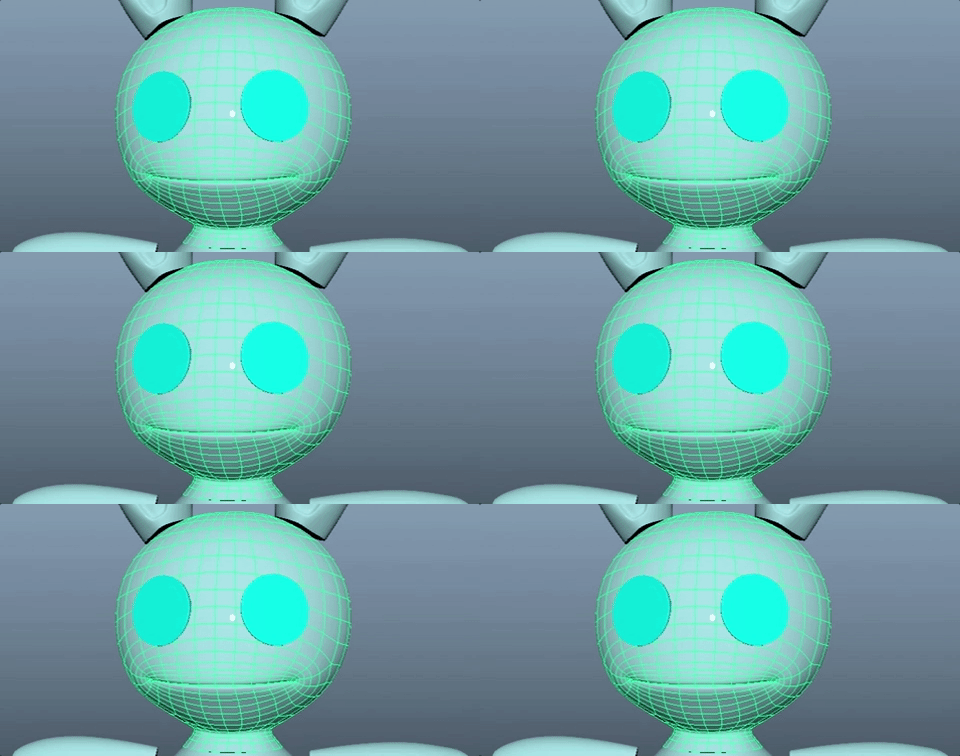
Note: My model is in parts, you can select the entire geometry if they are joined together.
Open the Shape Editor

The icon is found in the Sculpting Shelf or go to Windows>Animation Editors>Shape Editor
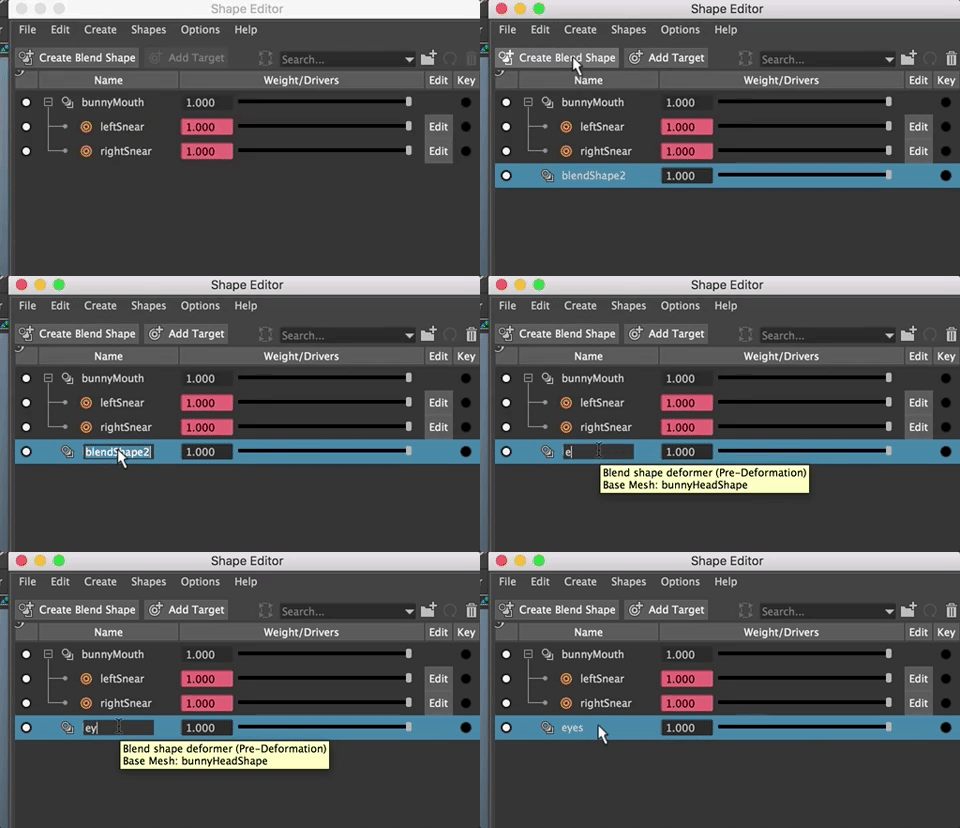
With the geometry selected in the ViewPort, Click Create Blend Shape
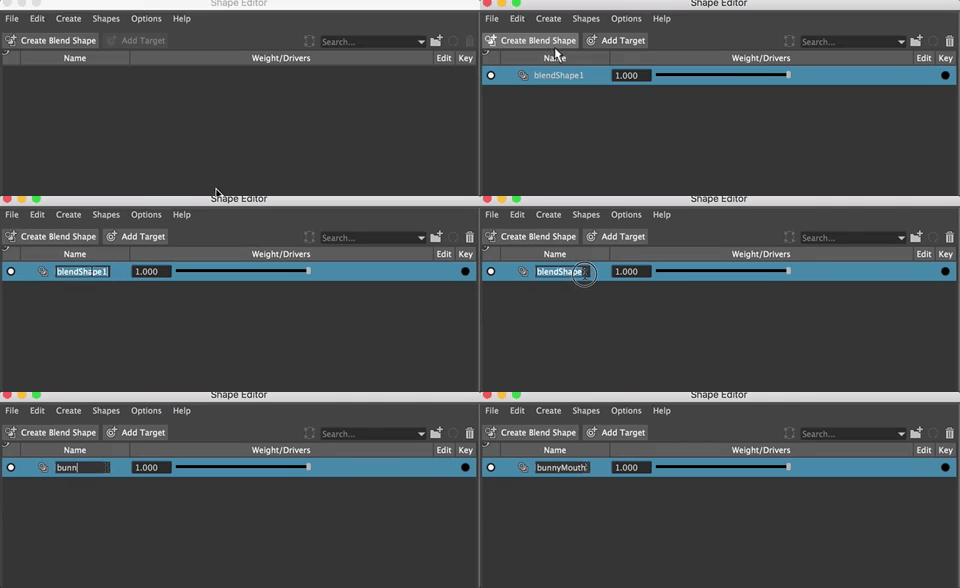
Double click on the name to rename it to something descriptive. You probably want to have sepearate blendshapes for the mouth, eyes, and other body parts. You can change this later, if it doesn't make sense now or you don't know, yet, what you want to do.
Click on Select Target
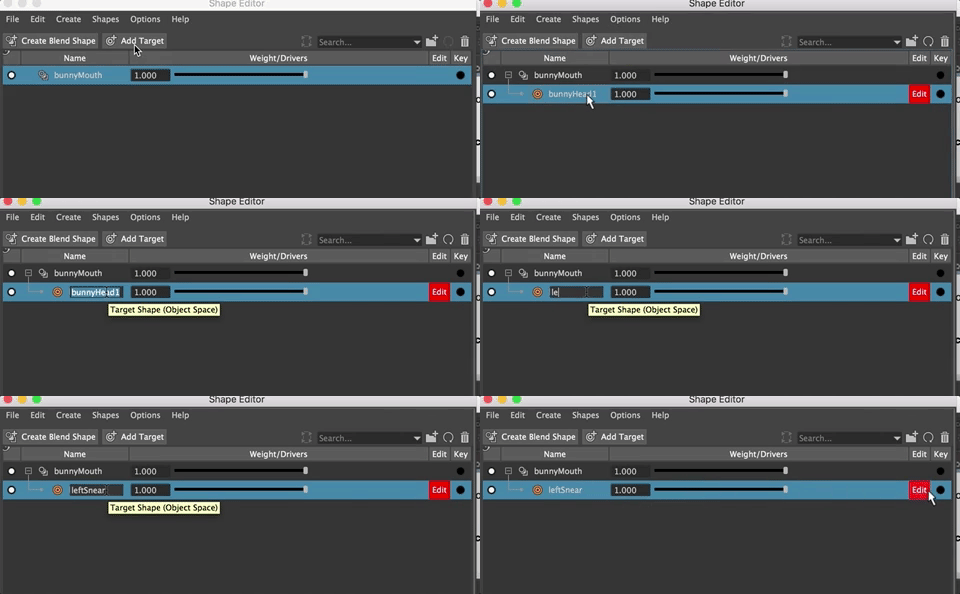
Rename the target and
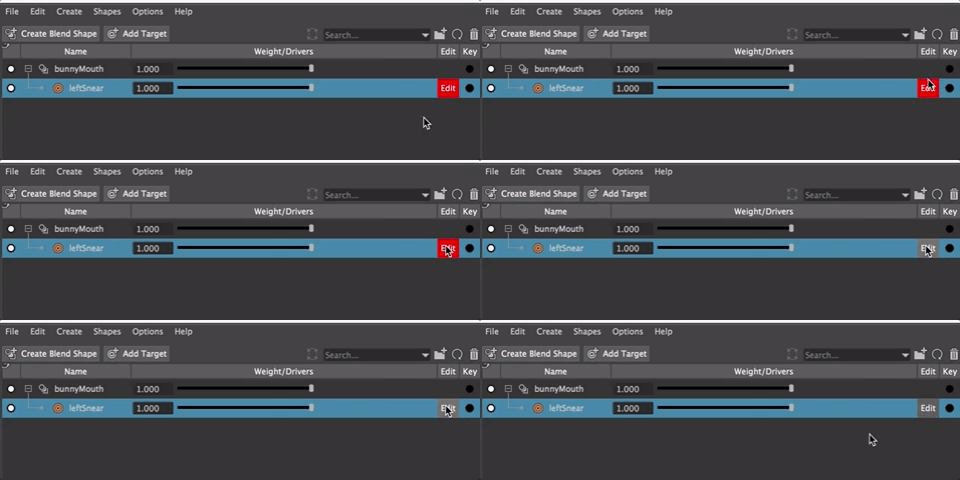
Be Sure Edit is RED which means it is active.
You will see in the Viewport, "Editing Blend Shape Target and the name of the blend shape."
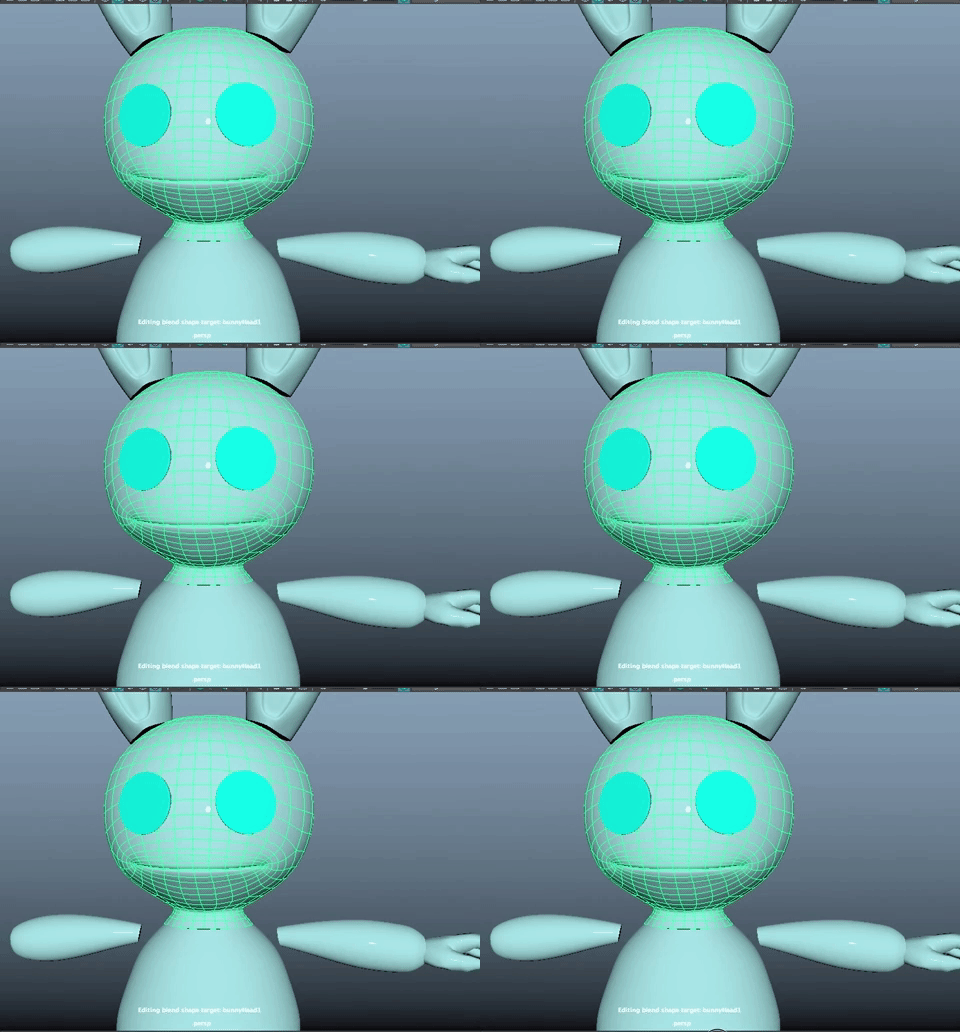
Now you can use any of the sculpting tools you have learned. I like to use the Grab Tool, but you can also use a Lattice, Soft Select and direct edit the vertices, or any of the sculpting tools available to you.
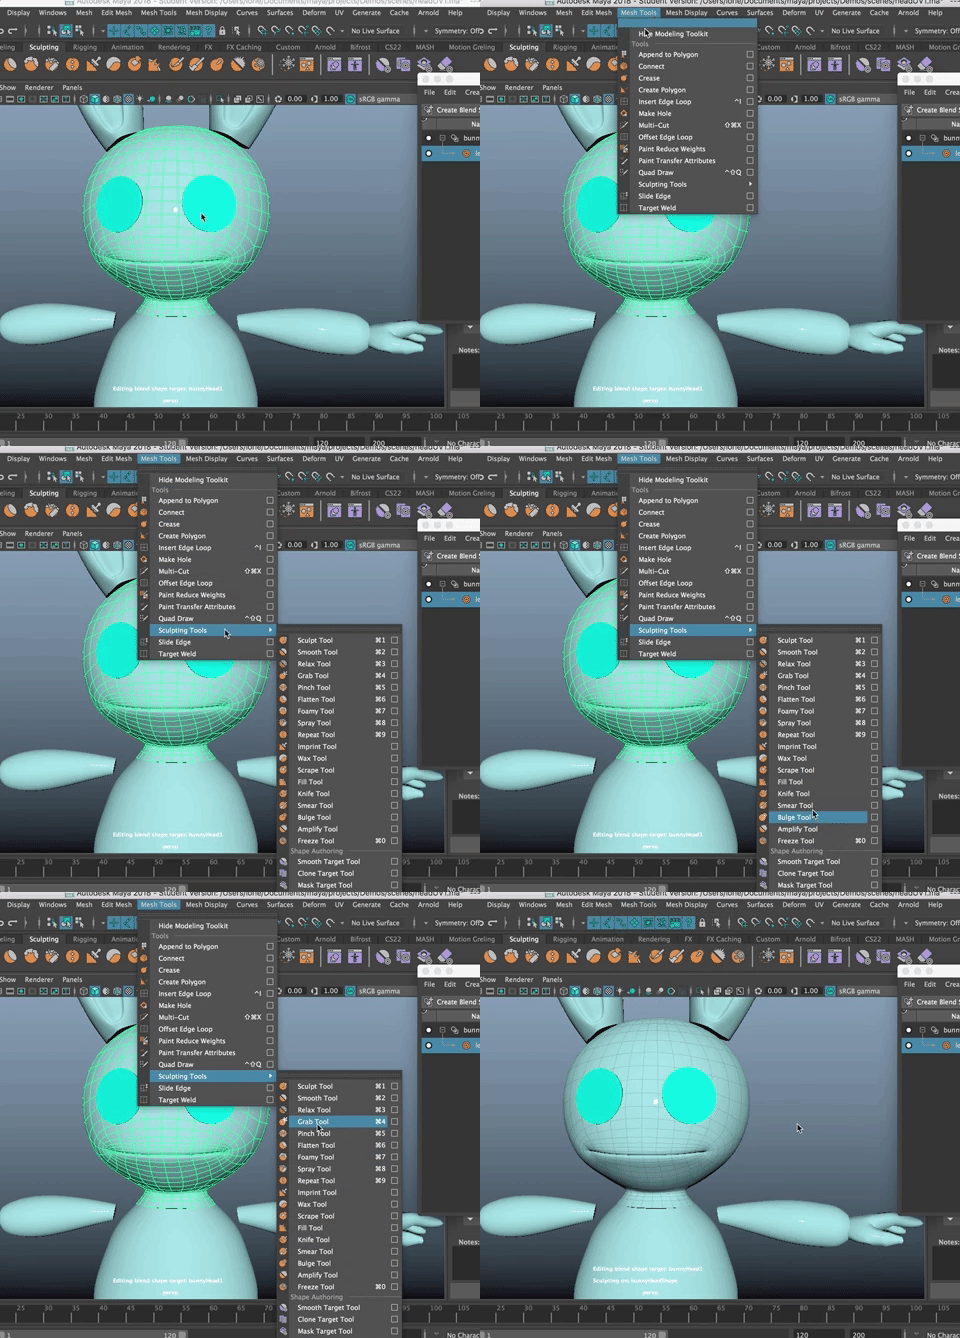
Sculpt your shape
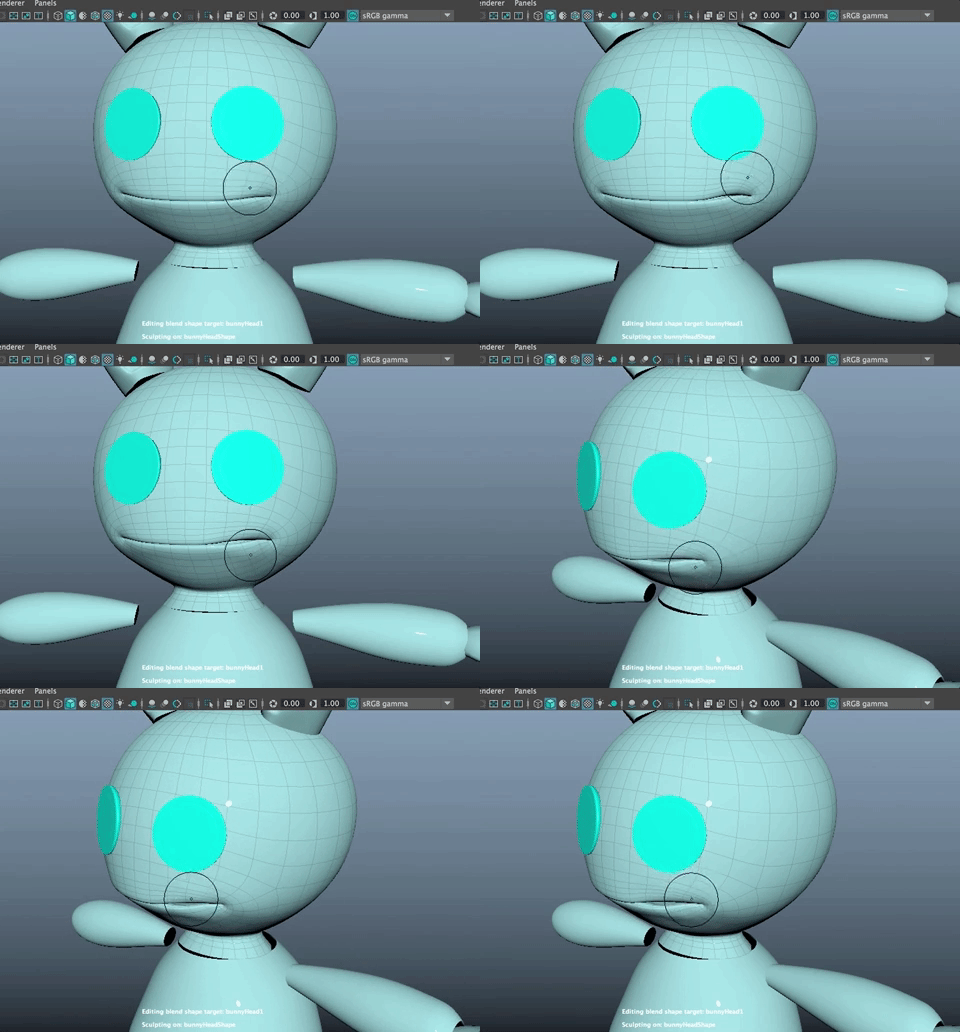
When you are finished Turn OFF Editing in the Shape Editor.
You now have two slide controls. One that is for the overall blend shape (bunnyMouth) and the other for the target shape (leftSnear).
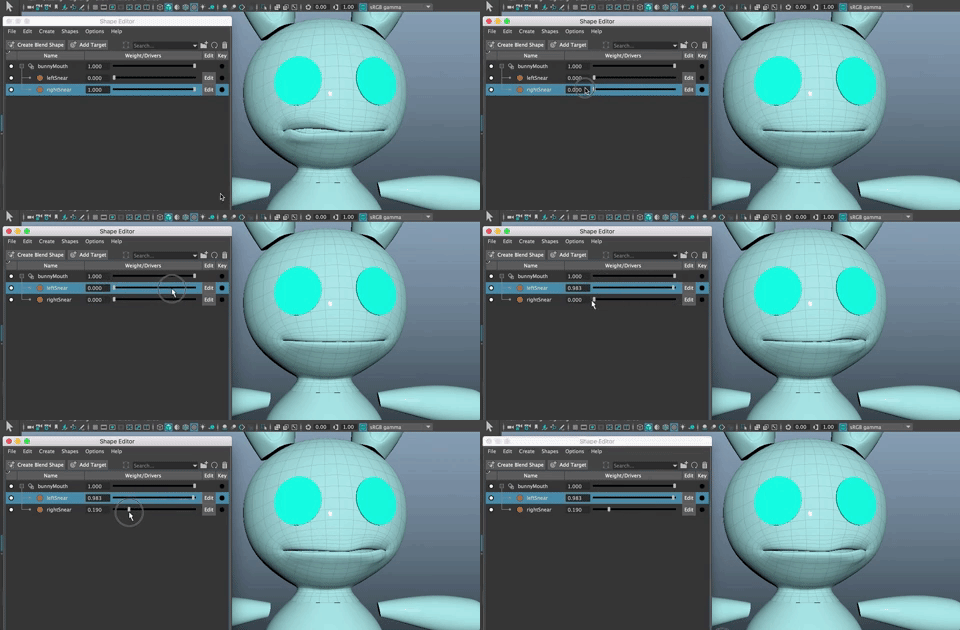
At a value of 1 it is fully active. 0 is off. And everything in-between.
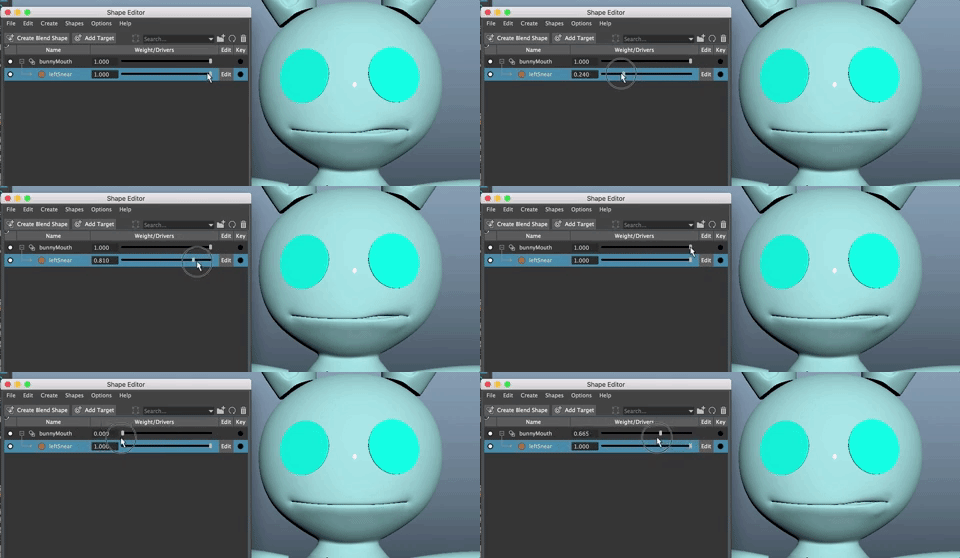
In this case, there is only one target shape so they both do the same thing.
Add another target, rename it.
Sculpt the second target shape as above.
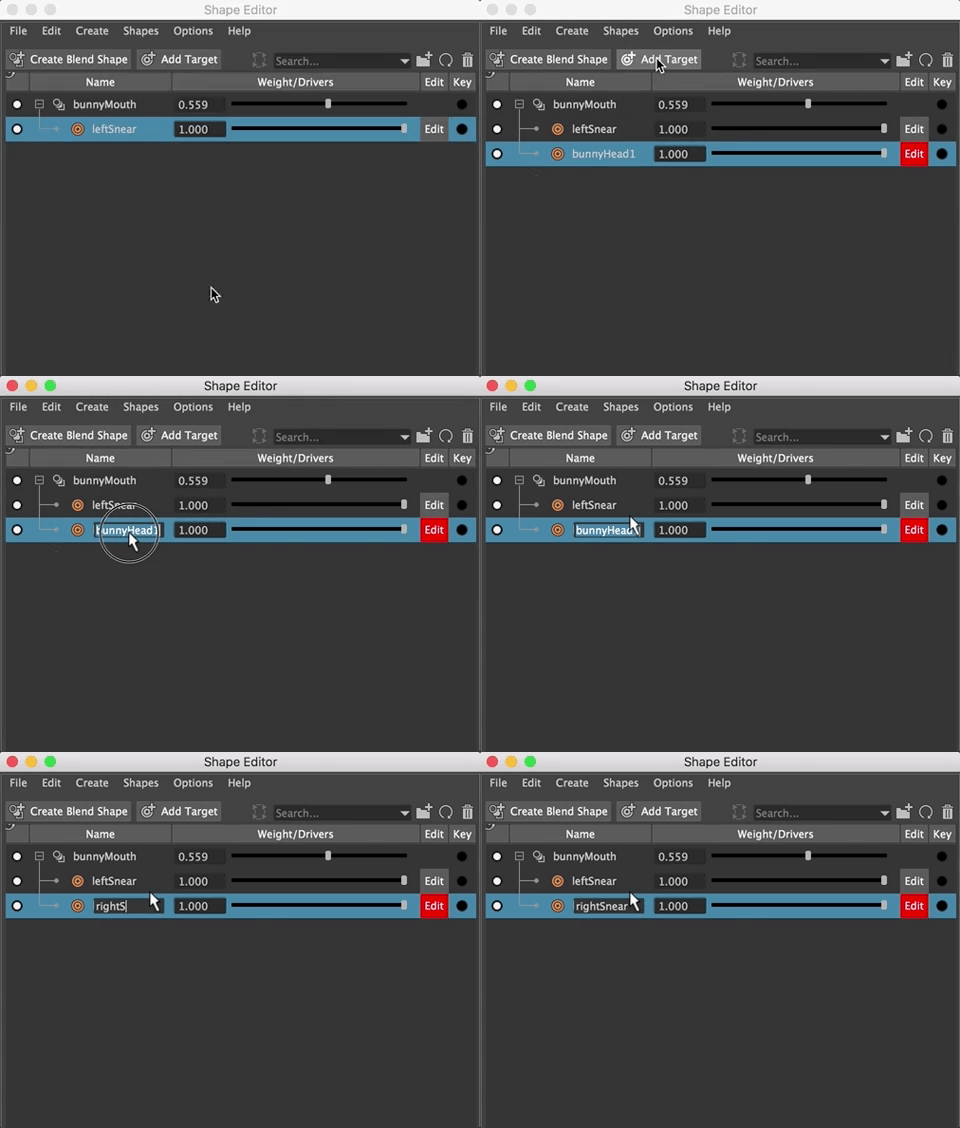
You can keep adding mouth shapes and move them one at a time or together.
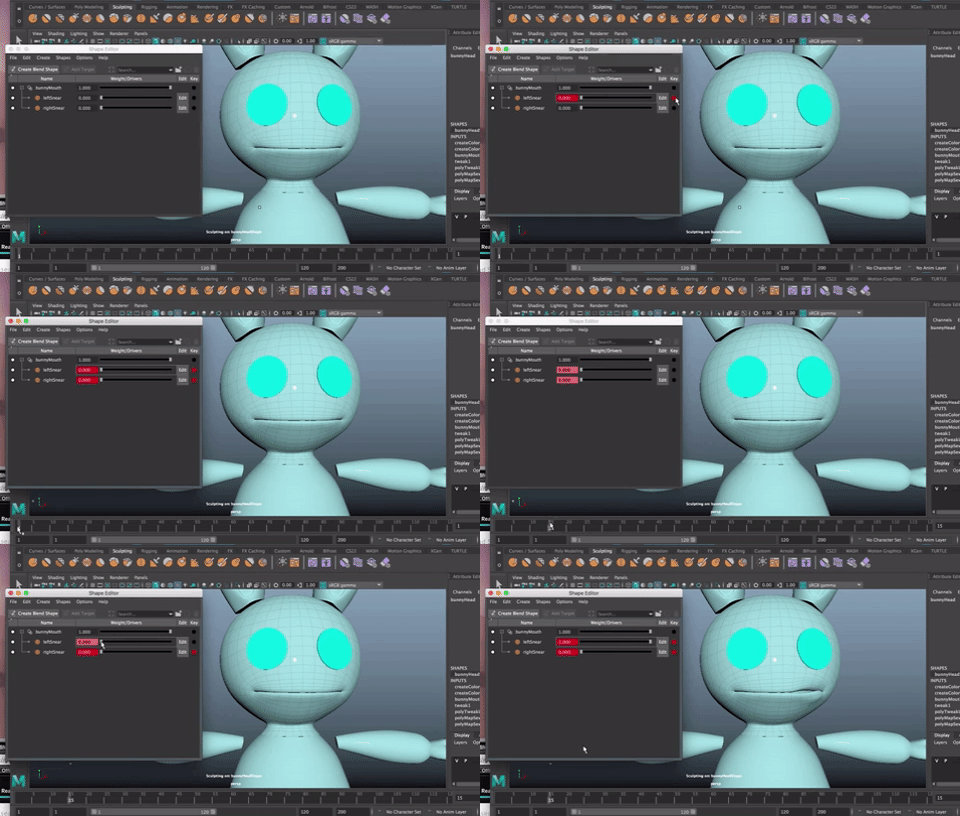
You can set key poses directly in the Shape Editor
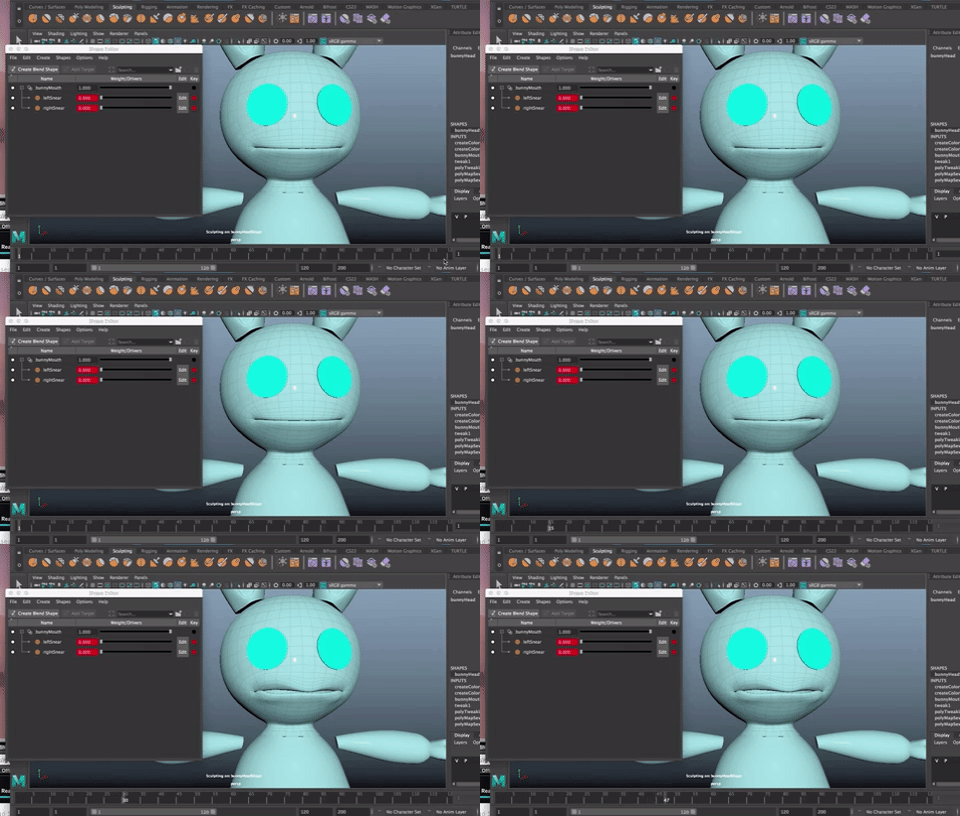
You can add new blend shapes as you'd like
You can create a face control for the blend shapes, but we will probably not have time to do that. You would use Set Driven Key to link the controler to the shape.