Tutorial - Introduction to Arnold aiStandardSurface Materials
Loeb CS22/122 F21
Here is a bit of information to get you started with Arnold standard materials. They are a powerful shader that allows for layering, glass, reflection, and more, all with the same material.
Maya Materials
Maya materials/shaders are fine, but they are limited in what they allow you to do.
Before you do anything, your objects have a Maya shader called a lambert on them. It is called lambert1. It is a medium gray color.
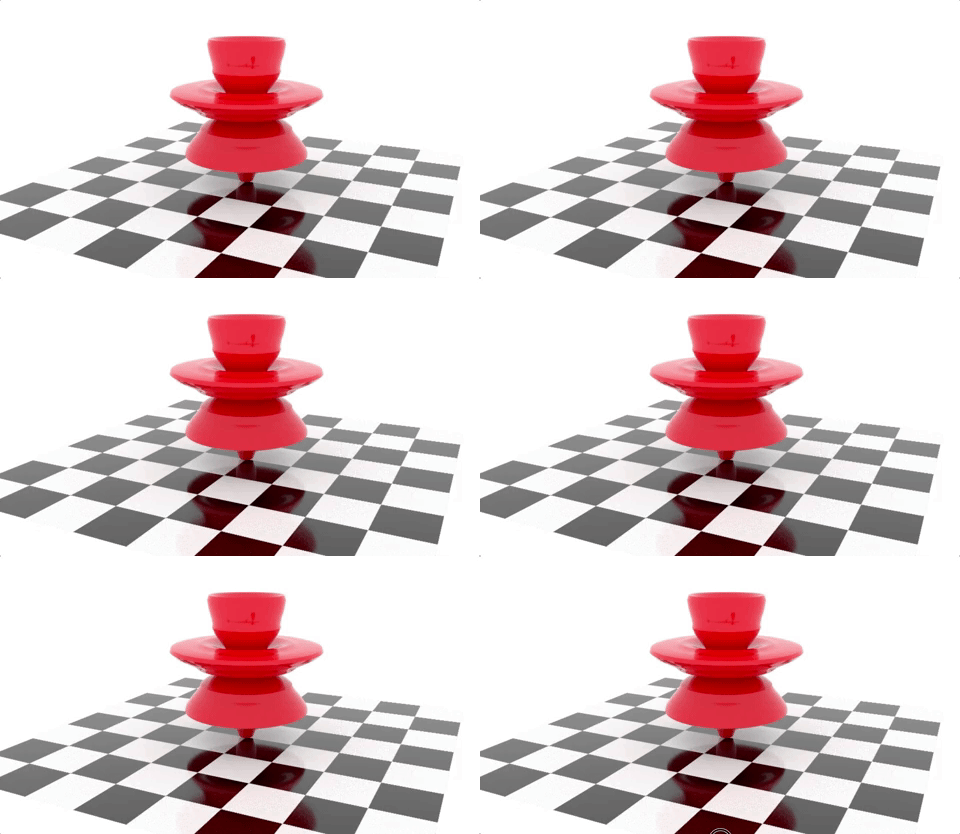
A lambert is a shader that has no specular highlights. Kind of like velvet. Light hits it, but no light bounces off it (see the sphere on the right).
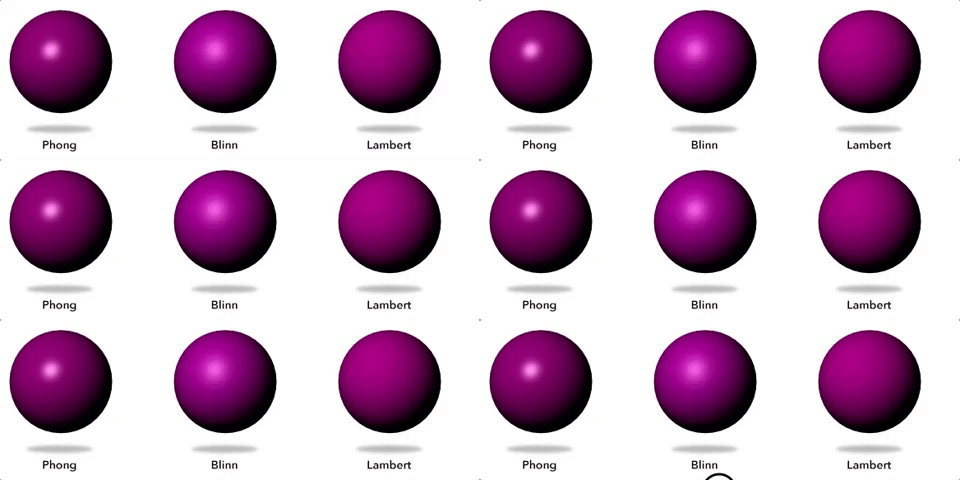
A blinn (named after Jim Blinn) has some specular highlight, but it isn’t a super sharp highlight so the material looks shiny but not metalic - think of a satin material, flat rubber or matte aluminum.
A phong is a Maya materials that has a more focused specular highlight (see the sphere on the left). It looks more like a shiny metal. It is more expensive (takes longer to render) than a Blinn.
There are lots of other Maya shaders that offer different treatments for light that shines onto an object.
Arnold Materials
Arnold uses real world physics to create its shaders.
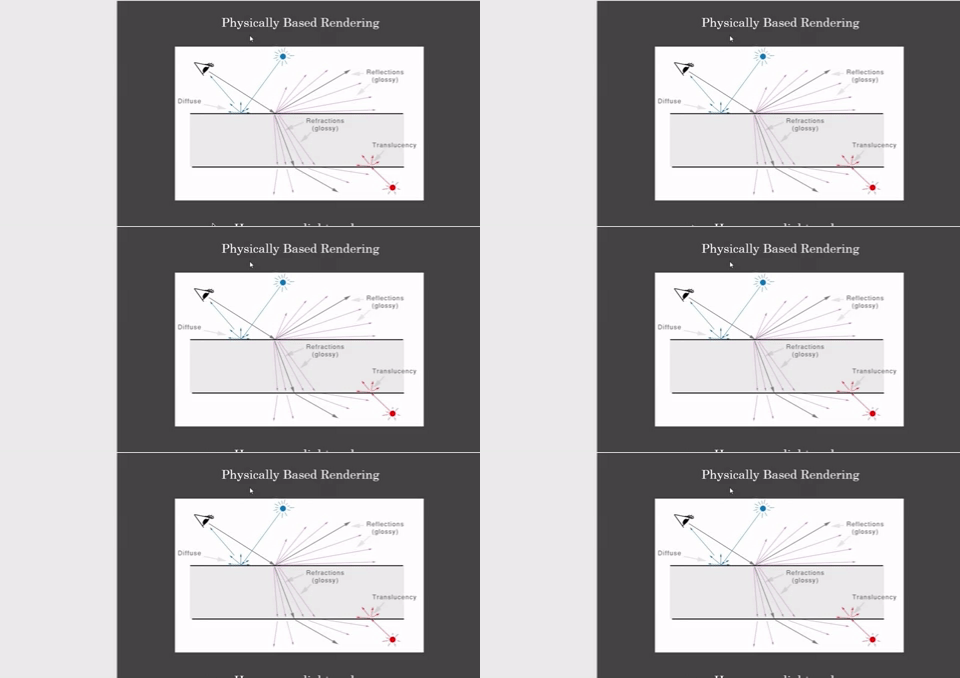
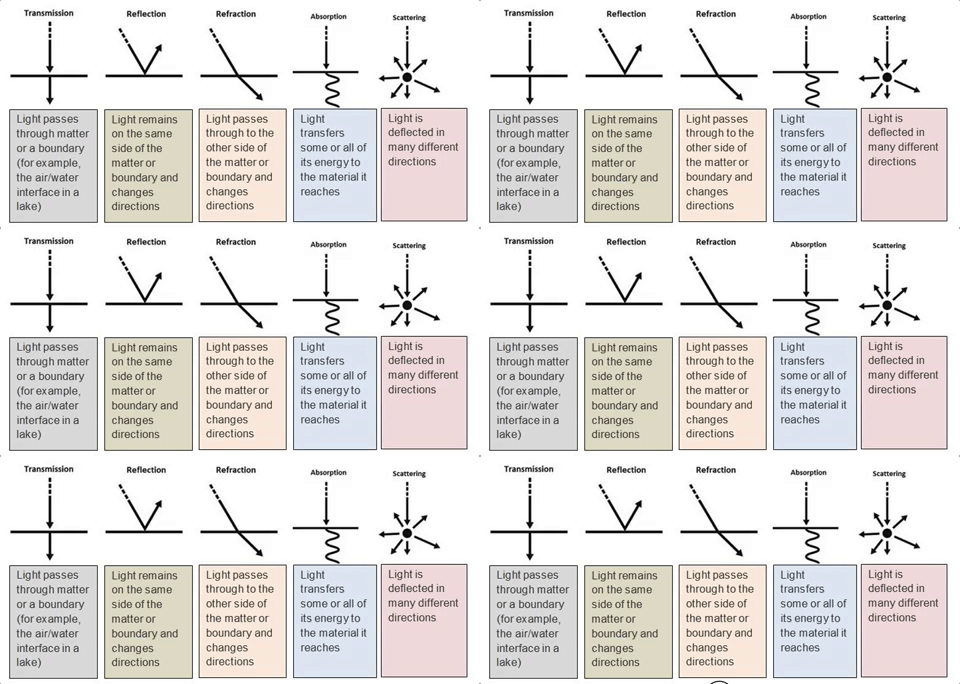
In the real world, when we look at an object’s material we first notice its color, then the way light bounces off it (reflections and specular highlights) and how light passes through it (refractions) how light scatters under it (sub surface scattering) and if it is translucent (if light from behind the object shines through it and causes shadows).
Arnold has a smaller list of materials/shaders available, but the shaders available are much more powerful and can have a wide range of looks with a single material. One material handles all types of light behavior.
The shader you will use most is the aiStandardSurface.
Let’s keep working with the scene from the Pipeline Tutorial.
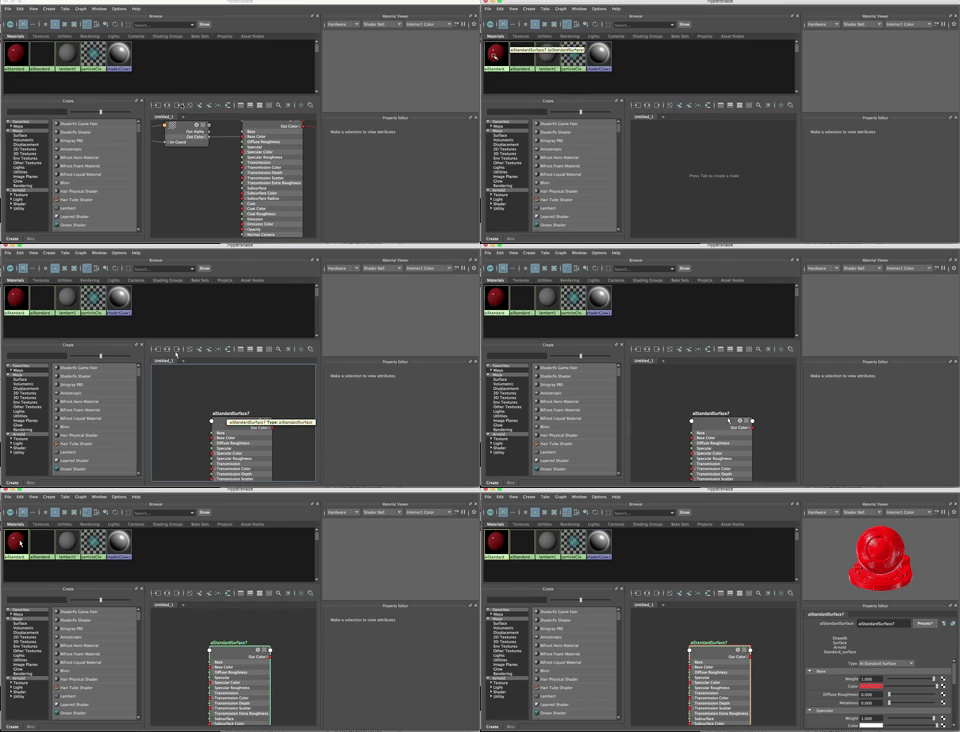
Open the Hypershade

Clear the Work Area as shown below and then add the aiStandardSurface shader by clicking on it or dragging it into the Work Area. You will see it show up in the Property Editor.
Rename the shader (you will end up with a long list of shaders in your projects so naming is very important.
Rename it M_SuperElipse or something else that easily identifies it. M_is the standard for materials.
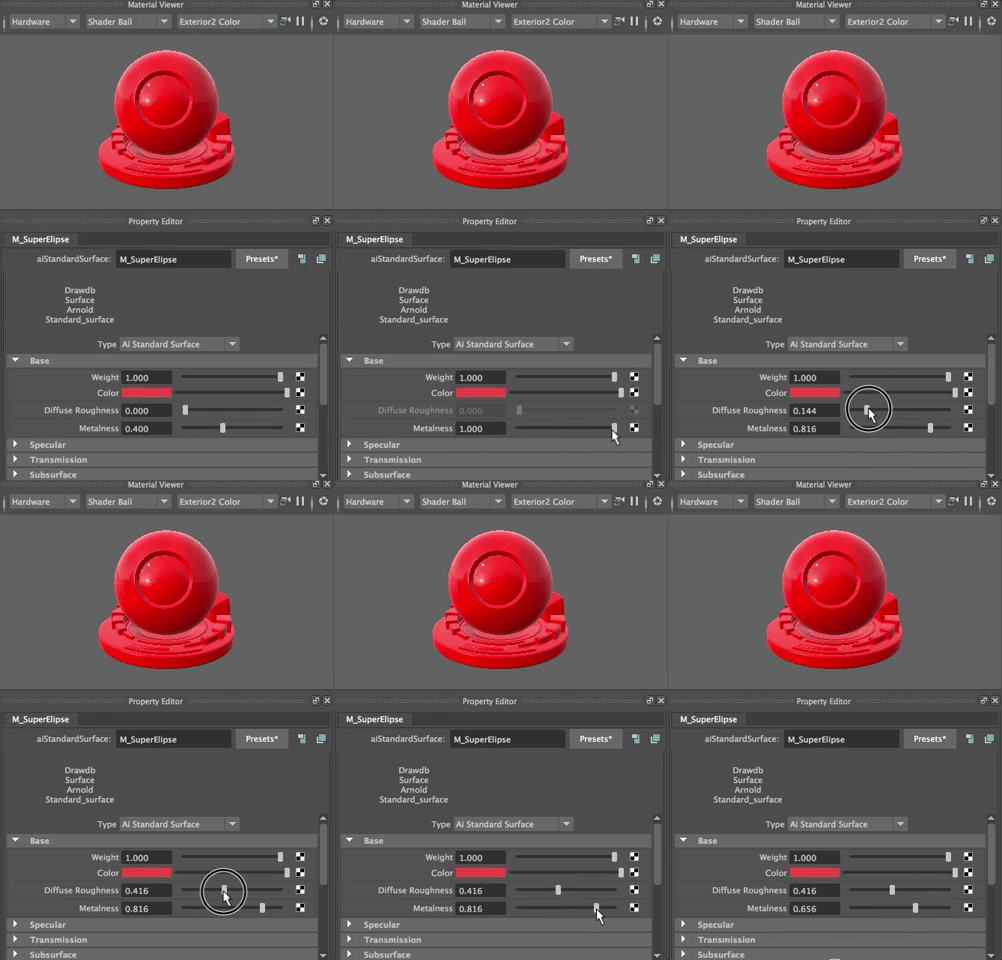
Let’s play with some of the attributes and values in the Property Editor. The Material Viewer shows how it looks in various modes.
We already played with color. You can just make it a color or attache a file as you did with the checker. Weight at 1 is 100%, meaning the base attribute values are applied 100% to the material.
Turn up the metalness.
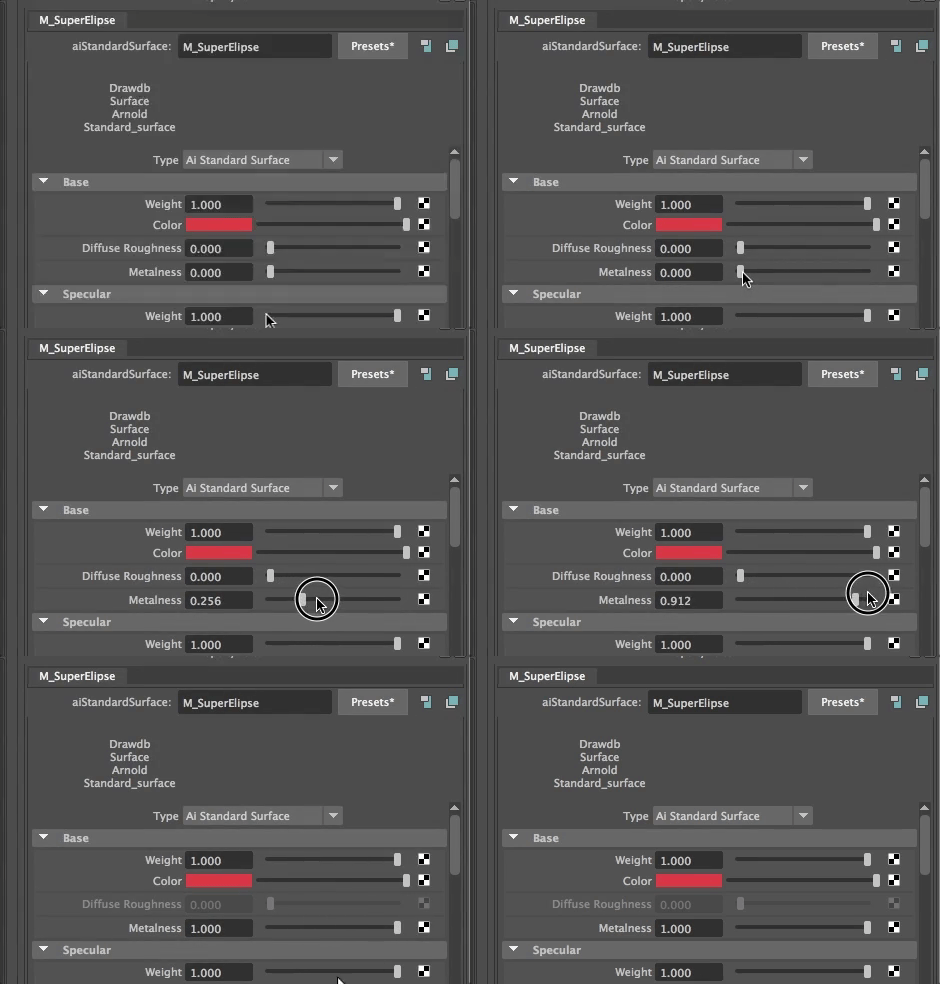
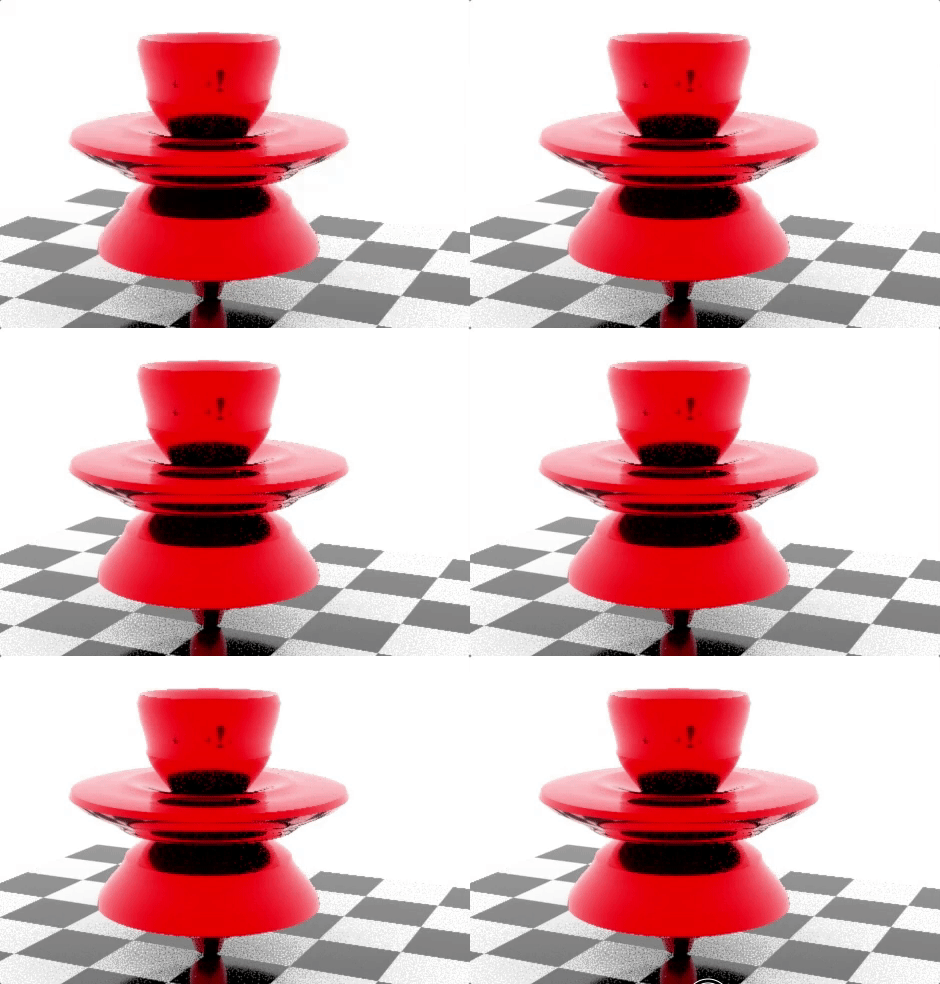
Try it at different values to see how it changes the way the object looks. It changes in real time if you have IPR on, so that is easy!
Save the image so we can see how it changes.
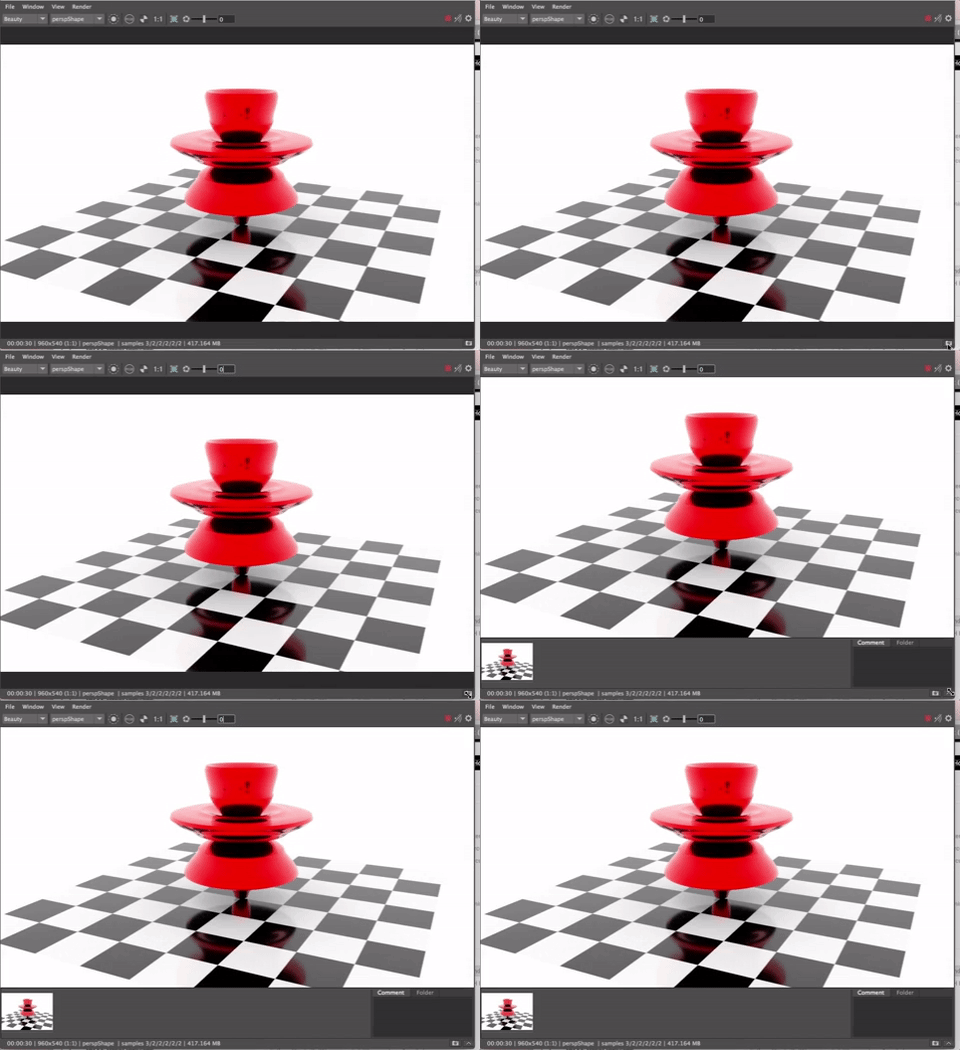
Try other values and save those images, too.
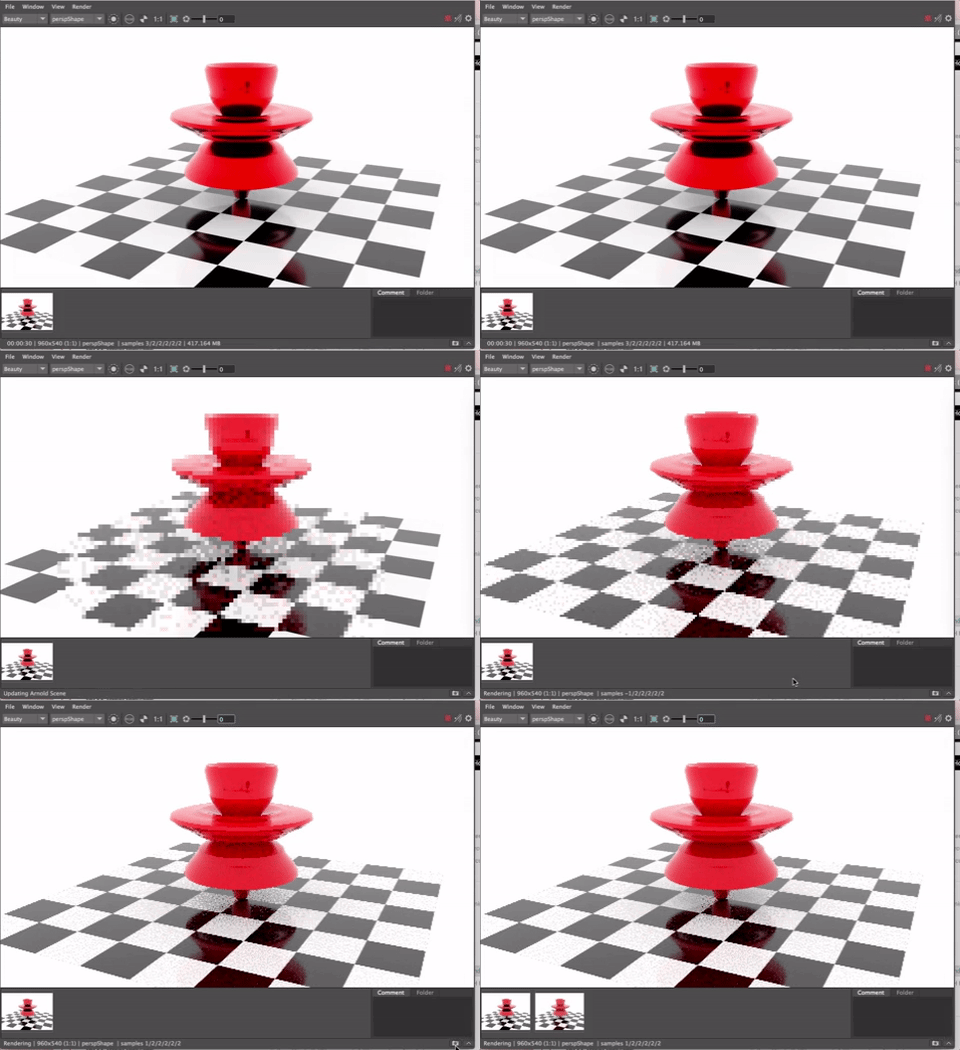
Now turn up the Roughness. Roughness adds a brushed effect to the metal. You can’t adjust the Diffuse Roughness if the Metalness is at 100%, Play with the values to see the variations in looks you can create.
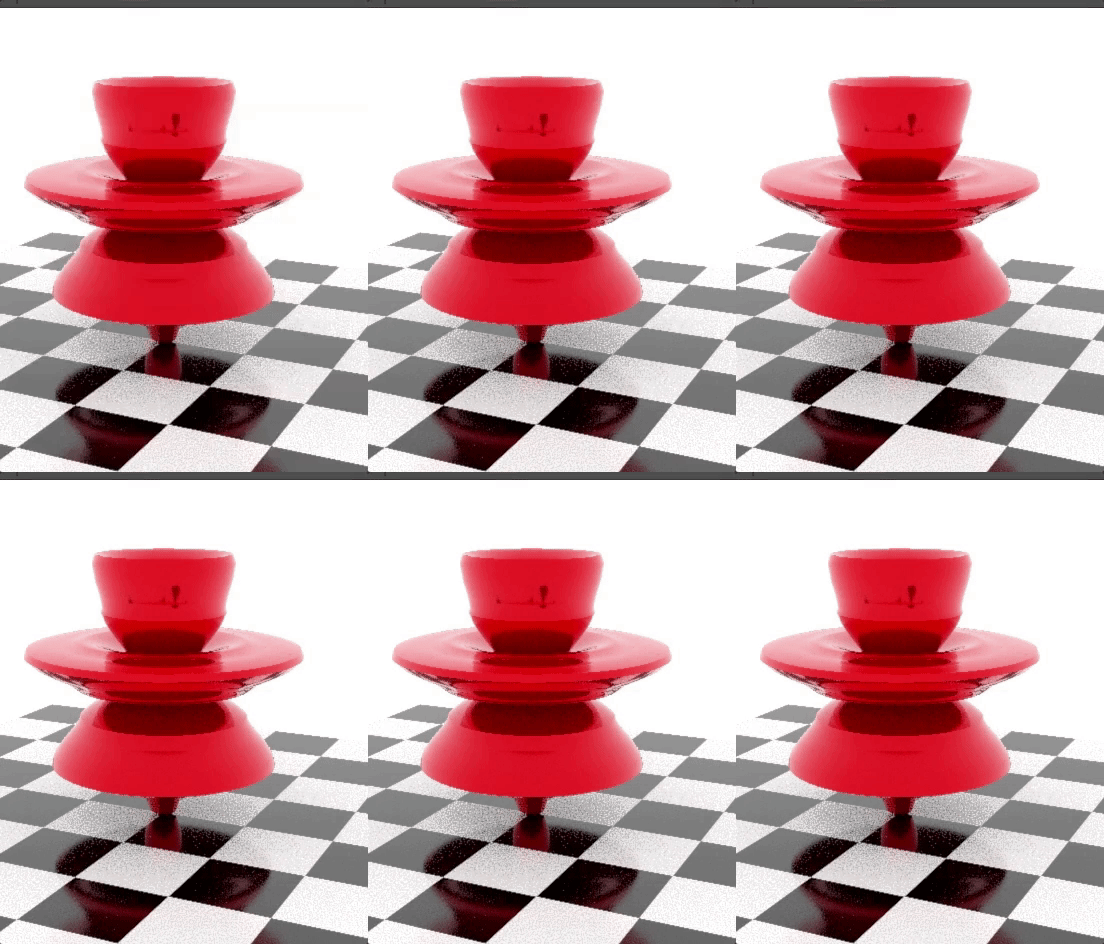
Save the image and look at the differences.
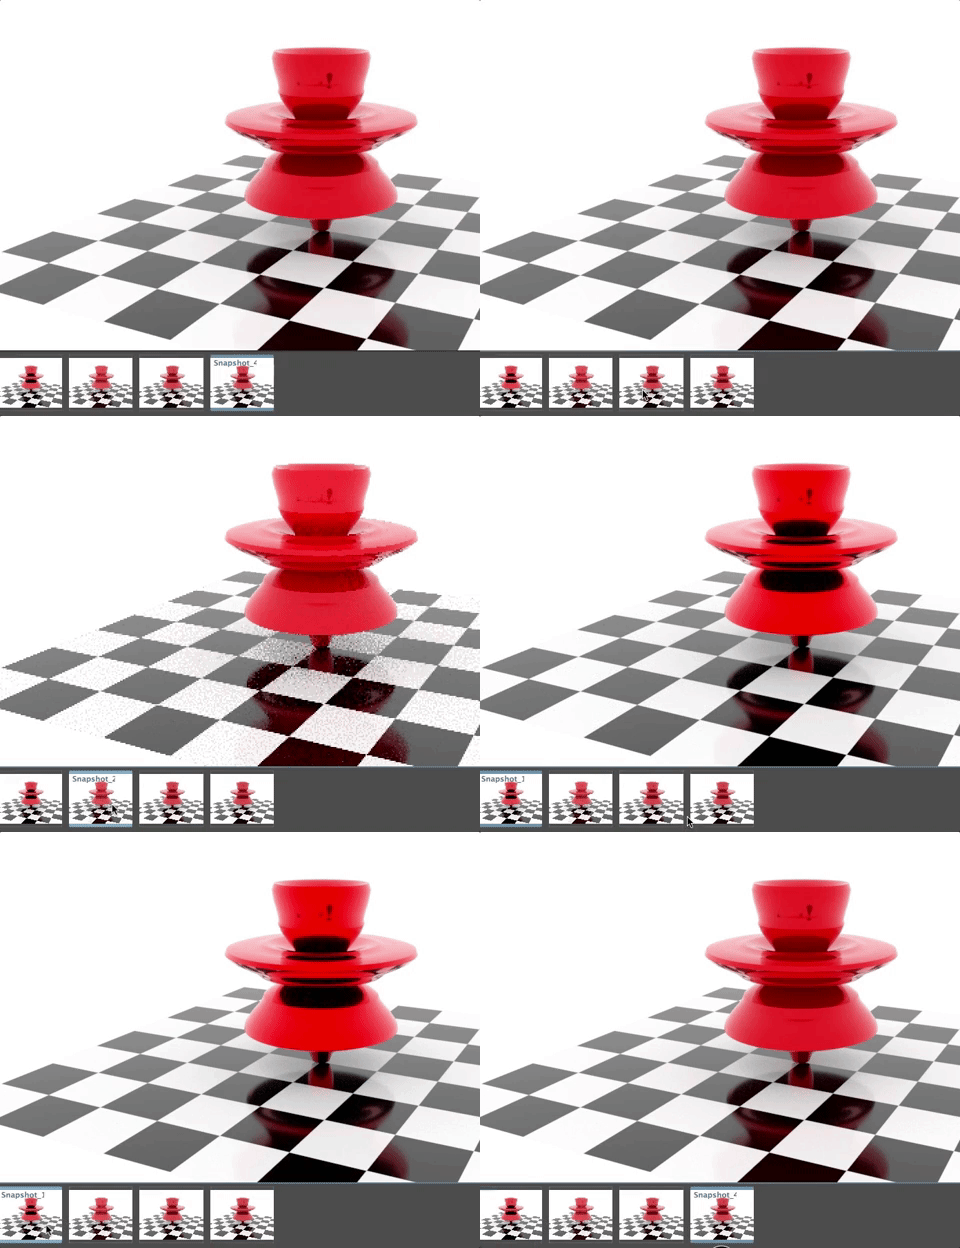
Specularity
Transmission
Next let’s look at the Transmission Tab.
Transmission refers to how light moves through an object. Turn up the Transmission weight and you will see the material viewer shader ball looks transparent. If you render, you probably won’t see it.
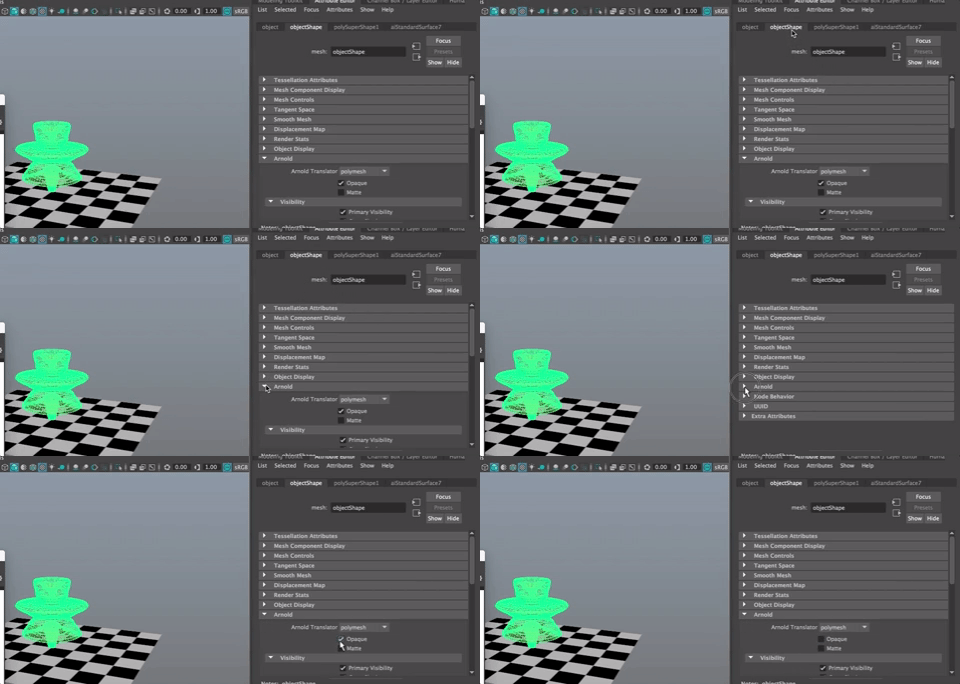
To see the transparency, you need to go into the Object’s Shape Node in the Attribute Editor.
Under the Arnold Tab, Check OFF Opaque.
