Animating along a Curve using Mash
Loeb
A cool way to animate and have it look good quickly, is to have your character respond to another object. A quick way to do that, is to have an object move along a curve.
MASH offers a super simple way to make that happen. Let's try it.
Create a Curve
We want to create a curve that loops so that an object can loop around your character and your character can duck to avoid it.
You learned a fast way to make a spring curve last week by making a helix, adjusting the INPUTS,
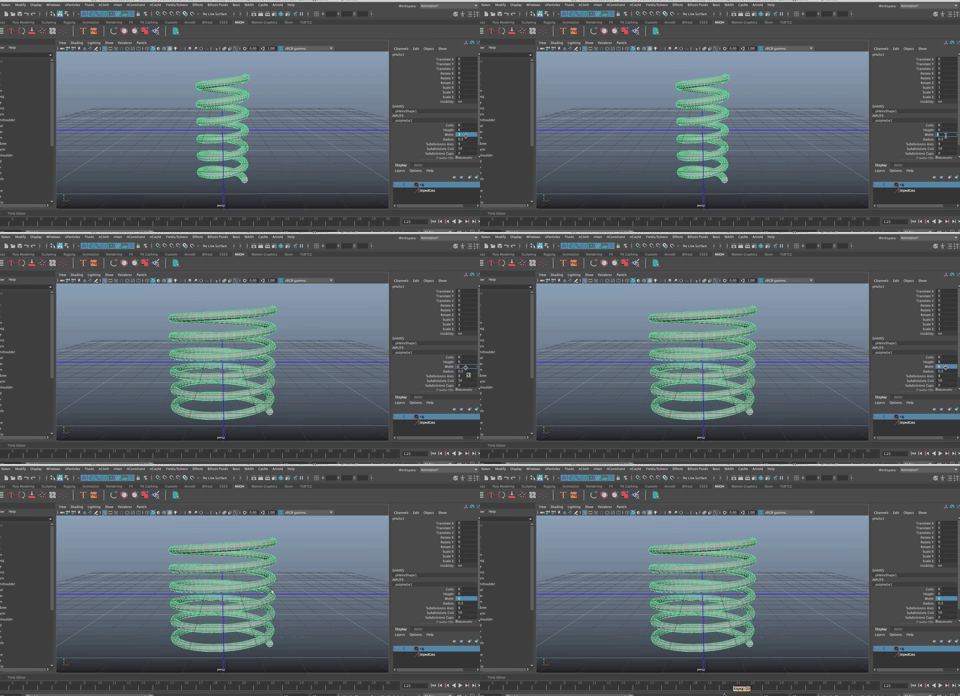
selecting an edge that goes along the entire helix, and going to Modify>Convert>PolyEdges to Curve
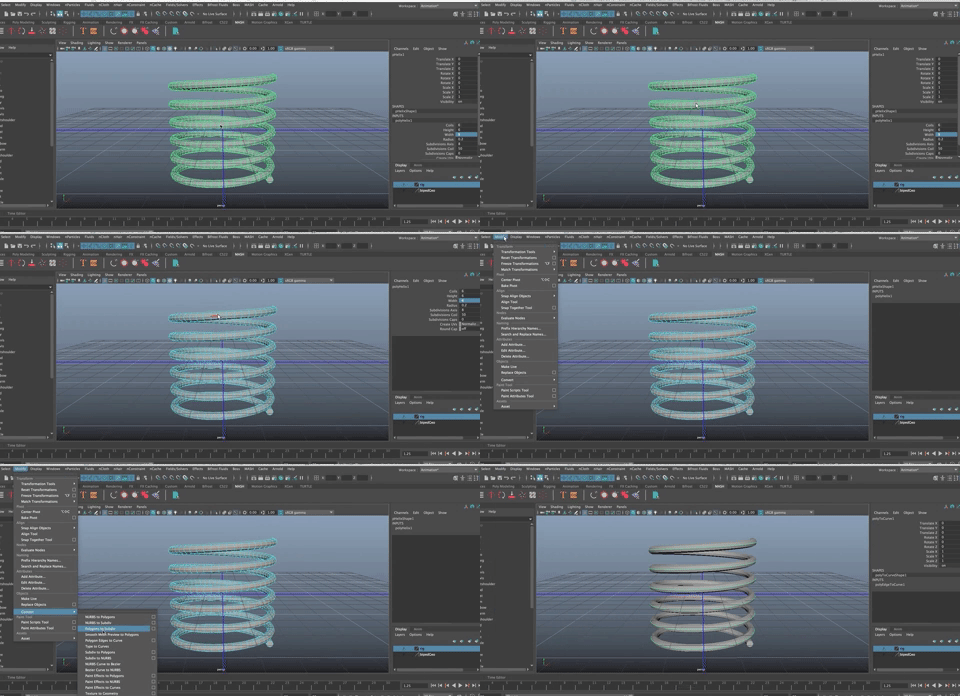
You can then delete the helix geometry and you have a curve shaped like a spring!
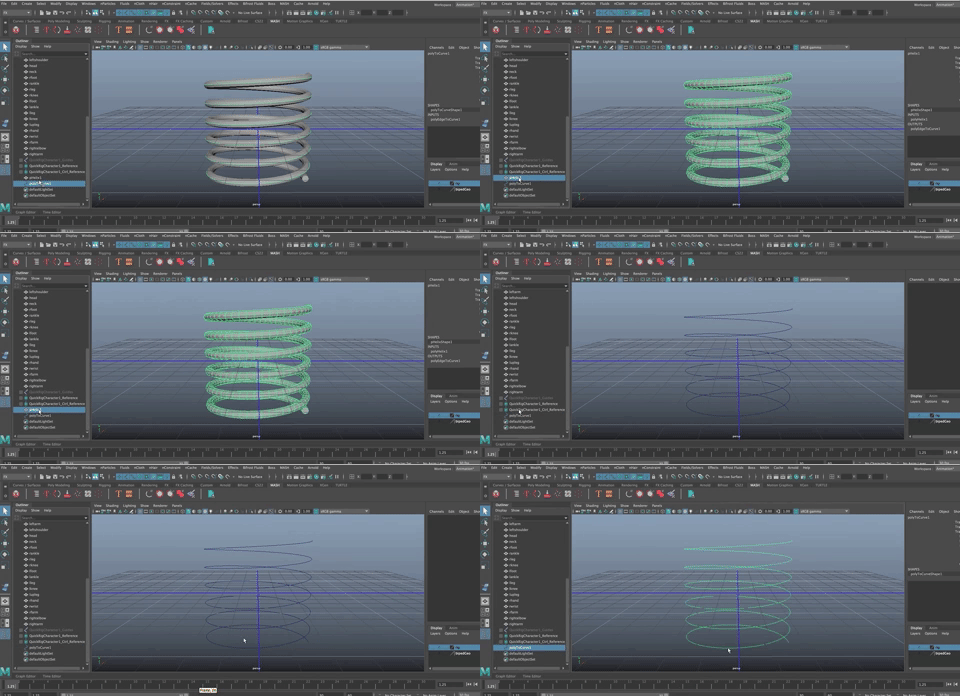
- Center the Pivot on the curve. (Option + shift + c)
- Rename the curve to "path"
- Freeze Transformations (option + f)
- Delete History (Option + shift + d)
Save (Command + s)
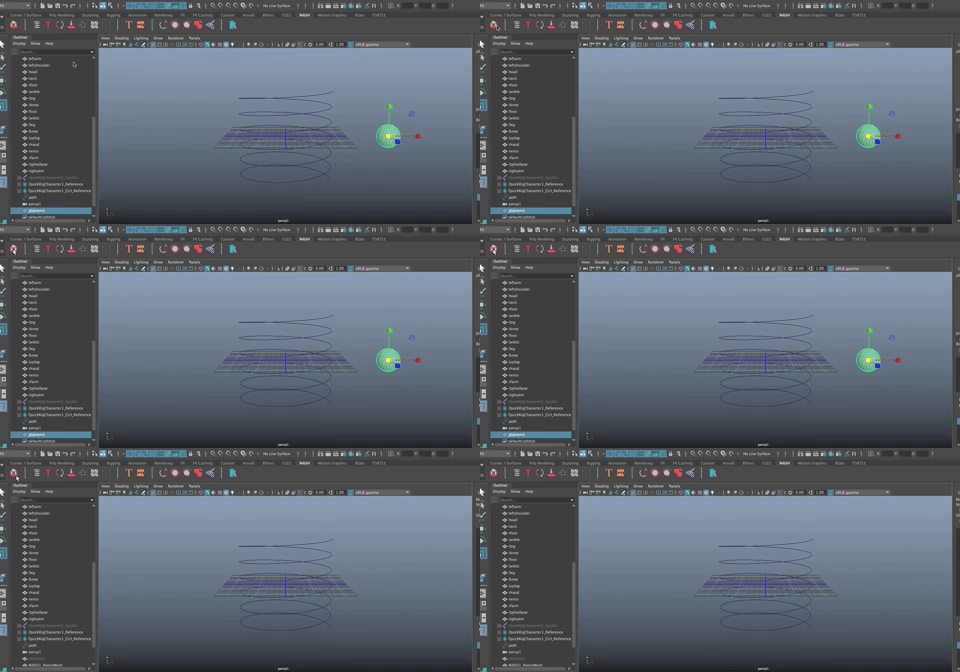
Create a sphere (Control + shift + o)
- Move it over and scale it as you'd like

- In the FX Module and shelf
- Create a MASH Node
In the Attribute Editor
- In the Mash Distribute node
- Number of Points to 1
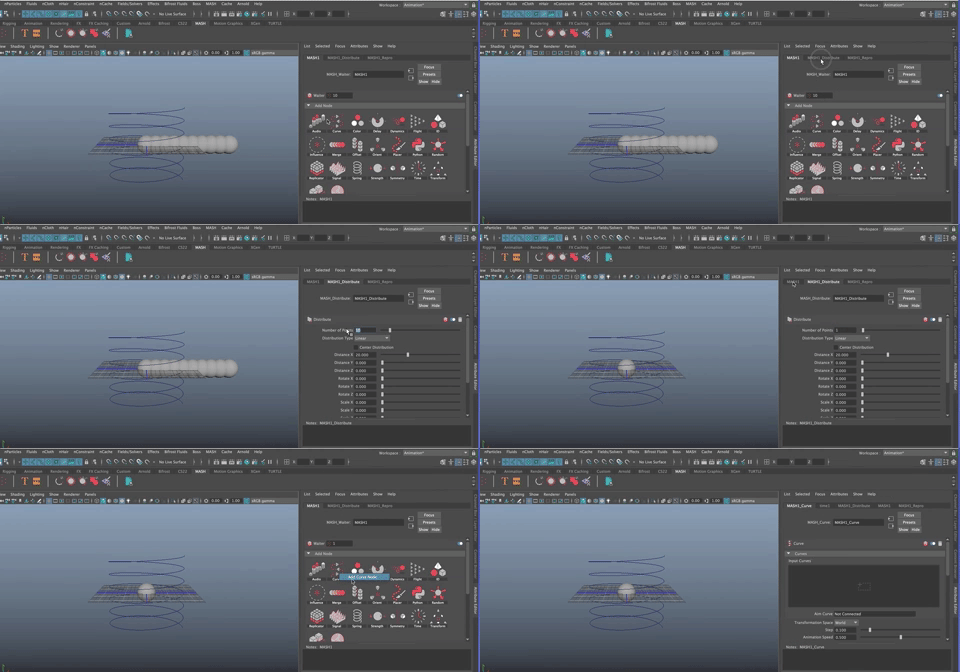
In the Mash1 Node
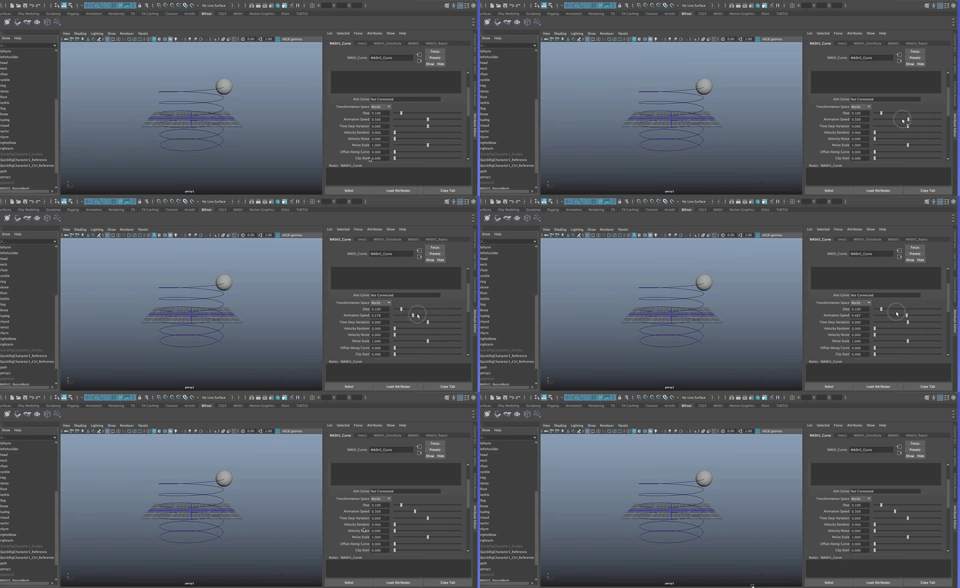
- Add a Curve Node
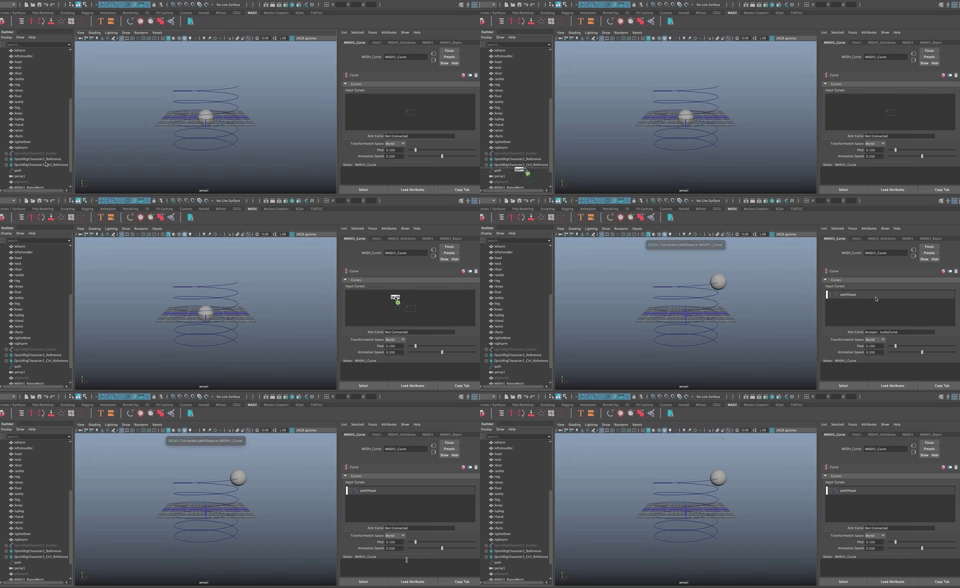
In the MASH1 Curve Node
- MMB drag the "path" curve to the Input Curves
- Make sure your playback is set to Real Time
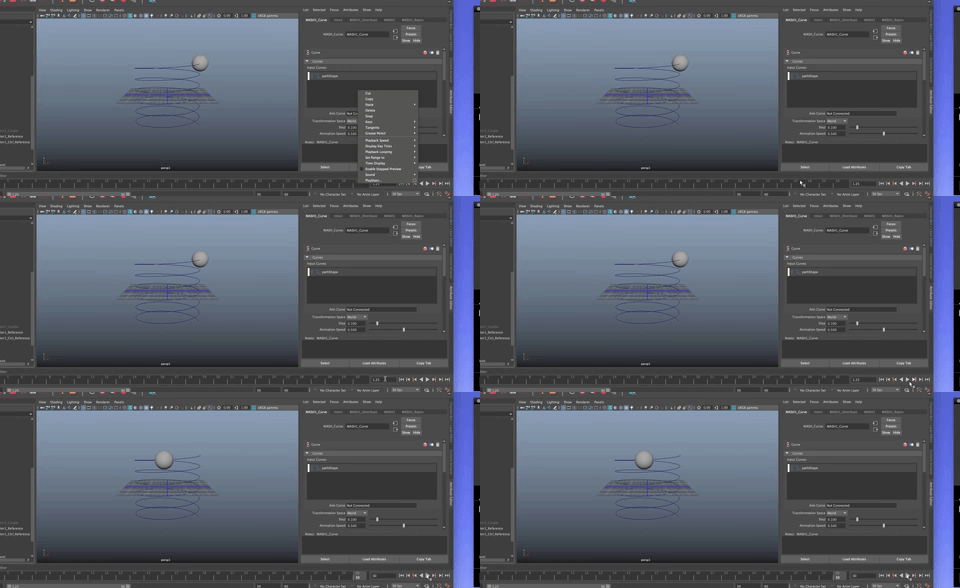
- And your playback range is between 1 and at least 500
- Hit Play
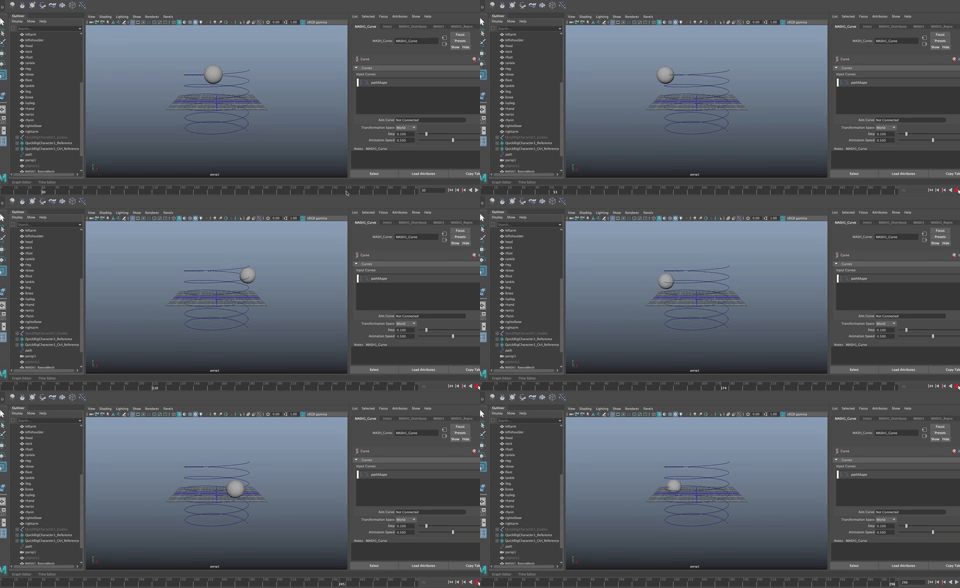
The sphere moves along the curve.
You can adjust the rate of the motion and other timing options in the Attribute Editor for the MashCurve
NOTE: Creating an animation along a curve that you then have your character duck or avoid, is a great way to think about building your animation out.